|
free of everything but bananas, haha Welp. It happened. We hit our first 100+ degree day here in Arizona and it's only May. It's fine. I'm fine. We're fine. Summer heat usually puts me in a big funk (bring on alllll things fall and winter and I'm a happy girl) but the last two years have left most of us in a big funk and I am determined to inject so much joy into this year I started with healthy ice cream. Or what is most commonly called "nice cream". 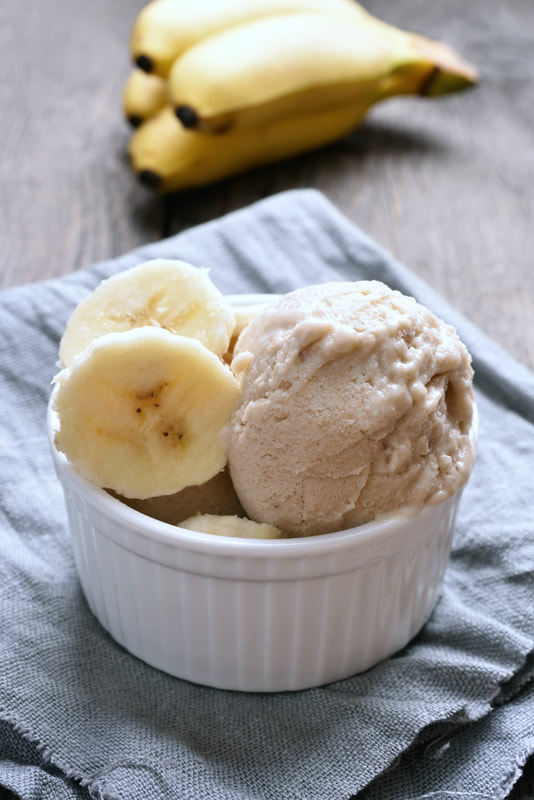 Made with three simple ingredients, this was a HUGE hit with the kids. They feel like they're getting an indulgent treat every day and we are finding a fun way to connect in the kitchen AND stay cool. Because the good Lord above knows we will need it for the next few months. 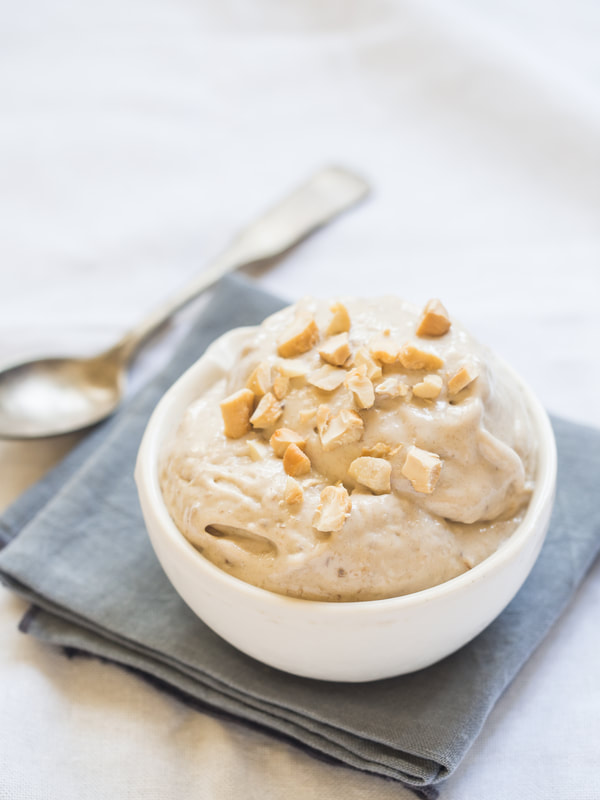 Banana Nice CreamWhat You'll Need
How To Make It
Do you have a favorite Nice Cream flavor? We also did a batch of Cinnamon Roll that I will add to the blog soon too!
We just got new popsicle molds and are on the hunt for a good ice cream maker and we have SO many ideas for this season! Share your favorites below!
0 Comments
gluten free - dairy free - grain free - nut free - soy free It's officially winter here in southern Arizona - which means it's 70 in the day and our coats and fuzzy socks come out for the 50 degree mornings. A girl that's never spent more than a weekends vacation in the snow, this is winter to me and with that comes the want for cozy, warm, rich and comforting foods. And the occasional warm, fresh-from the oven, ooey-gooey treat. 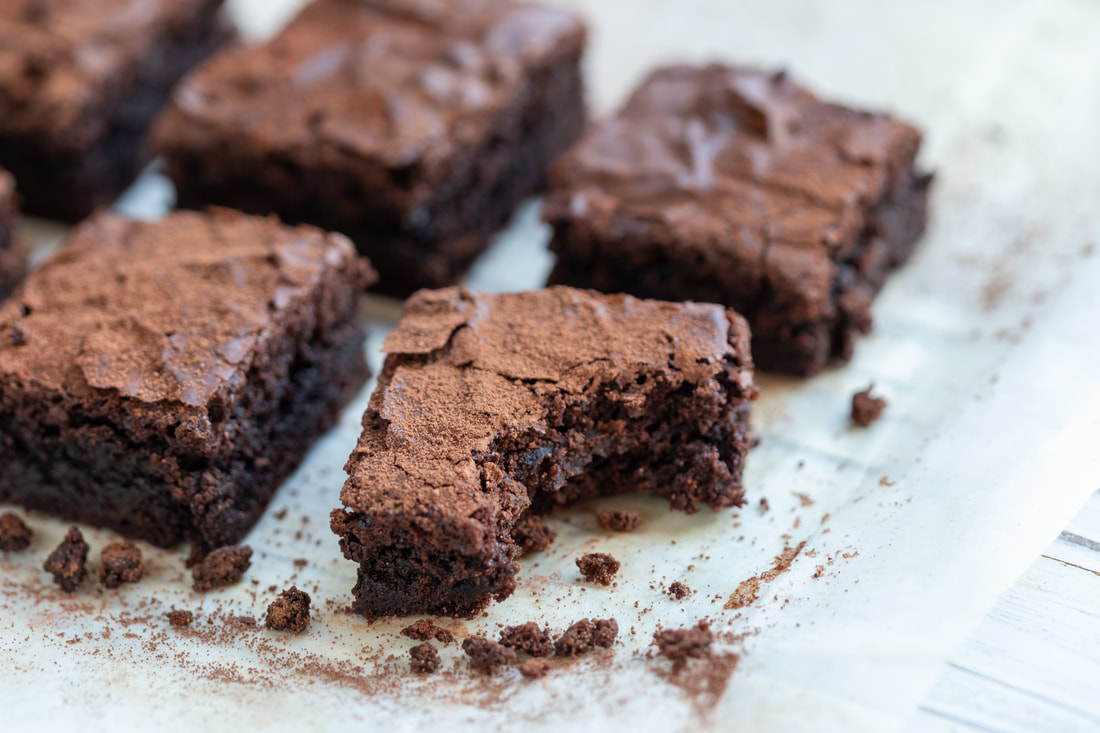 I was never a chocolate lover as a young kid or teen, and even my son is just starting to come around to the deep, rich flavors of a good cacao, so it wasn't until much later in life that I started to appreciate the brownie. As a matter of fact, making these this weekend was the first time my six year old son had ever tried one. What I love most about these? They are moist and fudgy and grain-free! Also gluten-free, nut-free, dairy-free and soy-free, they will fit nicely into most food allergy families. Just skip these ones if you can't bake with eggs. Quick to whip up, I suggest making a double or triple batch. Especially if you plan to share - because these go quick! 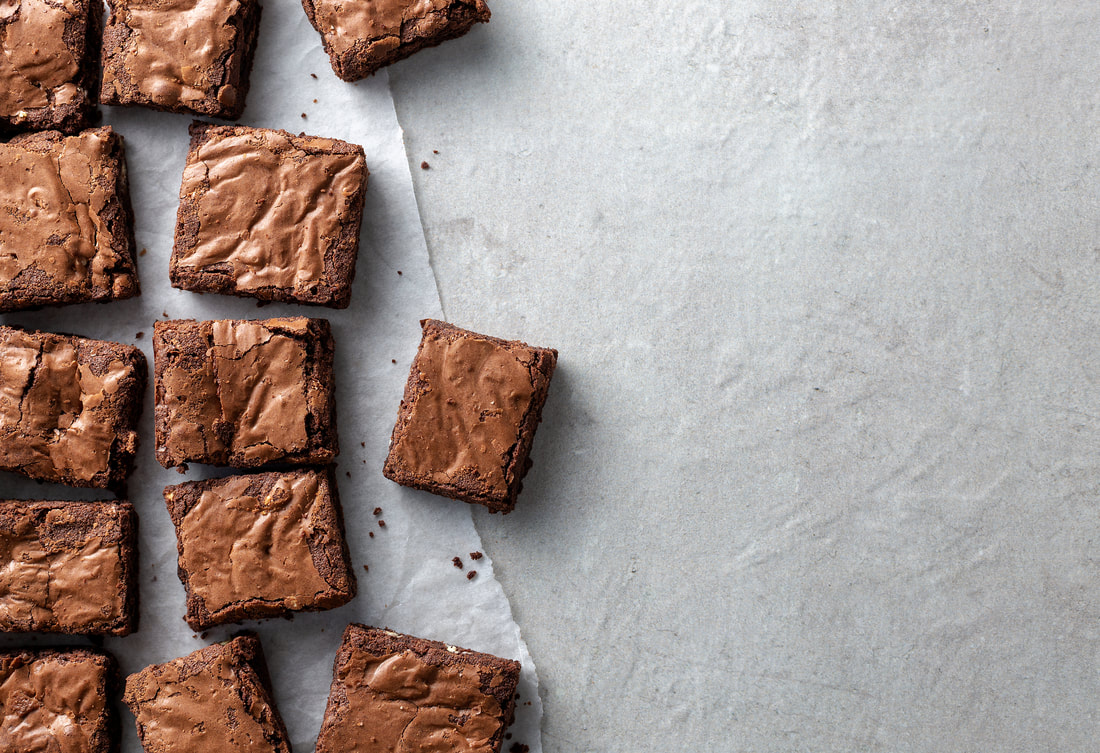 CASSAVA BROWNIESIngredients 2 eggs 1/2 C. avocado oil or vegan butter 1/3 C. cassava flour (I use Otto's, Anthony's or It's Just) 1 tsp. vanilla extract 1 C. coconut sugar 1 C. dark chocolate chips (we love the Enjoy Life morsels) 2 TSBP. cocoa powder pinch of sea salt (optional, but great for minerals and flavor!) Directions
Pin Me!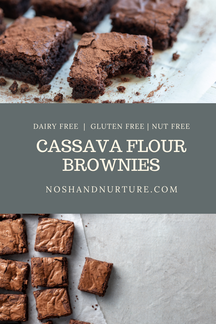 gluten free - dairy free - soy free - paleo option Hello my lovelies! With this being a very busy year that included renovating our new home, moving into said home, buying a new business, growing our current ones and raising and homeschooling a busy toddler, I have intentionally decided to slow waaaay down in December. It has felt so good. It's hard for me to lay things down. Especially when they feel like they are 'good' things. Yet I had so many balls in the air that I just couldn't handle all I was juggling and I was starting to get sick more often (which hasn't been the case in our home since we went more natural), and I was just run down and on edge and I finally said, no more. Our month has looked a lot like more intentional family time, date nights, traditions new and old, a lot of Christmas movies and baking. All. The. Baking. We have some exciting news announcing in January, and it's sure to be a new season of busy, so for now I will bake and ice to my hearts content and enjoy every moment of peace this season of our Savior offers my weary heart. 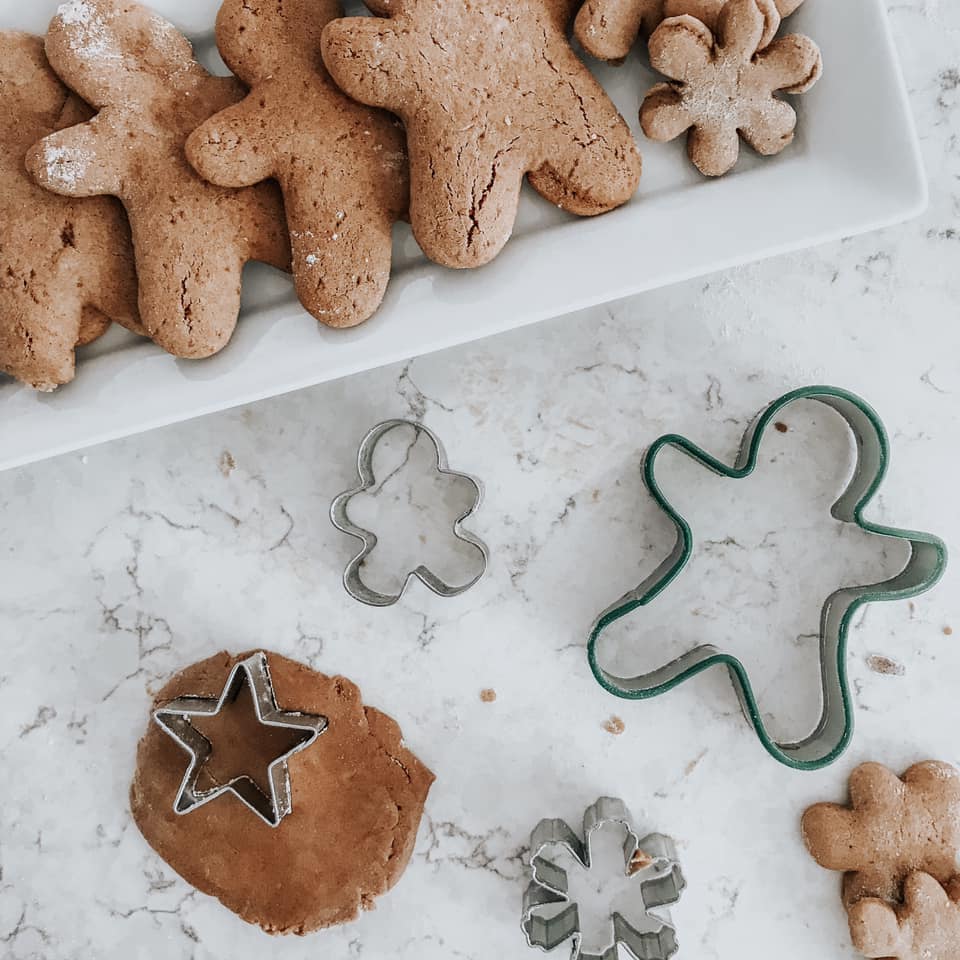 These Gingerbread Men are gluten-free, dairy-free, extra moist and subtle. We served them to family before a night of looking at lights and we got an overwhelming response of these being the "best gingerbread cookies ever!" So, not to toot my own horn, but I've heard these are pretty good. ;) If you're looking for a Paleo/Grain-Free version, you can swap the All-Purpose Flour for Almond Meal.  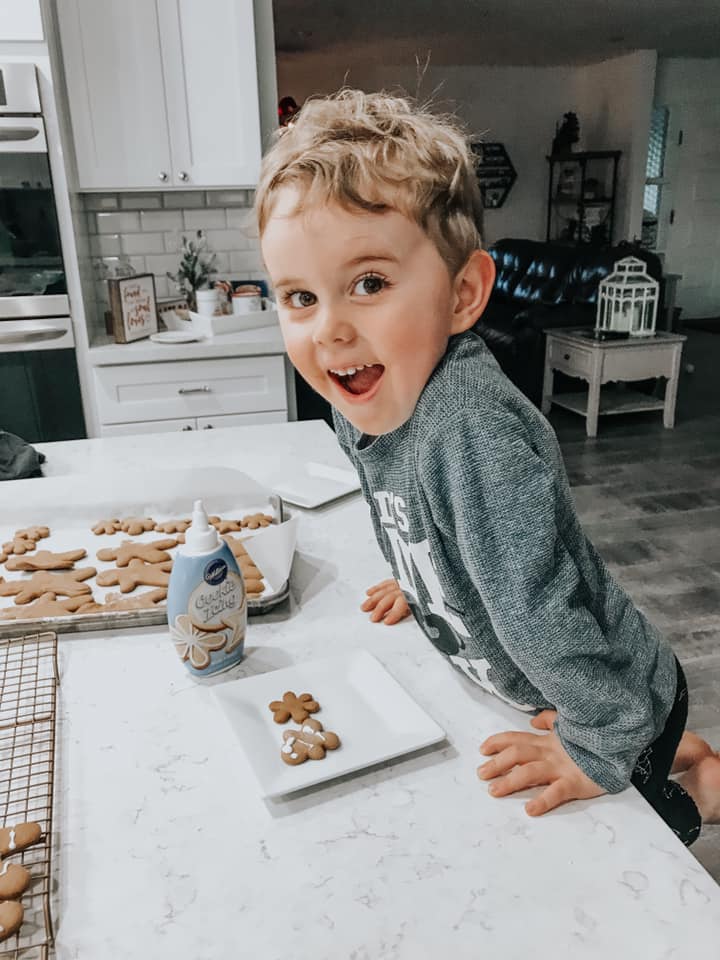 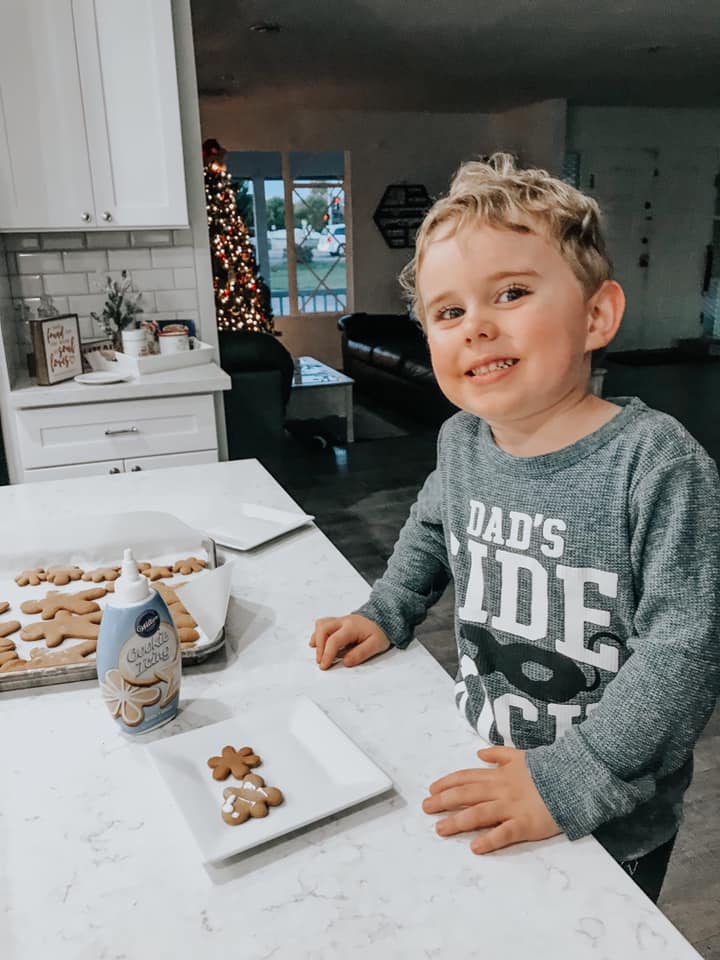 Gingerbread CookiesIngredients
optional: royal icing or allergen-friendly, dye-free white icing. Directions
In celebration of #NationalWatermelonDay with WTRMLN WTR, these coconutty and creamy watermelon popsicles are perfect for a hot summer day for adults and kids alike. My little guy devours these and we love to enjoy them at home or by the pool.  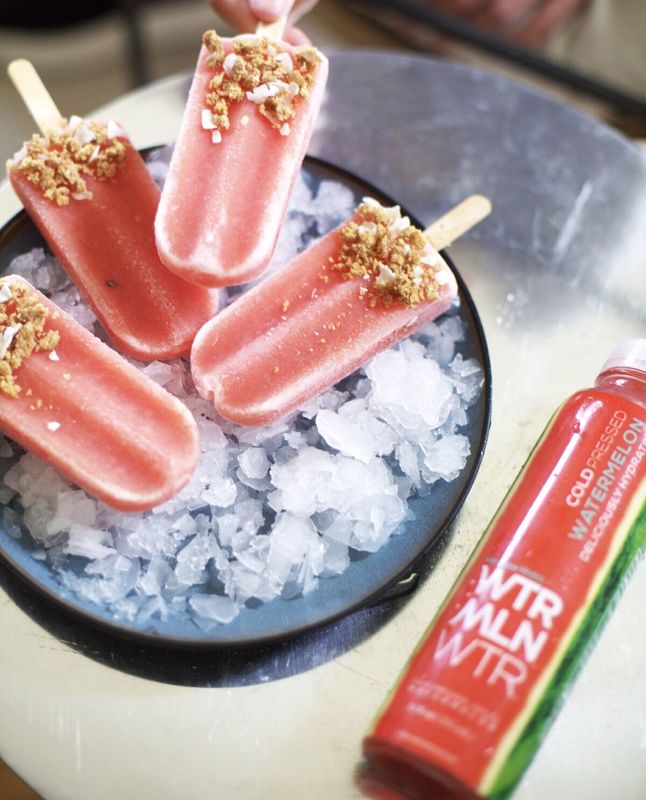 INGREDIENTS:
1 + 1/4 cup cup fresh watermelon slices ½ cup WTRMLN WTR ½ cup coconut milk PREPARATION: Puree 1 cup of chopped WTRMLN slices with ½ cup WTRMLN WTR and pour into popsicle molds so molds are 2/3 full. Freeze for 30 minutes and pour chilled coconut milk on top of frozen watermelon blend. Top with remaining watermelon slices and freeze for an additional 30 minutes. Rinse molds under warm water to release popsicle, add dried or toasted coconut for crunch and enjoy somewhere near a pool or beach. Submitted by a Guest Contributor gluten free - vegan - soy free - refined sugar free - kid friendly - grain free - paleo These brownies work well with most diets if cocoa is tolerated. They are easy to make ahead of time and take on the go. 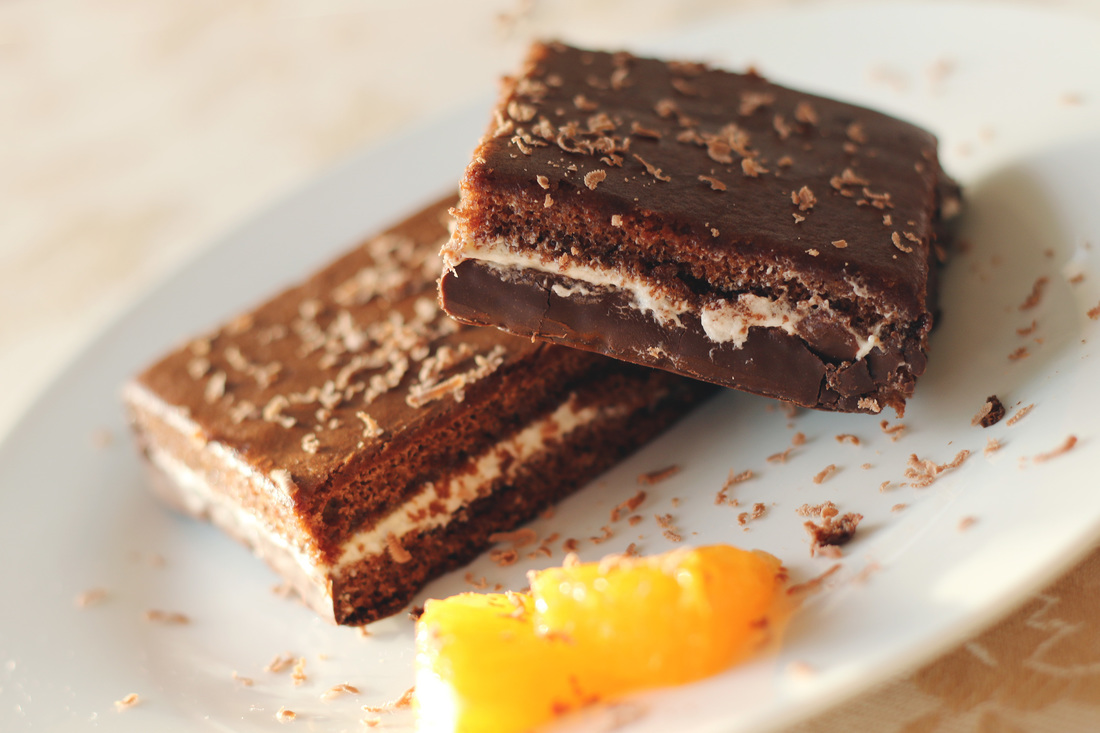 Ingredients:
Directions:
This gluten & dairy free Decadent Lava Cake is the perfect dessert for any holiday or date night. As our pregnancy is almost half-way (whaaaaaaaat? crazy!), we've been scheduling many date nights. . 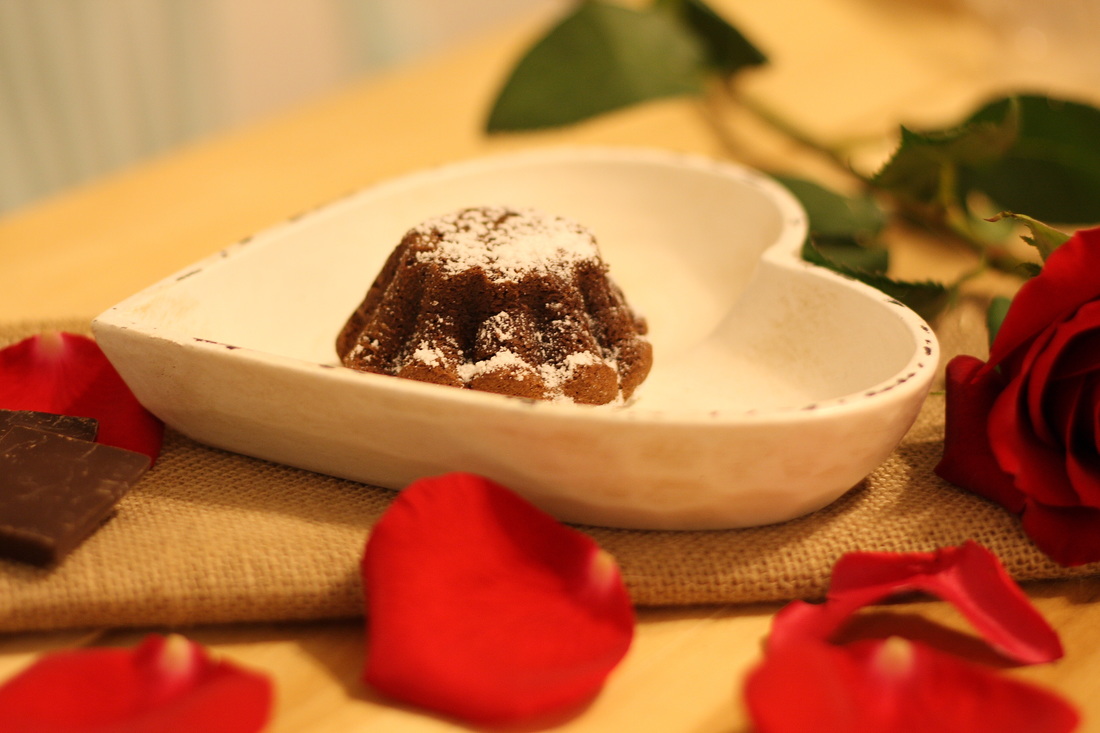 When it comes to date nights & culinary delights, I try to cook up a special dinner and bake something delicious that is gluten-free and dairy-free, (and when I can, refined sugar free) because it’s hard to go out with a limited diet. My husband and I usually stay in and have a picnic by the fire and then go out to do something fun like catch a movie, go to the arcade or check into to a local resort for a weekend staycation. For tips on how to have an affordable getaway, check out my post on budget-friendly retreats. This amazingly delicious gluten and dairy free lava cake has a delicious and warm ooey-gooey surprise inside and looks extra fancy when topped with a light sprinkle of confectioners’ sugar. Serve warm with a side of dairy-free vanilla ice cream, fresh organic berries or a glass of bubbly champagne. 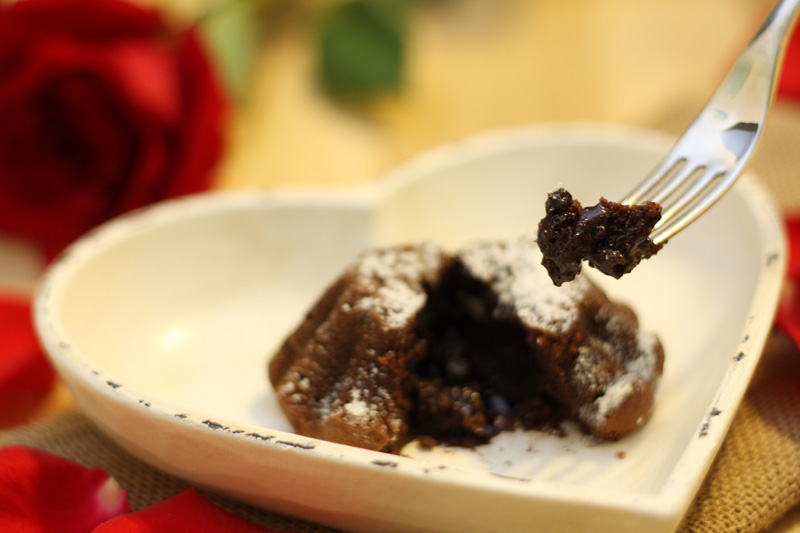 INGREDIENTS 4 oz. dairy free dark chocolate 2 tbsp. honey ½ tsp organic vanilla extract 2 eggs 1 tbsp. almond flour 3 tbsp. coconut oil 1 tbsp. sugar-free cocoa powder dash of sea salt INSTRUCTIONS Preheat oven to 375 degrees. Lightly grease four small ramekins with dairy-free butter or coconut oil spray and give a light dusting with cocoa powder. Melt dairy-free chocolate with coconut oil in a small sauce pan and set aside. In a medium sized bowl mix eggs, honey, vanilla and sea salt. Add almond flour and cocoa powder and fold ingredients together until smooth. Divide the batter among the ramekins and place on a baking sheet. Bake for 10-12 minutes and serve warm.
Fall has just officially arrived in Arizona. I say just simply because since September 21st, the first "official day of fall" to all other U.S. states but us desert dwellers, it's averaged about 108 degrees during the day. But since last week it's been a steady, refreshing 70-80 and I couldn't be happier.
Today I actually got outside for a workout, took the pup on a walk and spent the evening baking. That's the other thing about fall. The baking. Oh, the baking. 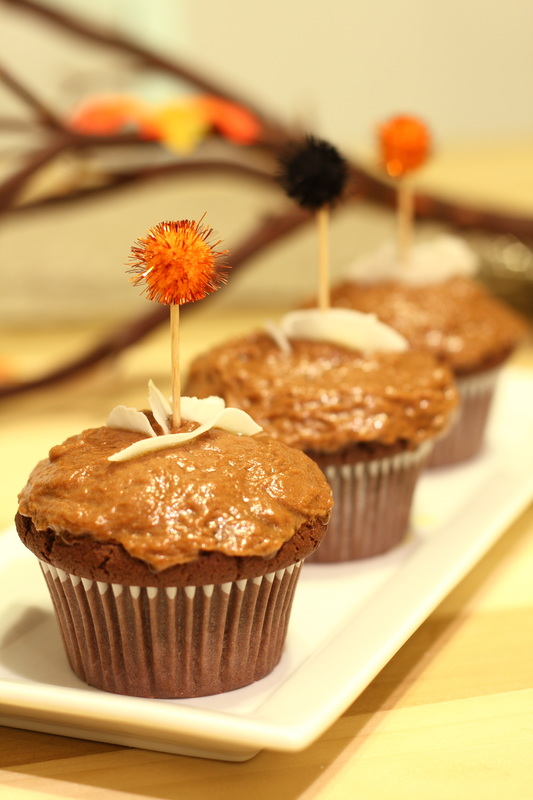
Mr. Charming and I have had a lot to celebrate as of late, and although we are planning on cutting out grains and all sweets for a while again as we continue our TTC Journey, we are both celebrating new jobs, I recently graduated school for Personal Nutrition, we found a new bible study home and the holidays are around the corner.
And that always calls for celebrating. So naturally, cupcakes. When I was in Las Vegas for the FABlog Conference, I met the lovely Soy Nut Butter Company and got to sample some yummy products. You may remember my Pumpkin Maple Granola from last fall using their nut-free granola after a lot of readers requested more nut-free recipes. I use soy in moderation, (a good gluten-free soy sauce on my takeout recreations is a must) and I only use Non-GMO soy when I do. I.M Healthy, the company that created Soy Nut Butter makes delicious non-nut butters from roasted soybeans that taste extremely close to classic nut butters but are safe with kiddos with nut allergies. They are also low in sugar, have zero sodium and can be used in a variety of ways.
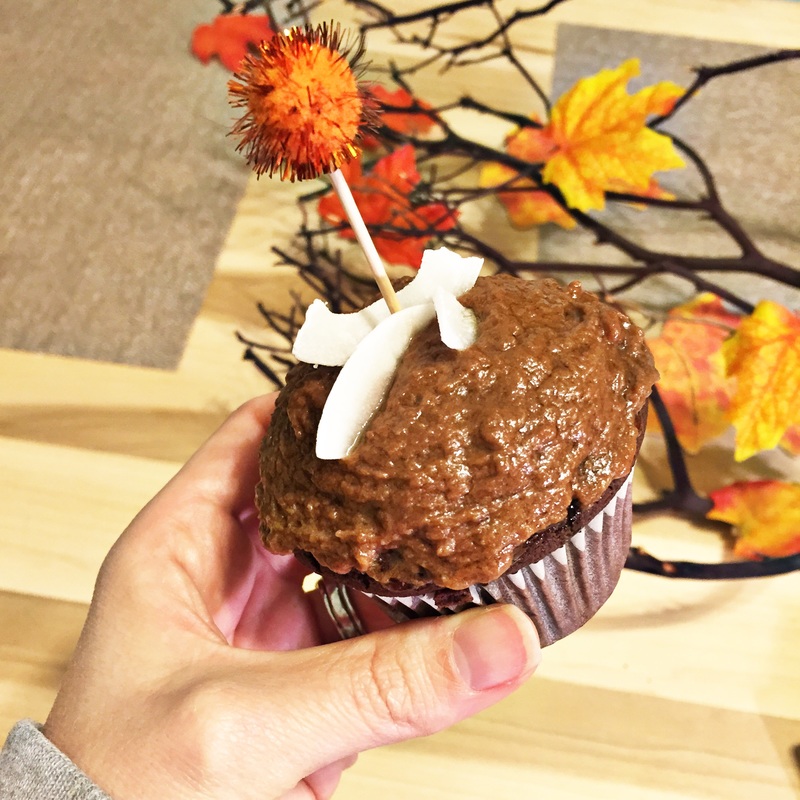
Instead of using my jar of Chocolate Soy Nut Butter as a simple spread, I was inspired to create a frosting, and with some simple experimentation, my German Chocolate Cupcakes were born. They are rich and chocolaty and make the perfect fall treat.
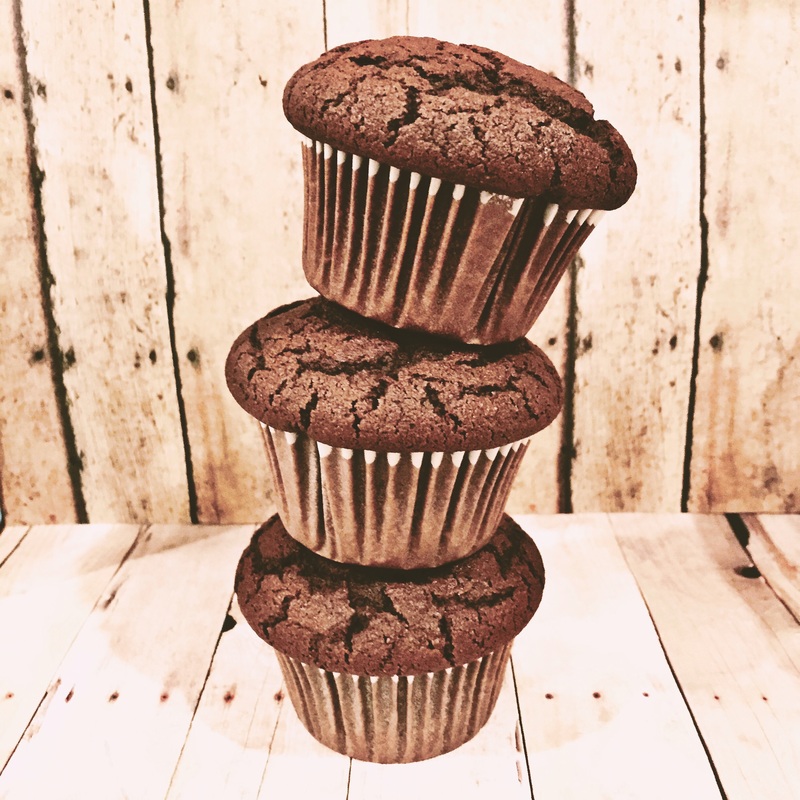
For the cupcake you can use a traditional gluten-free chocolate cake box mix (just watch the sugar content) or for a healthier option you can use my Paleo coconut flour chocolate cupcake base. For foodies who can tolerate almond, you can also use my Paleo almond flour chocolate cupcake base. This is personally my favorite when it comes to texture. In the picture I used a rice and sorghum based chocolate flour. For the frosting, which couldn't be simpler, and of course is always the best part... Ingredients: 1 C. Chocolate Soy Nut Butter - ENTER TO WIN A FREE JAR BELOW! 2. C. Coconut Whipped Cream or other Dairy-Free Whipped Cream or Cool Whip Equivalent 1 tsp. organic vanilla extract Directions: Mix thawed coconut whip and vanilla with room temperature soy nut butter with a hand mixer until smooth. Scoop into piping bag or ziploc bag and pipe onto FULLY COOLED cupcakes. Top with shaved coconut. Serve immediately or chill in fridge until ready to serve. 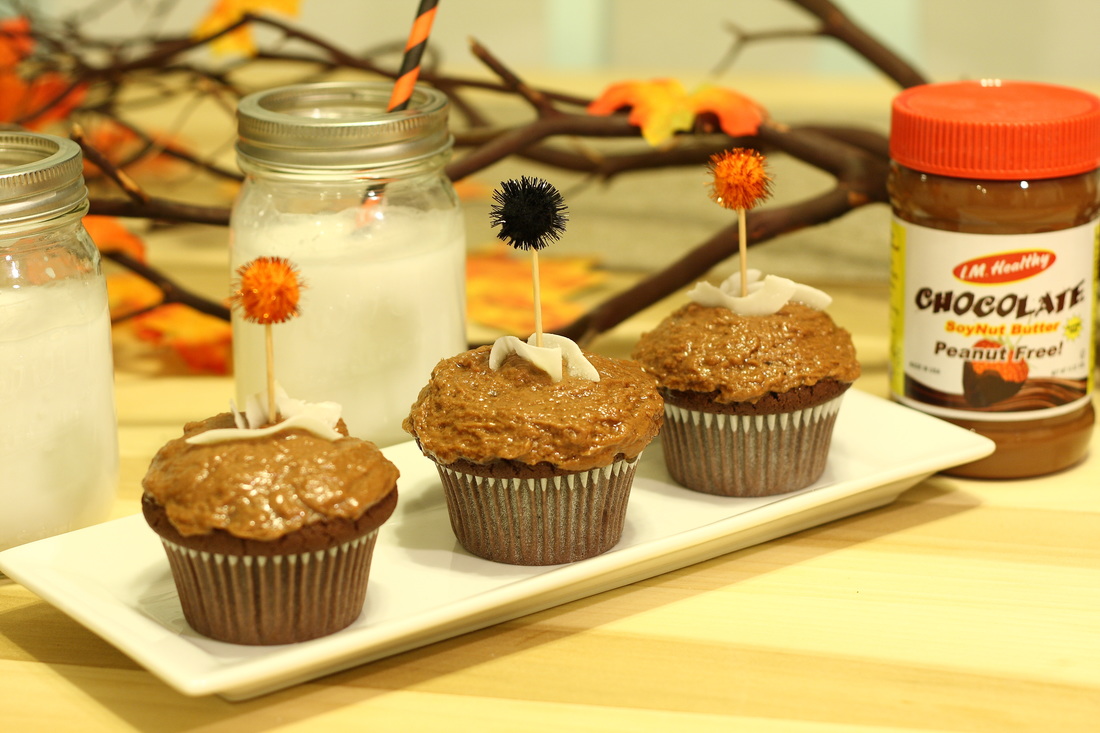
| ENTER TO WIN |
For those of you new to Rafflecopter, each activity listed above gets you a certain amount of entries to the contest! Good luck to everyone who enters!
I would love know your favorite way to use Soy Nut Butter if you've tried it before, or your favorite Fall cupcake recipe! Ingredients:
1/4 cup raw cocao powder 2 ripe avocados 3/4 cup agave nectar, Grade B maple syrup or honey 3 tablespoons coconut oil 1 tablespoon vanilla dash sea salt Directions: Combine all ingredients in your Ninja blender until creamy, fluffy and smooth. Spread on the brownies. You can also chill and serve with chopped berries & bananas for a raw treat. Ingredients:
1 cup pre-soaked almonds 1 cup pre-soaked cashews 3/4 cup raw cacao powder 1 cup chopped dates 1/8 teaspoon sea salt 1/4 cup maple syrup Directions: Combine nuts, dates, cacao and salt in a food processor until the mixture is well combined. Slowly add up to 1/4 cup maple through the top of the processor while it is running. Stop adding maple when the consistency resembles brownie dough. Press the mixture into an 8×8 glass pan. Frost and refrigerate until you are ready to serve them.
INGREDIENTS
1 sweet potato 3 eggs (or egg replacer or flax-egg for egg-free) 1/4 cup coconut oil, melted 1/3 cup honey 1/4 tsp vanilla 1/2 cup dark chocolate chips 3 tbsp coconut flour 2 tbsp cocoa powder 1/4 tsp baking soda 1/4 tsp cinnamon 1/4 tsp salt INSTRUCTIONS Preheat oven to 425F Puncture the sweet potato with a fork several times and bake for 30 minutes Remove the sweet potato from the oven and reduce heat to 350F Peel the sweet potato and mash in a bowl Add the egg, coconut oil, honey and vanilla and mix well Add in all remaining ingredients and stir until thoroughly combined Pour into a greased baking dish Cook for 35 minutes |
archives
July 2024
categories
All
|


 RSS Feed
contact
|
aboutNosh & Nurture was born of this journey I am on to better the health of myself, my family and those around me. What started as a simple compilation of recipes has grown to a all-around lifestyle journal with ways to incorporate organic products into your home, pantry and beauty cabinet. I also include stories on pregnancy, new motherhood, travel, Proverbs 31 marriage, and spiritual health, as I am a Christian who couldn't do any of this without my Lord & Savior Jesus Christ. For more of my story you can click here.
All recipes are gluten-free and dairy-free with a lot of soy-free, grain-free, sugar-free options. |
additional links
|

© 2012-2023 Nosh & Nurture. All Rights Reserved.
Website by Weebly. Photography, Graphics and Content by Mandi Pimental, unless otherwise credited.