nosh clean. nurture your soul.
  • HOME
  • NOSH
  • NURTURE
    • Homesteading
    • Homeschooling
  • TRAVEL
    • Get A Quote (Land Travel)
    • Get A Quote (Cruise)
    • Disney Vacations
    • Travel Blog >
      • Destinations
      • Eateries and Cafes
      • Travel Tips
  • The Clean Plate
  • ABOUT
  • CONTACT
  • Platinum Key

sweets

Banana Nice Cream

5/16/2022

0 Comments

 
free of everything but bananas, haha

Welp. It happened. We hit our first 100+ degree day here in Arizona and it's only May.

It's fine. I'm fine. We're fine. 

Summer heat usually puts me in a big funk (bring on alllll things fall and winter and I'm a happy girl) but the last two years have left most of us in a big funk and I am determined to inject so much joy into this year I started with healthy ice cream.

Or what is most commonly called "nice cream".
Picture

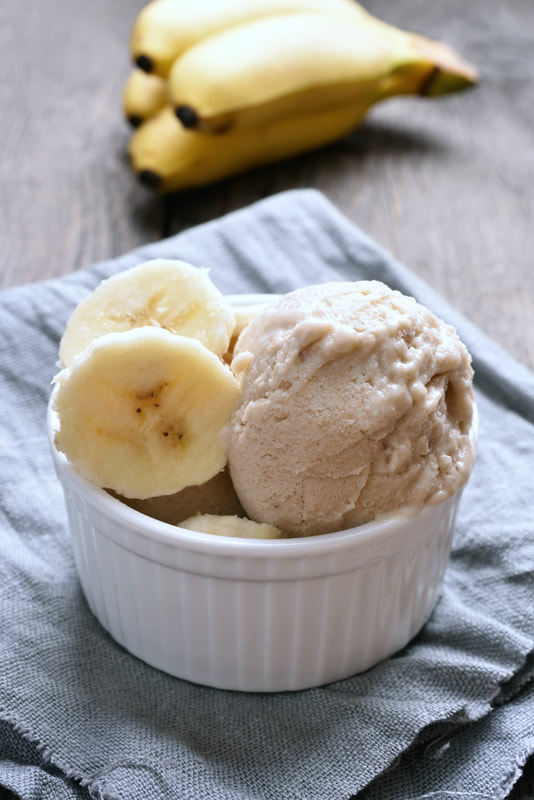
Made with three simple ingredients, this was a HUGE hit with the kids. They feel like they're getting an indulgent treat every day and we are finding a fun way to connect in the kitchen AND stay cool.

Because the good Lord above knows we will need it for the next few months. 
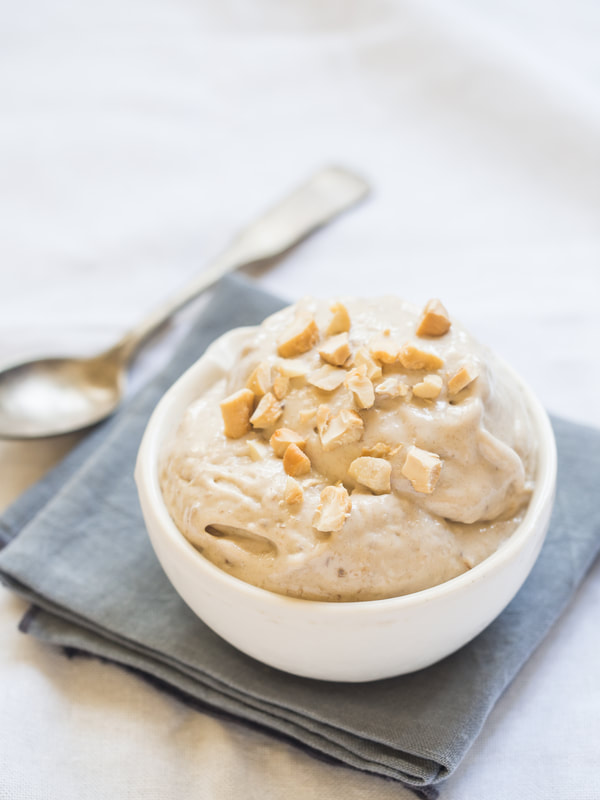
Picture

Banana Nice Cream

What You'll Need
  • A high-powered Blender or Food Processor (we use the Ninja and LOVE it)
  • 6-8 Bananas, peeled, coined and frozen
  • 1/8 C. dairy-free milk of choice
  • 1 tsp. vanilla

How To Make It
  • A day ahead, peel and cut your bananas. (If you use bagged frozen banana slices you can skip this step!) 
  • Lay them in a single layer on a baking sheet covered in parchment and freeze. This will ensure the best texture for your Nice Cream. 
  • Place frozen banana slices, milk and vanilla in your blender and blend on medium-high until you reach the perfect Nice Cream consistency (as pictured above).
  • Top with fresh banana, chocolate shavings, crushed cashews or fresh berries! 


Do you have a favorite Nice Cream flavor? We also did  a batch of Cinnamon Roll that I will add to the blog soon too!

​ We just got new popsicle molds and are on the hunt for a good ice cream maker and we have SO many ideas for this season!

Share your favorites below! 
0 Comments

S'Mores Pie Pops

2/11/2020

0 Comments

 
This morning was an absolute blast! To see our segment and how to make these live you can see our clip on our channel by clicking here! 

I was invited on AZ-TV 7's morning show, The Arizona Daily Mix, to present a recipe for #NationalChocolateLoversMonth, so along with Wholly Wholesome we whipped up these easy, family friendly and wholesome S'Mores Pie Pops just in time for Valentine's Day. 
Picture

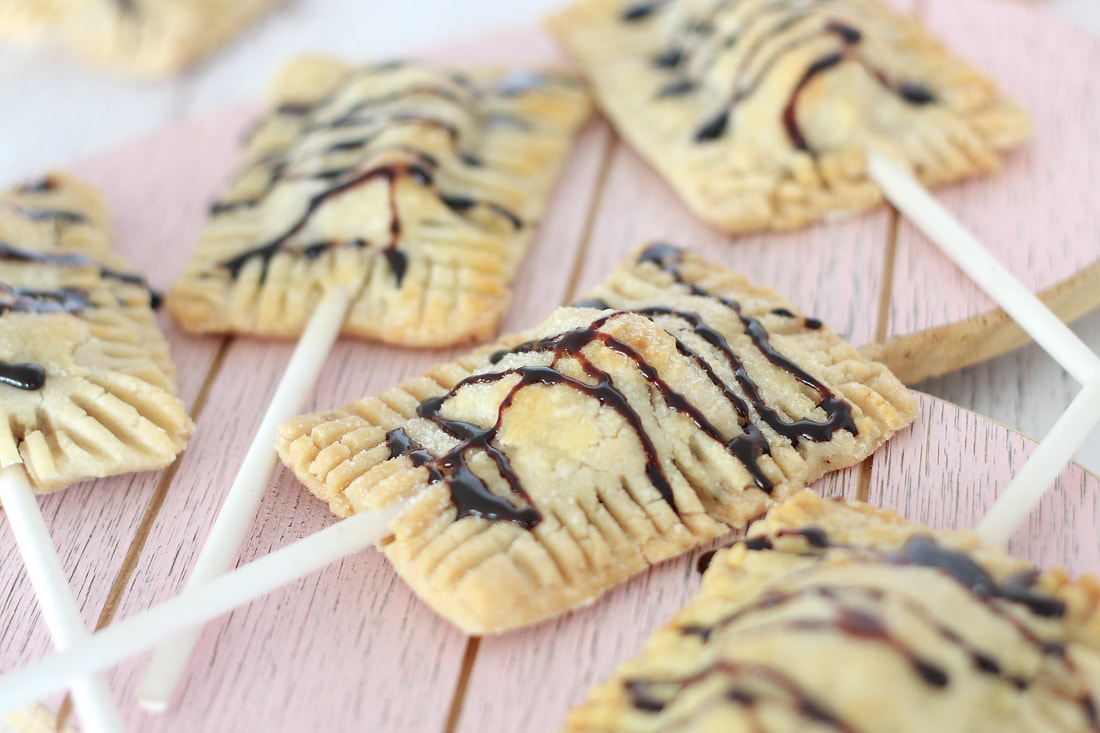
The set environment was really fun and even Grey and Doug got to tag along and hang in the green room to watch all of the action. Brad Perry was super sweet and the segment aired at 8:45 on channel 7 in AZ. 

In honor of National Chocolate Lover's Month these S'mores Pie Pops are kid-friendly, vegan, gluten-free and DE-LICIOUS. 

My easy recipe is below, along with where you can get Wholly Wholesome ready-to-bake products as well as Blissfully Better Chocolate, a low glycemic chocolate sweetened only with coconut nectar! 
Picture
Picture

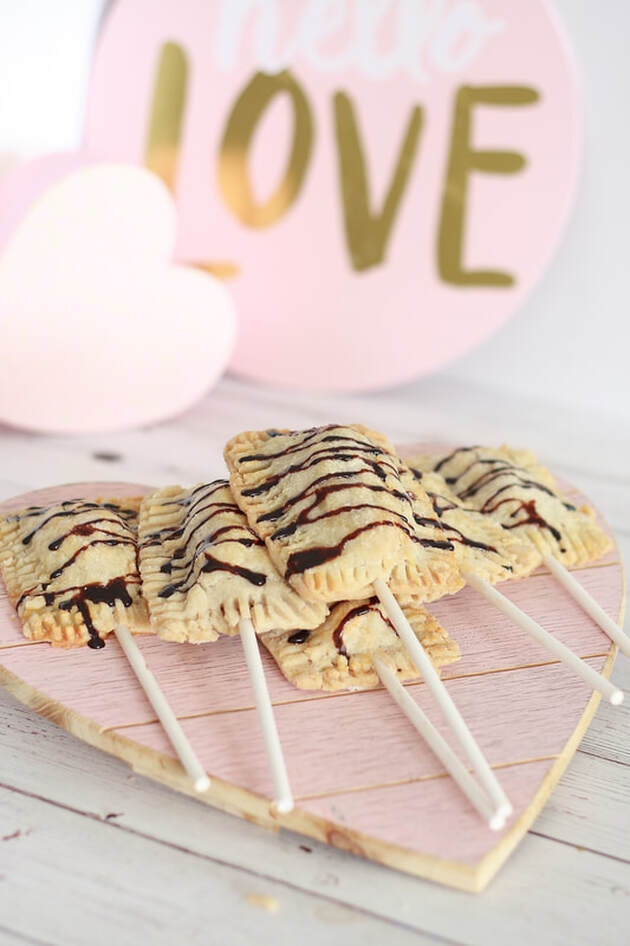
S'mores Pie Pops


Ingredients

  • 1 Package of Wholly Wholesome Pie Crust
  • 1 C. mini marshmallows
  • 4 oz. vegan chocolate or Blissfully Better low-glycemic chocolate
  • 1 egg white (omit if vegan or egg allergy)
  • 1/8 C. sugar for sprinkling
  • 1/2 C. GF flour for dusting surface
  • Avocado Oil (for your baking sheet)
  • Vegan chocolate sauce to drizzle (optional)
  • 4 Cake Pop Sticks


Directions
  • Preheat oven to 375 degrees and lightly grease your baking sheet with avocado oil.
  • Transfer your thawed pie crusts (use both in the package) to a well floured surface and roll out. 
  • Using a rectangle cookie cutter or with a knife, cut 4 rectangles, gather scraps, roll out once more and cut 4 more rectangles.
  • Lay out your first four rectangles and place a cake pop stick about half the way up. 
  • Layer the centers of the rectangle with chopped chocolate and mini marshmallows.
  • Place your additional 4 rectangles a top your stuffed pops, press down edges and seal lightly with a fork. 
  • If your fork sticks, you can use a little avocado oil on your fork to keep it from sticking in your pie crust. 
  • (Optional) Brush with an egg wash to give it a golden top and sprinkle with organic sugar or coconut sugar. 
  • Bake for 12-15 minutes or until golden brown.
  • Wait to cool COMPLETELY before transferring on cake pop sticks to a container or serving tray or your stick will come out. 
  • Enjoy with chocolate drizzle! 


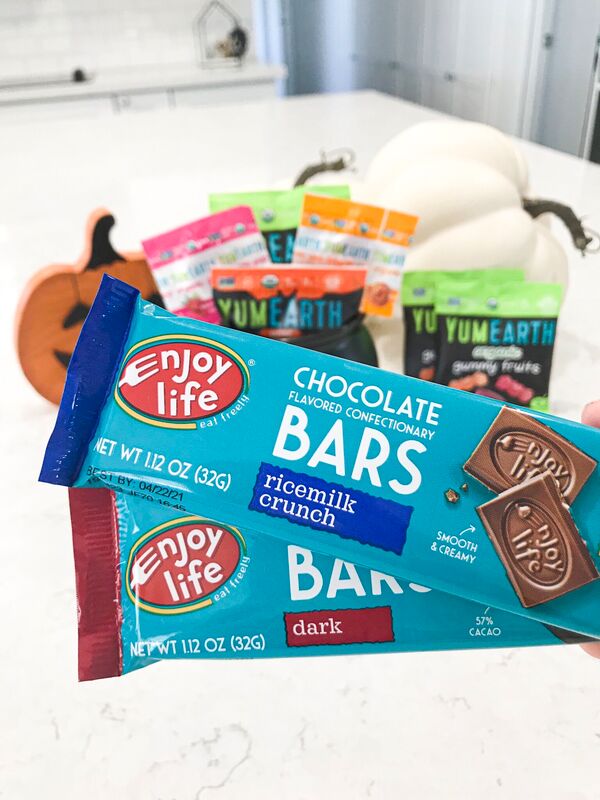
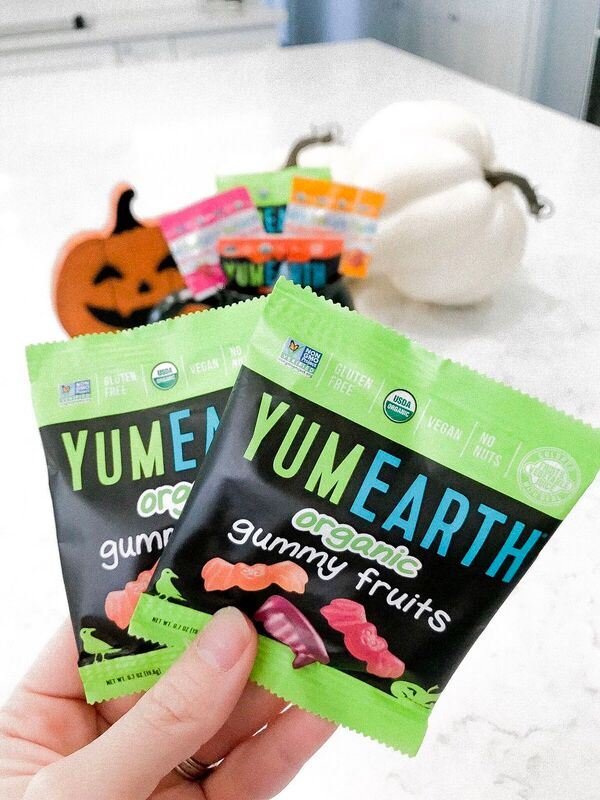
You can find more Wholly Wholesome goodness at www.WhollyWholesome.com. 

Blissfully Better Chocolate can be located through Blissfully Better.com. 

What chocolate treats are YOU celebrating with this month?

More Posts Like This

Double Chocolate Frosted Cake Donuts
Chocolate Chip Cookie Dough Bites
Banana Chocolate Chip Muffins
0 Comments

How To Give a Bountiful and Boo-Worthy  Candy Haul That's Healthier and Safer

10/16/2019

0 Comments

 
Picture

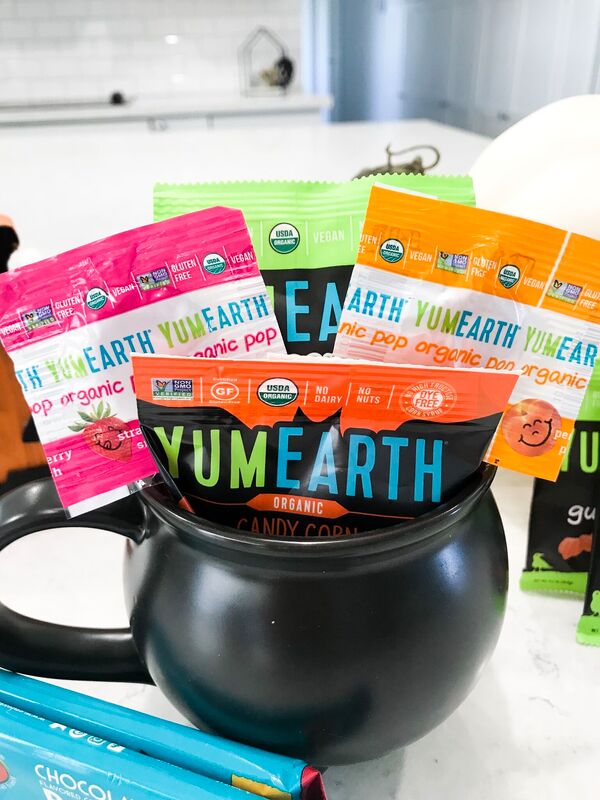
As a mama who strives to make better choices for my family year round, I've been frustrated in years past when it comes to finding a balance of avoiding all that's unsafe for my son's body (food dyes, artificial flavoring, and ingredients I just don't feel great about such as gluten, dairy or possible GMO ingredients) and allowing him to feel like he got to have a fun holiday. 

Now, we are BIG promoters that holidays are NOT about candy. That they aren't about food or treats in general, but as he gets older and participates with family and friends, I do allow him to have fun and have some treats. Thus the inspiration for this post. 

I wanted parents, grandparents, teachers and anyone who will be treating kids to candy this season to a guide to all of my favorites as well as a couple of tips to keep your kids safe. 
Picture
Picture


Safer Candy + Treat Options
​


  • ZOLLIPOPS
    Sugar-free, gluten-free and GOOD FOR KIDS TEETH, these amazing candies are the brainchild of kidpreneur Alina Morse. Her line includes lollipops, candy drops and taffy. 


  • BLACK FOREST
    If you, like me, are a Gummy Bear fan, Black Forest offers Gummy Bears (in traditional and exotic flavors) and Gummy Worms that are free of artificial colors, gluten or dairy. They are also organic and come in individual wrapped packages, perfect for trick or treating. 


  • YUM EARTH
    My dad is the biggest black licorice fan I know and the taste for it passed down to our son. Yum Earth offers organic, gluten free black licorice and fun flavored lollipops (like peach and pomegranate!). They are also allergen friendly and dye free! 


  • WHOLESOME
    For the Swedish Fish fan, Wholesome offers Organic DelishFish - they are vegan and free of food dye. 


  • SMART SWEETS
    ​A fun one for kiddos, Smart Sweets created their own version of a Sour Patch Kid and Swedish Fish, each with only 3 grams of sugar!


  • ENJOY LIFE
    Your go-to for chocolate bars - because what kid doesn't love full size and mini size candy bars? Our favorite is the Rice Milk Crunch, but they are also available in rice milk and dark chocolate. 


  • JUSTINS
    Clean Peanut Butter Cups. Enough said. 


  • OCHO
    When I was a kid Almond Joys were my absolute FAVORITE. If my Halloween haul included these babies, I was a happy little girl. Now that we are a dairy free family that is concious of ingredients, I was ecstatic to find Ocho's almond and coconut bars. Made with dairy free dark chocolate, and a much purer taste, I'll be sneaking a few of these for myself. 


  • FREE2B
    For those that can't have peanut, and even if you CAN tolerate peanut I HIGHLY suggest trying these, Free2B makes nut-allergy safe SunCups. Sunbutter Cups in Milk Chocolate and Dark Chocolate. 


  • LITTLE SECRETS
    Food-dye free, allergen friendly M&M and Reeses Peeses style candies? SIGN. ME. UP. Keep an eye on the labels, as some DO have milk, but not all! I found a dairy-free dark chocolate variety that hits the spot! Perfect to put out in ceramic pumpkins and cauldrons at parties, these are the perfect size treat to indulge just a little. 


  • COCOMELS
    Is your favorite childhood candy the Milk Dud? Cocomels makes dairy-free, allergen friendly chocolate covered balls of coconut milk caramel goodness. They also have individually wrapped coconut milk caramels in various flavors. 


  • ALTER ECO
    Truffles are the grown trick or treaters delight. While the kiddos are rummaging through their sweet and safe trick or treat swaps, parents can unwrap an Alter Eco Truffle. 
    ​

Tips To Making Holiday Treat Safety Easy
​


  • SWAP THE BAG
    Our number one post trick or treating tip is the bag swap. Because we only allow candy from the above list, we have a bag with a mix of the above varieties ready to go to swap out. We get rid of all candy gathered while out (never worth the risk to us) and he's safe to sample as he wishes from our provided mix. 

  • TAKE A FEW PIECES/BAGS OUT WITH YOU
    When we are trick or treating, I always stash a few safe lollipops or gummies, so that when Grey's family or friends are sampling their candy haul along the way, I can give him one to have as well. 

  • LET FELLOW PARENTS/PARTY HOSTS KNOW YOUR ALLERGIES
    If your child will be trick or treating with others, or will be going to a party, let the host or parents know your childs allergies so that can make sure to keep them safe and not allow them to be exposed to allergens. 

  • PLACE A TEAL PUMPKIN ON YOUR PORCH
    This is a Non-Food option. By placing a Teal Pumpkin on your porch, you are letting trick or treaters and their families know you support food allergy families and will provide a non-food item for their trick or treaters. 

  • KEEP IT ON HAND
    In our home, we always keep a few of these brands on hand. While we aren't a bigger sugar household daily, there ARE special occasions where chocolate, gummy worms or caramels come in handy. From preschool crafts to baking dishes, hot cocoa mornings or game nights with friends, its always good to have something on hand that we can feel good about eating. 
Picture
Picture
0 Comments

Vegan Fourth Of July Cookie Pie

6/30/2019

0 Comments

 
vegan - gluten free - soy free - nut free 

Picture
Summer and me have a love/hate thang. On the one hand we get swimming, beach days, staycations, all the popsicles we can take, celebrating our independence and sunshine into the late evening

On the other we get temps hitting 115. And all the bugs. 

So I’m all about making happier moments INDOORS when it’s positively scorching outside and getting into the kitchen with my little sous chef was a perfect summer activity.

He loved helped molding the BIGGEST cookie he's ever seen, helping me spread on the cream cheese frosting and placing the berries. When it came to the whip cream dollops, I think he ate more than he placed haha, but such is true with toddlers.

This recipe is extremely kid friendly from prep to enjoying a slice with a tall glass of icy lemonade and we will definitely be making again, fourth of July or not. 

Vegan Fourth of July Cookie Pie
​

Ingredients
​
  • 12-16 oz GF/DF sugar cookie dough (refrigerated)
  • 8 oz softened vegan cream cheese 
  • 1/8 c sugar
  • 1 teaspoon vanilla 
  • Vegan whipped topping (I use almond milk Reddi Whip) 
  • 12 oz organic raspberries  2 c. organic blueberries 


Instructions

  • Preheat oven to 375 degrees.
  • Open tube or pack of cookie dough and place on a lightly greased 12 inch pizza pan and roll or press into an even layered circle. (You may use a pie tin or large bowl to get a perfect circle)
  • Bake cookie crust 11-12 minutes until lightly browned.
  • Cool cookie completely. 
  • Beat cream cheese, sugar, and vanilla together until smooth. 
  • Scoop cream cheese mixture onto the cookie crust once cooled and spread it to the edges. 
  • Use blueberries to outline the pizza and create the blue portion of the flag. 
  • Use raspberries to create your flag stripes. 
  • Use your vegan whipped cream to create dollops in between rows of raspberries.
  • Keep in fridge until ready to serve.
Picture
0 Comments

Rice Krispy Treats - Labor Day Edition!

8/30/2018

3 Comments

 
Picture
One of my FAVORITE treats as a kid were Rice Krispy Treats. Gooey, sweet and ever-so-addicting, we didn't make them often because they'd get gobbled up in record speed. Surely, my parents didn't want me and my sister high on sugar as much as I don't want my kid zipping around all crazed on sweets. 

But today was another 105 degree day and I was blanking on any preschool lesson since I'm slowly putting together our Fall curriculum, so into the kitchen we went. Educational, I get content for the blog and we get a treat at the end. Sounded like a wonderful way to spend a Thursday to me. 

That, and I found patriotic straws in the drawer and BAM! these became a dessert for Labor Day that is this coming long weekend. 
Picture
Picture
If you are lacking star spangled straws, fear not, these babies are JUST as festive, beautiful and delicious sans prop. 

And in true Nosh and Nurture fashion these are not the Rice Krispy Treats of our youth. With Dandie's Marshmallows (not sponsored, just love these little things) the marshmallows are corn-free. The cereal I used is an organic brown rice variety that I picked up at Sprouts because I don't care for the additives and folic acid found in the popular mainstream white rice cereal traditionally used in these. 

I also used an organic coconut oil and vegan butter to get them to be ooey gooey and pure perfection. 

I can attest that the little ones will love these as much as I did as a kid. Grey even posed his perfect little hand in the photo and I had a proud food blogger mommy moment haha. He literally gets cuter every day. 

What was your favorite childhood treat and have you found a way to improve upon it now that you're an adult?
Picture
Picture
Picture
Picture

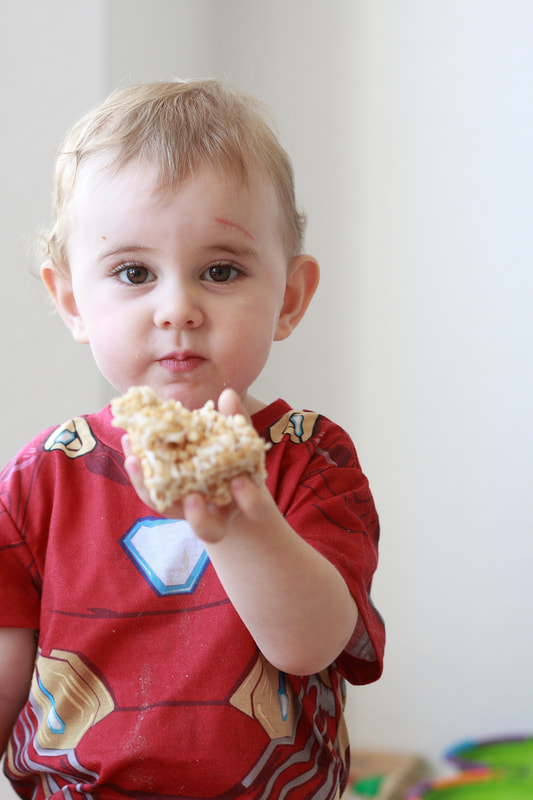
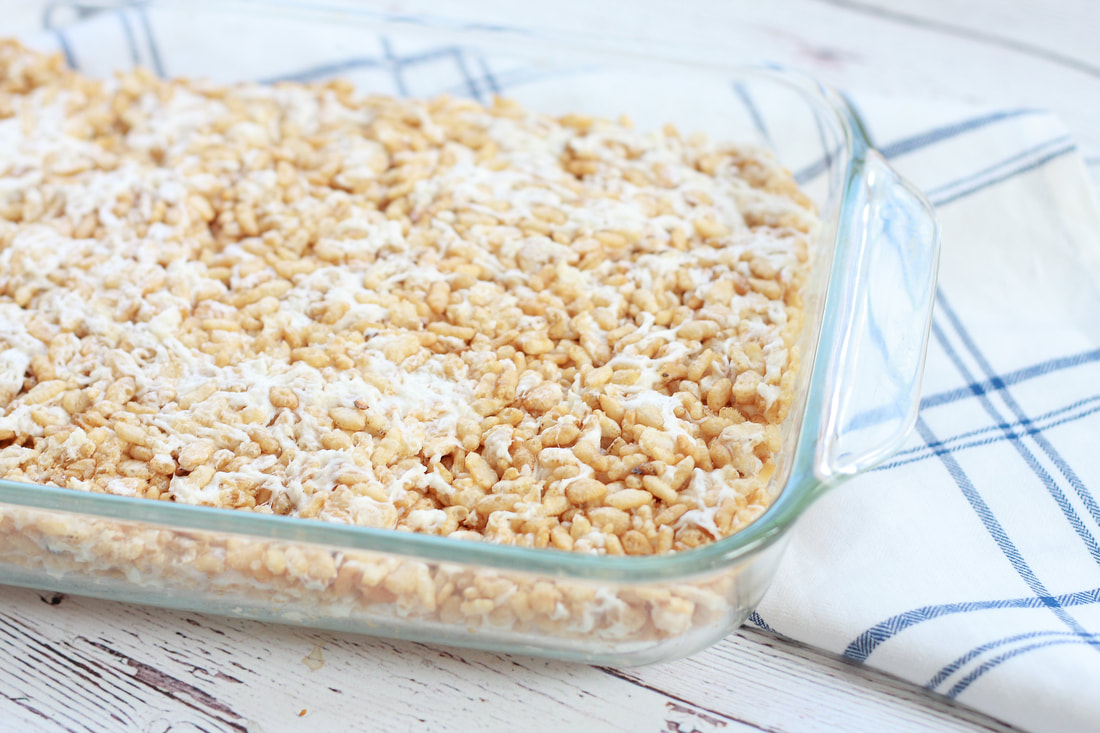
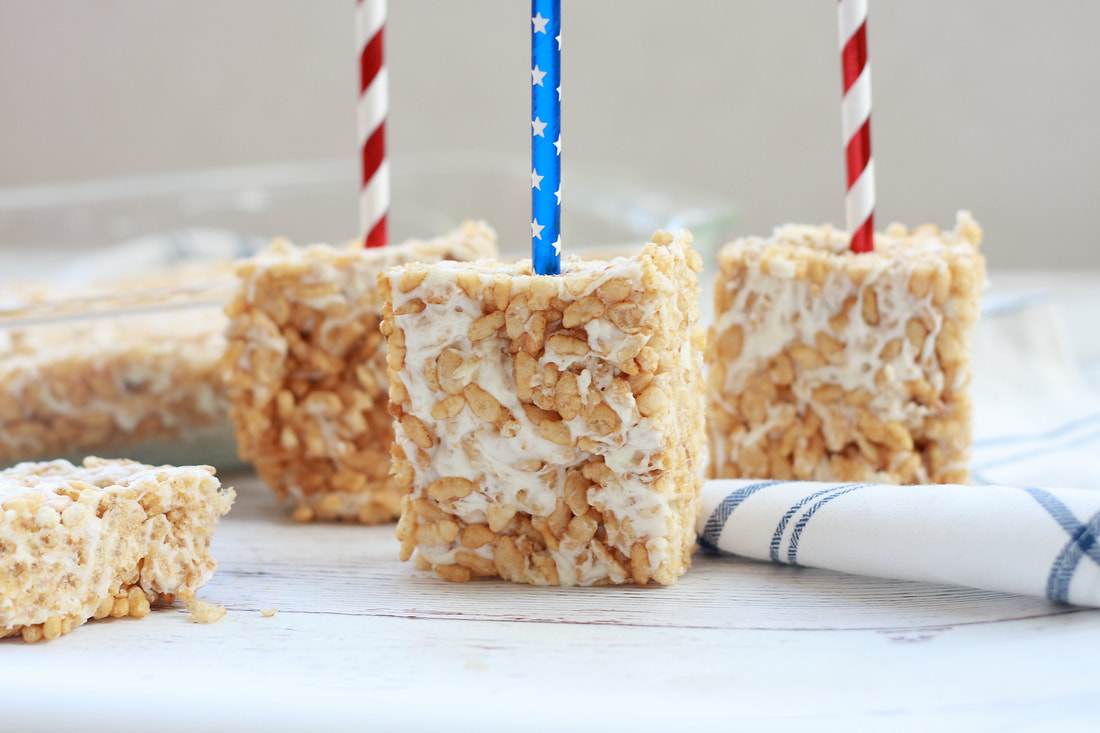
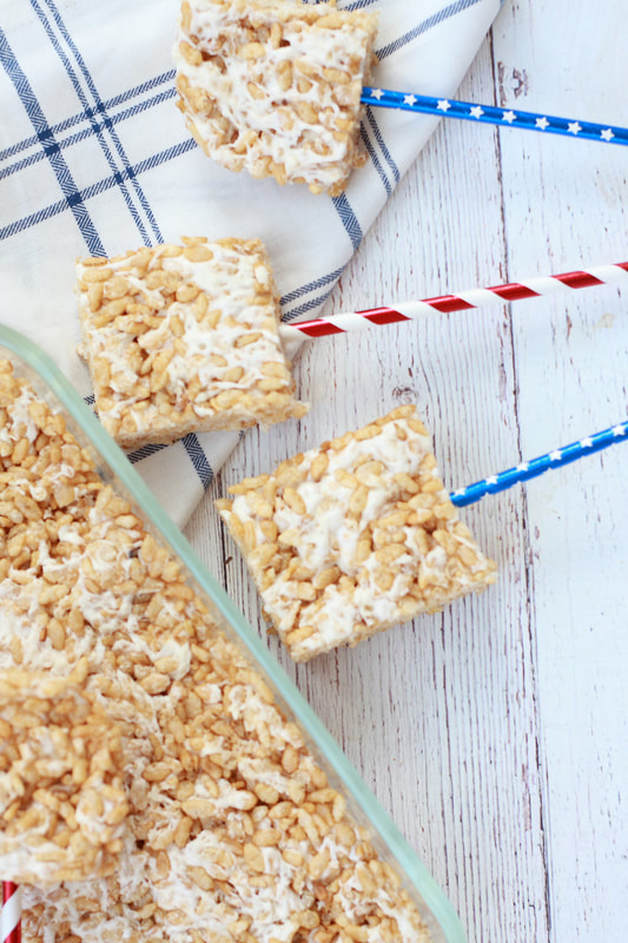
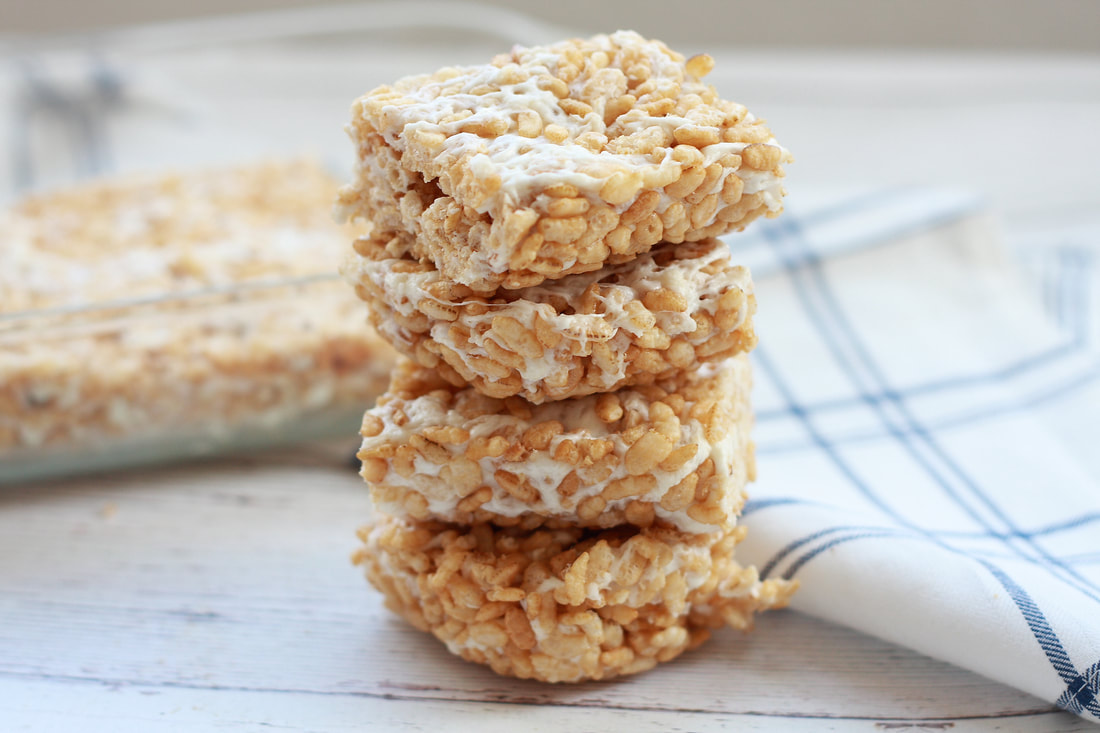
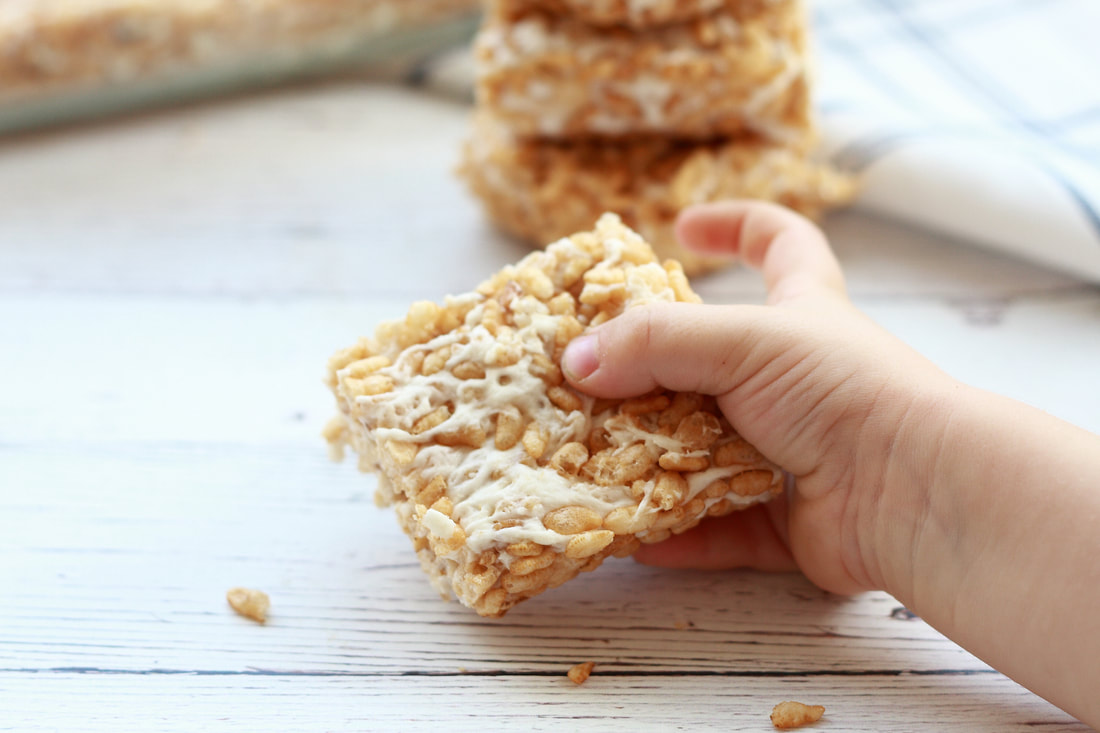
Rice Krispy Treats - New & Improved!

INGREDIENTS
  • 1 Bag of Dandie's Mini Marshmallows
  • 5 C. Organic Brown Rice Cereal
  • 2 TBSP. Vegan Butter
  • 2 TBSP. Coconut Oil
DIRECTIONS
  • In a large microwave safe bowl (I used glass), place coconut oil, butter and bag of marshmallows.
  • Heat on high in microwave for 35 seconds. 
  • Stir, and heat in 30 second increments until marshmallows are melted.
  • Stir in brown rice cereal until completely mixed. 
  • Place mixture into a 9x9 glass pan and press down. 
  • Once cooled (I put it in the refrigerator for ten minutes and then set it out on the counter before cutting), cut into squares and enjoy!
  • Seal and store additional treats to enjoy within the week. 
3 Comments

Creamy Watermelon Popsicles

8/3/2018

0 Comments

 
In celebration of #NationalWatermelonDay with WTRMLN WTR, these coconutty and creamy watermelon popsicles are perfect for a hot summer day for adults and kids alike. My little guy devours these and we love to enjoy them at home or by the pool. 
Picture
Picture
INGREDIENTS: 
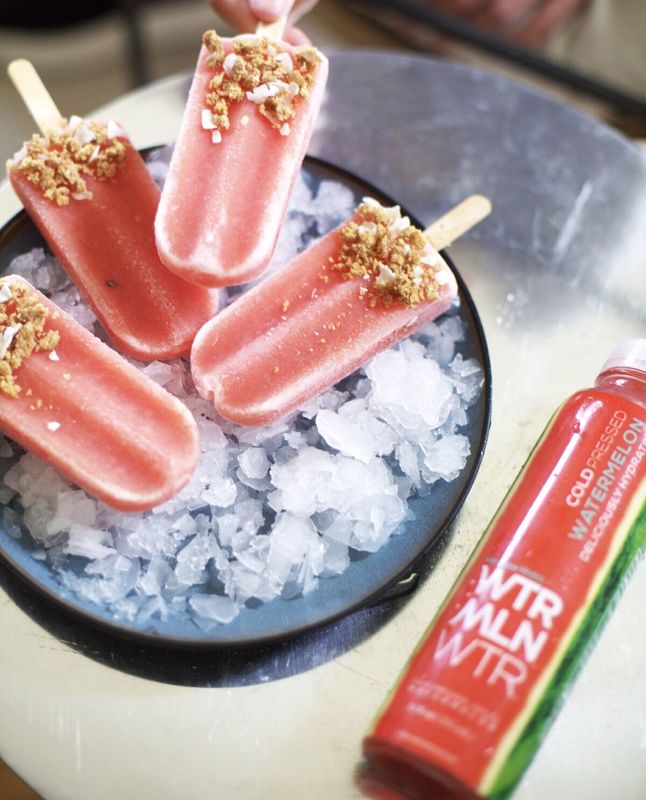
1  +  1/4  cup  cup  fresh  watermelon  slices 
½  cup  WTRMLN  WTR   
½  cup  coconut  milk 

PREPARATION: 
Puree  1  cup  of  chopped  WTRMLN  slices  with  ½  cup  WTRMLN  WTR  and  pour  into  popsicle  molds  so  molds  are  2/3  full. 
Freeze  for  30  minutes  and  pour  chilled  coconut  milk  on  top  of  frozen  watermelon  blend. 
​Top  with  remaining  watermelon  slices  and  freeze  for  an  additional  30  minutes.  Rinse  molds  under  warm  water  to  release  popsicle, add dried or toasted coconut for crunch  and  enjoy  somewhere  near  a  pool  or  beach.    
0 Comments

Vegan Maple Pumpkin Pie

12/26/2016

0 Comments

 
Vegan Maple Pumpkin Pie | Nosh and Nurture

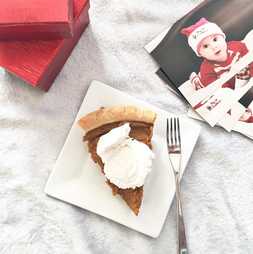
​Our first Christmas with little Grey was pure sweetness.Enjoying going through all of his photos and still making our way through opening our Christmas packages, because, new parents and the activities apparently take a lot longer to accomplish, haha. 

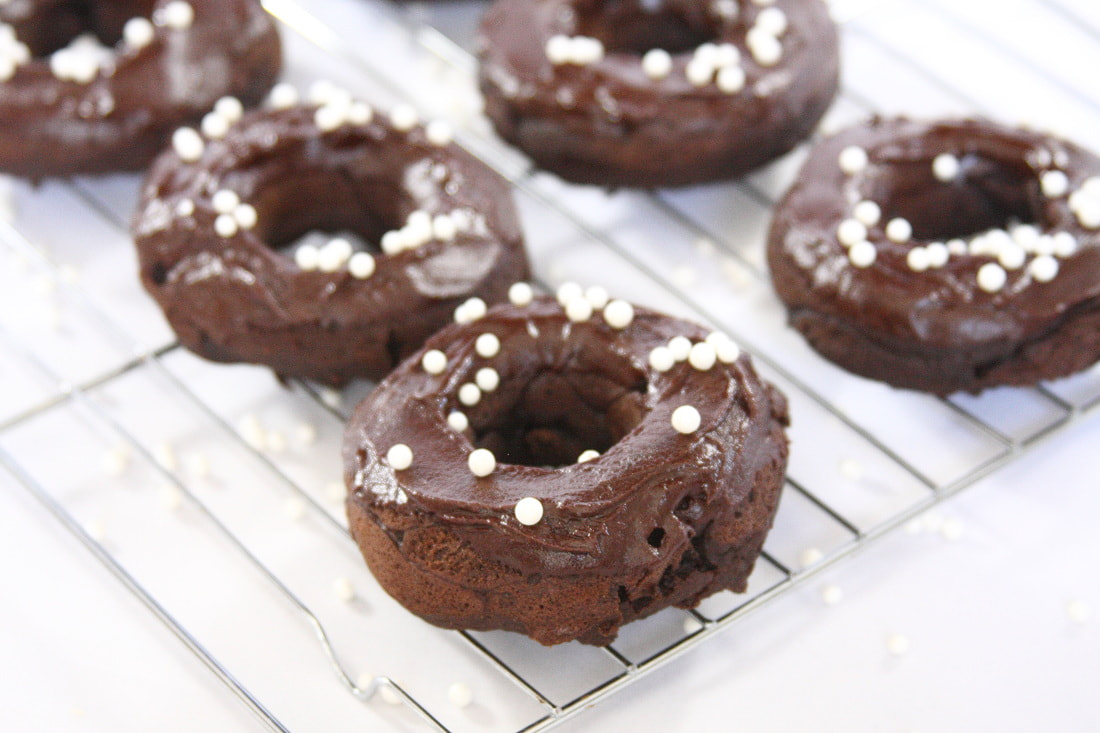
And speaking of sweet, this pumpkin pie was the perfect finish to a delectable Paleo Christmas feast.

​Sweetened with maple syrup and warm coconut sugar, this gluten-free and vegan Pumpkin Pie tastes just the real thing. 

Ingredients

1 1/2 Cans Organic Pumpkin
1/8 C. Maple Syrup
1/8 C. Coconut Sugar
1/2 tsp. Sea Salt
2 1/2 TBSP. Tapioca Starch
1 TBSP. coconut oil
1/3 C. Coconut Cream 
1 tsp. Vanilla Extract
1 tsp. Cinnamon
1/2 tsp. Ginger 

Directions

Preheat oven to 350 degrees.

Mix all ingrendients in a bowl with a hand mixer until smooth. 

Pour into premade or homemade gluten-free pie crust. (I use Wholly Wholesomes Gluten-Free crust)

Bake at 350 degrees for 35 minutes. Allow to cool and put in fridge overnight to set.

Serve with coconut whip cream. 
0 Comments

Coffee Granita

12/23/2016

0 Comments

 
Gluten Free - Grain Free - Vegan - Soy Free - Egg Free - Nut Free

Picture
Ingredients: 

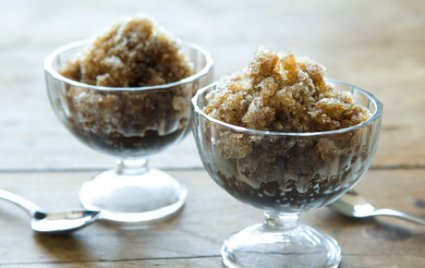
9 tablespoons ground espresso beans
5 tablespoons coconut sugar 

Directions: 
  • Brew fresh, strong coffee with 5 cups water and espresso. Transfer hot coffee to a cake pan or shallow bowl, add sugar and stir until dissolved. Taste coffee and add more sugar of desired. 

  • Set aside to let cool slightly then freeze, uncovered, for 1 hour.
  • Gently rake a fork across the surface of the coffee, breaking up any ice crystals in the middle and around the edges. Freeze 45 minutes more then repeat process with fork. Repeat freezing and raking process 2 more times until all of the coffee is frozen into flaky crystals. Spoon granita into bowls and serve as a refreshing dessert to your meal. 
0 Comments

Chocolate Banana Coconut Cubes

7/9/2016

0 Comments

 
dairy free - gluten free - soy free - nut free (aside from the coconut) - refined sugar free

Enjoy a cube of this decadent cake with coffee in the morning, tea at night or as a mid-day snack. The sweetness comes from bananas and dates, while the richness comes from light coconut milk.

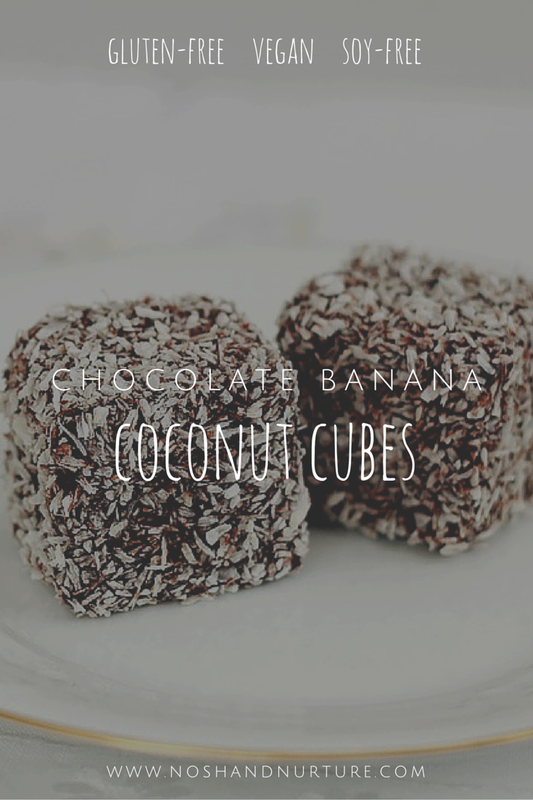
This treat is especially helpful to those of us in our last trimester of pregnancy, as the dates can help prepare our cervix for a smoother natural birth. 
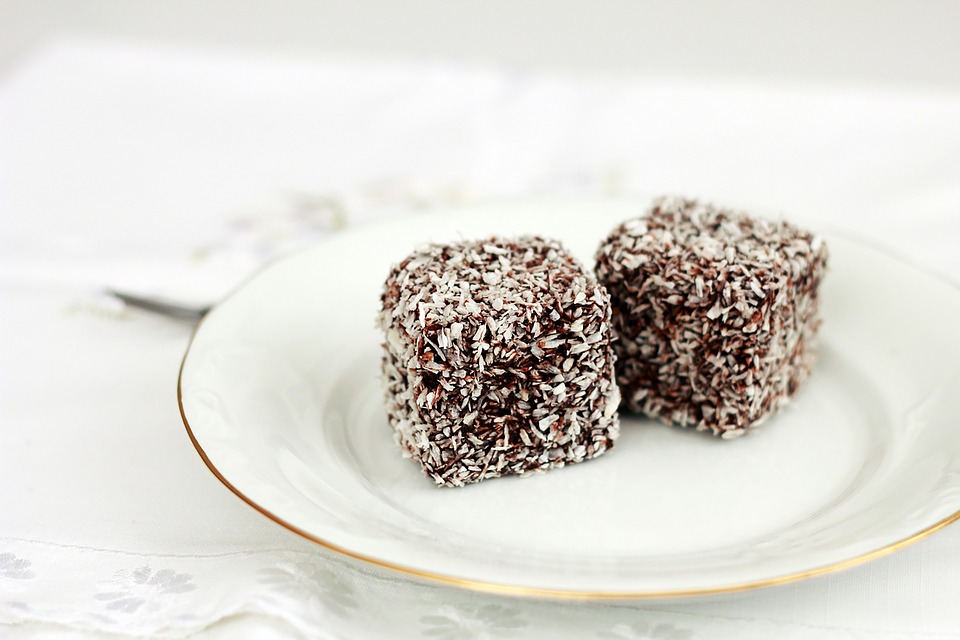
Chocolate Banana Coconut Cubes | Sweetened With Dates | Nosh and Nurture

Ingredients: 

1/2 cup unsweetened cocoa powder
1 cup gluten-free oat flour
1 cup gluten-free all-purpose flour 
1/4 teaspoon sea salt
1 teaspoon cream of tartar
1 1/2 teaspoon baking soda
4 very ripe bananas
4 ounces dates (about 8 large), pitted and roughly chopped
1/2 cup light coconut milk
2 teaspoons pure vanilla extract
1/4 cup shredded unsweetened coconut


Directions:

  • Preheat the oven to 375°F. Line an 8-inch square baking pan with parchment paper and set aside.
  • In a large bowl, whisk together cocoa, both flours, salt, cream of tartar and baking soda. Whisk thoroughly to eliminate any lumps. Set aside.
  • Add bananas, dates, coconut milk, 2 tablespoons water and vanilla to a blender. Blend until dates are chopped very small and the mixture is thick and smooth, About two minutes.
  • Make a well in the center of the flour mixture. Pour in the banana mixture and fold the wet ingredients into the dry ingredients until just combined, taking care not to overwork the batter. Pour the batter into the prepared pan and smooth the top evenly with a spatula. Sprinkle coconut on top. Bake until the top is firm and a toothpick inserted in the cake comes out clean, about 45 minutes.
  • Let the cake cool in the baking pan on a cooling rack for 5 minutes, then remove cake from the pan and cool completely. Peel the parchment paper off the cake and cut cake into small cubes for serving.
  • Wrap any remaining cake tightly and store at room temperature or in the refrigerator.
Chocolate Banana Coconut Cubes | Sweetened With Dates | Nosh and Nurture
0 Comments

Raw Walnut Brownies with Coconut Cream

6/18/2016

1 Comment

 
Submitted by a Guest Contributor

gluten free - vegan - soy free - refined sugar free - kid friendly - grain free - paleo 

These brownies work well with most diets if cocoa is tolerated. They are easy to make ahead of time and take on the go. 
Raw Walnut Brownies with Coconut Cream

Ingredients: 
​
  • 3 cups raw walnut pieces
  • 2/3 cup unsweetened cocoa powder
  • 1 cup pitted dates, soaked in warm water for 10 minutes to soften
  • 2 teaspoons pure vanilla extract
  • 1 C. coconut cream

Directions: 
  • In a food processor, blend walnuts and cocoa powder until nuts are finely ground.
  • Drain dates and squeeze out any excess water. Add dates and vanilla to the food processor. Process until mixture sticks together and forms a ball. Add water 1 tablespoon at a time, if desired, for moister brownies.
  • Line an 8-inch square baking dish with parchment paper. Press brownie mixture into the prepared dish. Cover and refrigerate for at least 2 hours to set and then cut into 16 squares. Refrigerate brownies in an airtight container for up to 5 days or freeze for up to 2 weeks.
1 Comment
<<Previous

    archives

    July 2024
    October 2023
    May 2022
    January 2022
    May 2021
    April 2021
    December 2020
    October 2020
    July 2020
    February 2020
    December 2019
    October 2019
    June 2019
    May 2019
    April 2019
    January 2019
    August 2018
    October 2017
    December 2016
    July 2016
    June 2016
    February 2016
    November 2015
    October 2015
    September 2015
    August 2015
    April 2015
    March 2015
    February 2015
    August 2014
    April 2014
    October 2013
    August 2013
    July 2013
    June 2013
    May 2013

    categories

    All
    Aip
    Clean Plate Recipe
    Dairy Free
    Egg Free
    Gluten Free
    Grain Free
    Holiday
    Kid Friendly
    Nut Free
    Paleo
    Soy Free
    Sugar Free
    Vegan
    Whole 30

    RSS Feed

contact

Contact Mandi @ Nosh and Nurture
Advertise @ Nosh & Nurture or The Clean Plate with Mandi 

Picture

about

Nosh & Nurture was born of this journey I am on to better the health of myself, my family and those around me.  What started as a simple compilation of recipes has grown to a all-around lifestyle journal with ways to incorporate organic products into your home, pantry and beauty cabinet.  I also include stories on pregnancy, new motherhood, travel, Proverbs 31 marriage, and spiritual health, as I am a Christian who couldn't do any of this without my Lord & Savior Jesus Christ. For more of my story you can click here. 

All recipes are gluten-free and dairy-free with a lot of soy-free, grain-free, sugar-free options. 

    additional links

Privacy Policy
Disclaimer
FAQ


Find Me Gluten Free - An Amazing App to Help You Find the Best + Safest Gluten Free Eats Anywhere!
Picture
All content herein is owned by Mandi Pimental,Nosh & Nurture and The Clean Plate with Mandi. Pinning images is allowed, however, reposting blogs, recipes, photos or additional content without a link back to NoshandNurture.com is prohibited. 

© 2012-2023 Nosh & Nurture. All Rights Reserved.
Website by Weebly. Photography, Graphics and Content by Mandi Pimental, unless otherwise credited. 
  • HOME
  • NOSH
  • NURTURE
    • Homesteading
    • Homeschooling
  • TRAVEL
    • Get A Quote (Land Travel)
    • Get A Quote (Cruise)
    • Disney Vacations
    • Travel Blog >
      • Destinations
      • Eateries and Cafes
      • Travel Tips
  • The Clean Plate
  • ABOUT
  • CONTACT
  • Platinum Key