nosh clean. nurture your soul.
  • HOME
  • NOSH
  • NURTURE
    • Homesteading
    • Homeschooling
  • TRAVEL
    • Get A Quote (Land Travel)
    • Get A Quote (Cruise)
    • Disney Vacations
    • Travel Blog >
      • Destinations
      • Eateries and Cafes
      • Travel Tips
  • The Clean Plate
  • ABOUT
  • CONTACT
  • Platinum Key

sweets

Lemon Blueberry Cake with Vegan Cream Cheese Frosting

7/21/2024

0 Comments

 
Picture


​Who has an abundance of lemons this year? If you, like us, live near many citrus trees, you may wonder what to do with them all.

Another thing we are blessed to have in abundance is berries. Strawberries, blackberries, mulberries, blueberries and raspberries with little fingers that love fruit! 

If you need 
✨ FRESH ✨ideas to utilize these ingredients to make yummy treats, I have a  new recipe for you to try!

Today, I'm sharing a recipe for a delightful Blueberry Lemon Cake with Cream Cheese Frosting that is gluten and dairy free and oh so fluffy. It's also beautiful and great to serve at summer get togethers. ​

INGREDIENTS

For the Cake:
  • 2 1/2 cups gluten-free cake flour
  • 2 1/2 teaspoons baking powder
  • 1/2 teaspoon baking soda
  • 1/2 teaspoon salt
  • 1 cup unsalted butter, softened (I use Earth Balance vegan spread) 
  • 1 3/4 cups granulated sugar
  • 4 large eggs, at room temperature
  • 1 tablespoon lemon zest (from about 2 lemons)
  • 1/4 cup fresh lemon juice
  • 1 cup milk of choice, at room temperature
  • 1 cup fresh blueberries


For the Cream Cheese Frosting:
  • 16 ounces dairy-free or regular cream cheese, softened
  • 1 cup unsalted butter, softened
  • 4 cups powdered sugar
  • 1 teaspoon vanilla extract


For Garnish:
  • Fresh blueberries and lemon slices​ 

INSTRUCTIONS


Prepare the Cake:
  • Preheat your oven to 350°F. Grease a large rectangular   cake pan. 
  • In a medium bowl, whisk together the cake flour, baking powder, baking soda, and salt. Set aside.
  • In a large bowl, beat the softened butter and granulated sugar until light and fluffy, about 3-4 minutes.
  • Add the eggs one at a time, beating well after each addition. Mix in the lemon zest and lemon juice.
  • Gradually add the dry ingredients to the wet ingredients, alternating with the buttermilk, beginning and ending with the dry ingredients. Mix until just combined.
  • Gently fold in the fresh blueberries.
  • Pour the batter into the prepared cake pans and smooth the top with a spatula.
  • Bake for 20-25 minutes, or until a toothpick inserted into the center comes out clean.
  • Allow the cake to cool in the pan for 10 minutes, then transfer to a wire rack to cool completely. 


Make the Cream Cheese Frosting:
  • In a large bowl, beat the softened cream cheese and butter together until smooth and creamy.
  • Gradually add the powdered sugar, one cup at a time, beating well after each addition.
  • Add the vanilla extract and beat until light and fluffy.

Assemble the Cake:
  • Place cake on a serving plate or cake stand. Spread cream cheese frosting evenly over the top.
  • Chill the cake in the refrigerator for 30 minutes to set the crumb coat.
  • After chilling, frost the top and sides of the cake with the remaining cream cheese frosting. Smooth the frosting with a spatula for a neat finish.


Garnish:
  • Decorate the top of the cake with fresh blueberries and lemon slices for a beautiful presentation.

Serve and Enjoy:
  • Slice and serve the Blueberry Lemon Cake at room temperature. Enjoy the burst of flavors from the blueberries and lemon combined with the creamy frosting!


This cake is perfect for special occasions or any time you want to indulge in a delightful dessert.  🍋 🫐
0 Comments

'The Clean Plate with Mandi's Gluten Free/Dairy Free Tiramisu

10/28/2023

0 Comments

 
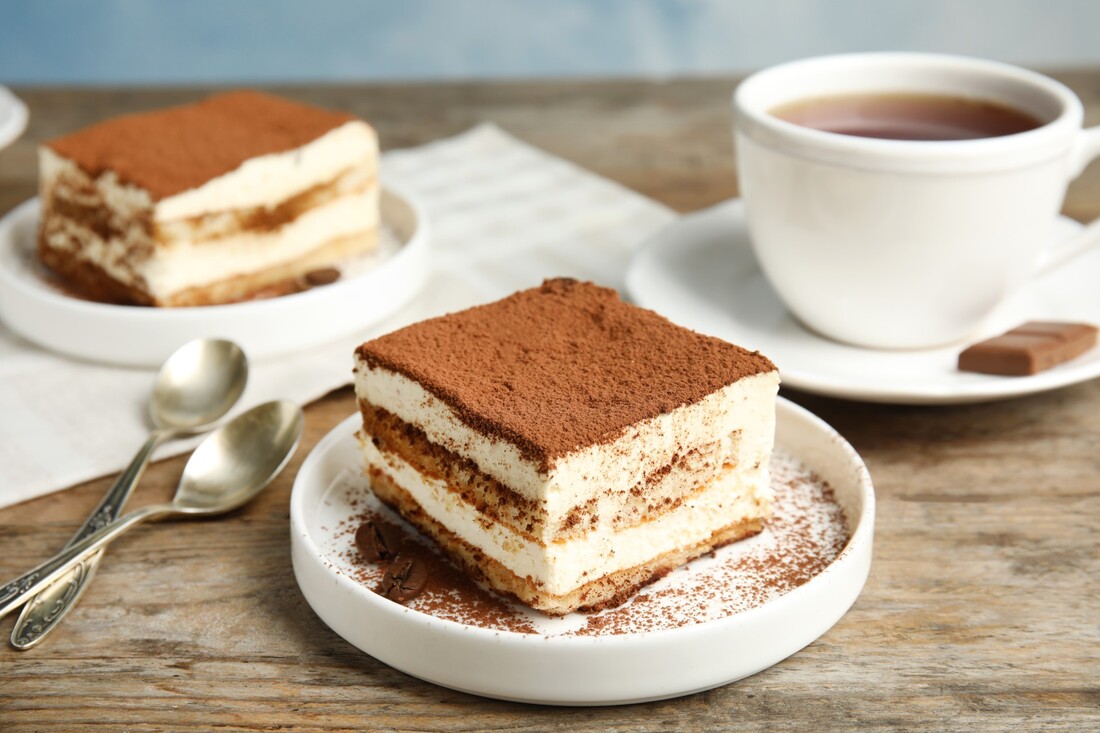
If there was one recipe from my television show The Clean Plate with Mandi that was deemed the best, by viewers and crew alike, it was this one. 

Decadent, creamy and beautiful - it tastes dangerously close to the real thing. So much so, that you'll second guess that it's dairy and gluten allergen friendly. 

As mentioned in season one of our show, this dessert has a special place in my husband and I's hearts. It was the dessert we would seek out on date nights and indulge in on late movie nights before we were married. 

Now we can share it at home, anytime we like, and for the first time since the show premiered, so can you. 
Picture

The Clean Plate with Mandi Tiramisu 

Ingredients
  • 1 Package of Gluten Free Ladyfingers (I use these) 
  • 3 Eggs, Whites and Yolks Divided
  • 5 TBSP. coconut sugar, Divided 
  • 1 pinch of salt
  • 1 pinch cream of tartar
  • 1/2 tsp. vanilla
  • 2 C. Brewed Espresso or Coffee (I use decaf or hot cocoa to make it kid friendly!) 
  • 3/4 C. chilled coconut cream, whipped
  • Unsweetened cocoa powder


Directions 

  • In a mixer, beat egg whites until small peaks form.
  • Add 2 TBSP. of the coconut sugar, salt and cream of tartar. Beat until stiff peaks form. Do not overbeat. 
  • In a small bowl, beat egg yolks with remaining 3 TBSP. coconut sugar until thick, light and pale. Gently stir in the vanilla extract and 2 TBSP. of the espresso or coffee.
  • Gently fold in whipped coconut cream into egg yolk mixture and then add in egg whites. Set aside.
  • Layer a 8x8 baking dish with one layer of lady fingers. Liberally brush them with espresso or coffee until saturated. 
  • Spoon 1/2 of the beaten cream on top of the soaked lady fingers.
  • Add another layer of lady fingers, saturate with coffee.
  • Spoon remaining cream on top. 
  • Cover and chill for 12 hours or overnight. 
  • Dust the top liberally with cocoa powder when ready to serve. 
0 Comments

Banana Nice Cream

5/16/2022

0 Comments

 
free of everything but bananas, haha

Welp. It happened. We hit our first 100+ degree day here in Arizona and it's only May.

It's fine. I'm fine. We're fine. 

Summer heat usually puts me in a big funk (bring on alllll things fall and winter and I'm a happy girl) but the last two years have left most of us in a big funk and I am determined to inject so much joy into this year I started with healthy ice cream.

Or what is most commonly called "nice cream".
Picture

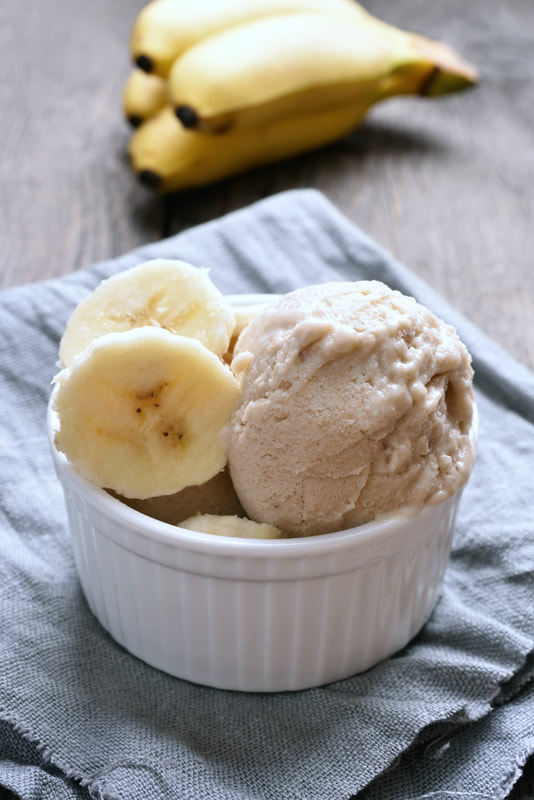
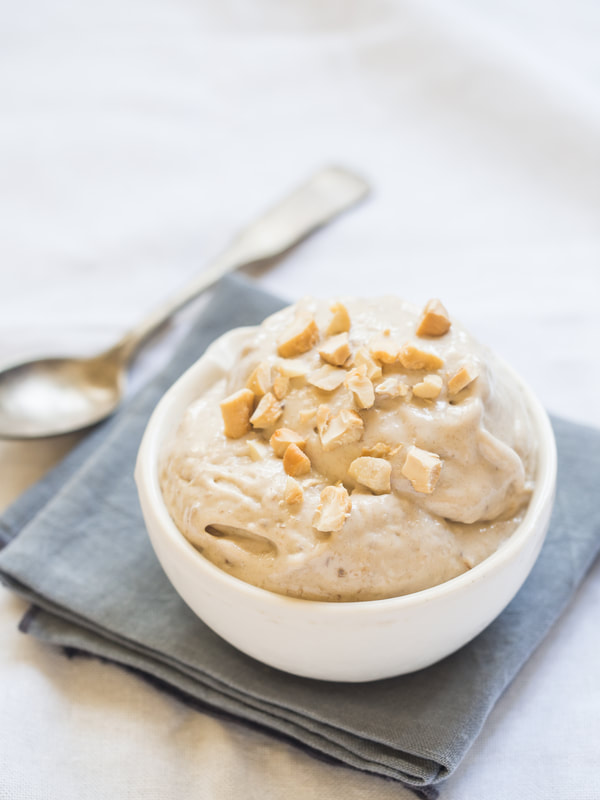
Made with three simple ingredients, this was a HUGE hit with the kids. They feel like they're getting an indulgent treat every day and we are finding a fun way to connect in the kitchen AND stay cool.

Because the good Lord above knows we will need it for the next few months. 
Picture

Banana Nice Cream

What You'll Need
  • A high-powered Blender or Food Processor (we use the Ninja and LOVE it)
  • 6-8 Bananas, peeled, coined and frozen
  • 1/8 C. dairy-free milk of choice
  • 1 tsp. vanilla

How To Make It
  • A day ahead, peel and cut your bananas. (If you use bagged frozen banana slices you can skip this step!) 
  • Lay them in a single layer on a baking sheet covered in parchment and freeze. This will ensure the best texture for your Nice Cream. 
  • Place frozen banana slices, milk and vanilla in your blender and blend on medium-high until you reach the perfect Nice Cream consistency (as pictured above).
  • Top with fresh banana, chocolate shavings, crushed cashews or fresh berries! 


Do you have a favorite Nice Cream flavor? We also did  a batch of Cinnamon Roll that I will add to the blog soon too!

​ We just got new popsicle molds and are on the hunt for a good ice cream maker and we have SO many ideas for this season!

Share your favorites below! 
0 Comments

Cassava Brownies

1/21/2022

1 Comment

 
gluten free - dairy free - grain free - nut free - soy free

It's officially winter here in southern Arizona - which means it's 70 in the day and our coats and fuzzy socks come out for the 50 degree mornings. 

A girl that's never spent more than a weekends vacation in the snow, this is winter to me and with that comes the want for cozy, warm, rich and comforting foods. 

And the occasional warm, fresh-from the oven, ooey-gooey treat.
Picture

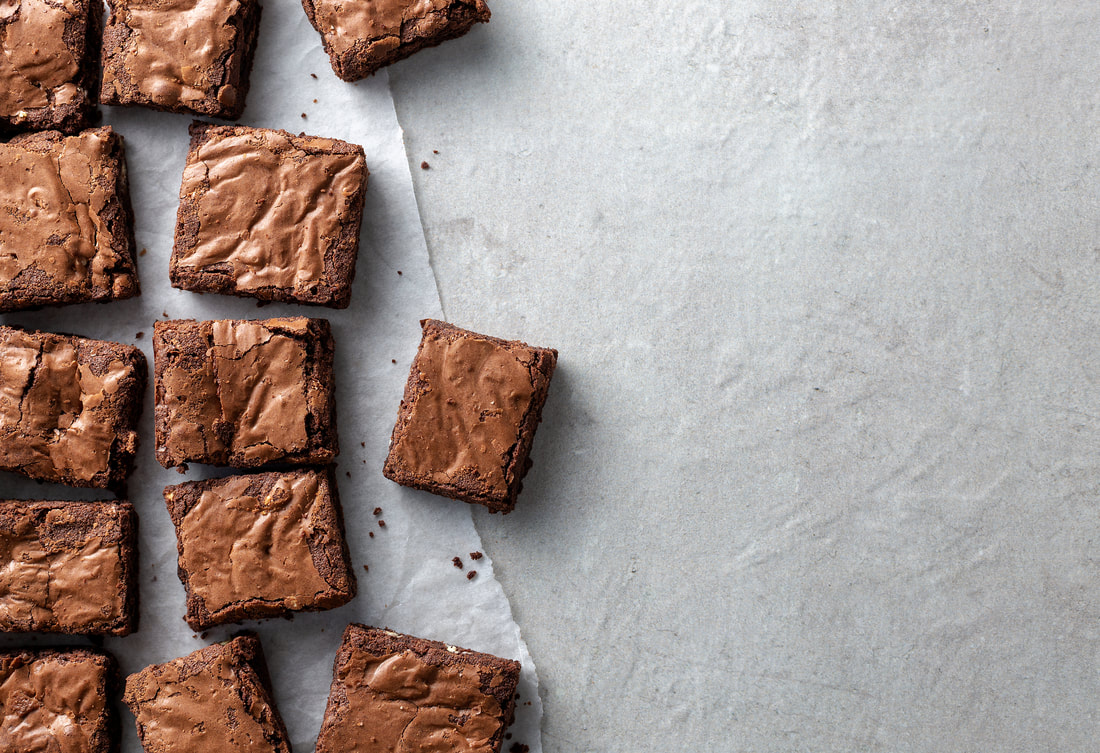
I was never a chocolate lover as a young kid or teen, and even my son is just starting to come around to the deep, rich flavors of a good cacao, so it wasn't until much later in life that I started to appreciate the brownie. 

As a matter of fact, making these this weekend was the first time my six year old son had ever tried one. 

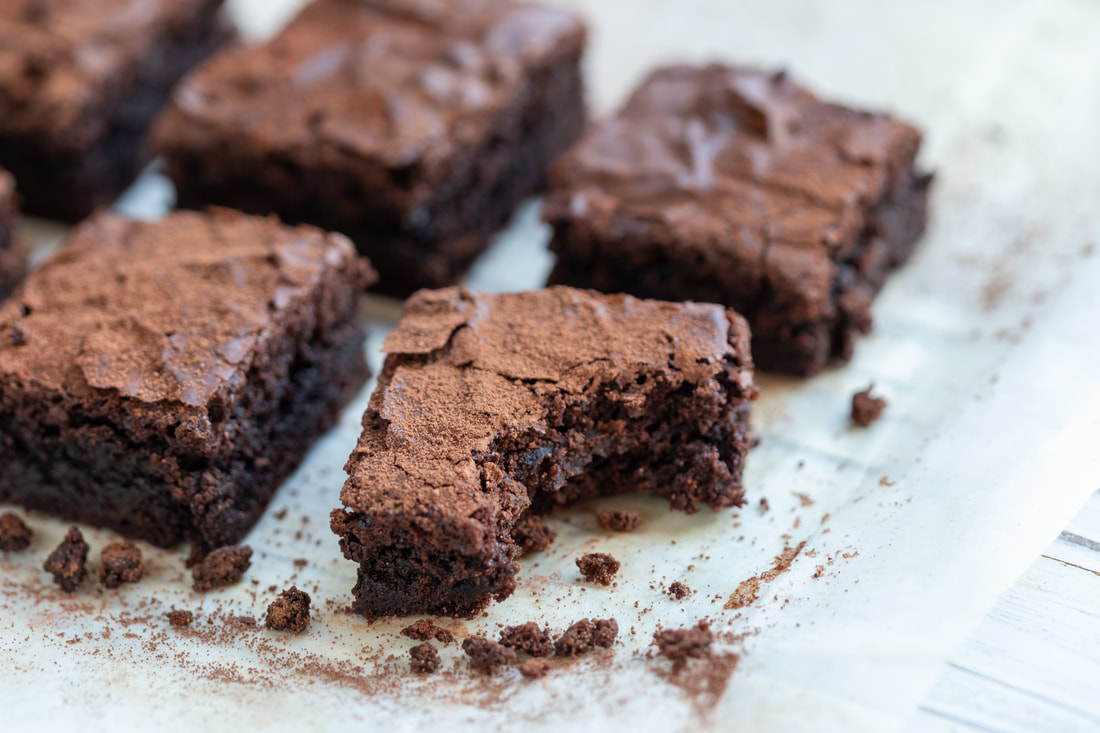
What I love most about these? They are moist and fudgy and grain-free! Also gluten-free, nut-free, dairy-free and soy-free, they will fit nicely into most food allergy families. Just skip these ones if you can't bake with eggs. 

Quick to whip up, I suggest making a double or triple batch. Especially if you plan to share - because these go quick! 
Picture

CASSAVA BROWNIES 

Ingredients
2 eggs
1/2 C. avocado oil or vegan butter
1/3 C. cassava flour (I use Otto's, Anthony's or It's Just)
1 tsp. vanilla extract
1 C. coconut sugar 
1 C. dark chocolate chips (we love the Enjoy Life morsels)
2 TSBP. cocoa powder
pinch of sea salt (optional, but great for minerals and flavor!)

Directions
  1. Preheat oven to 350 degrees and grease an 8x8 cake pan with avocado oil or avocado oil spray. 
  2. Melt butter in a small saucepan. If not using butter pour oil into saucepan. Add chocolate chips and heat until melted. Set melted chocolate aside.
  3. In a medium bowl, or in your standing mixer bowl, beat eggs and coconut sugar until frothed.
  4. Add in melted chocolate until mixed.
  5. Add cassava flour, cocoa powder, sea salt (if using) and vanilla. Mix until combined.
  6. Pour batter into oiled pan and bake for 15 minutes.
  7. Remove from oven and tap to remove air bubbles. 
  8. Bake for an additional 12 minutes or until your toothpick comes out clean. 
  9. Allow to cool completely before slicing. Top with fresh fruit or dairy-free vanilla ice cream. 

Pin Me!

Picture
1 Comment

Vegan Banana Chocolate Chip Cookies

5/19/2021

0 Comments

 
​vegan - gluten free - soy free - kid friendly - nut free

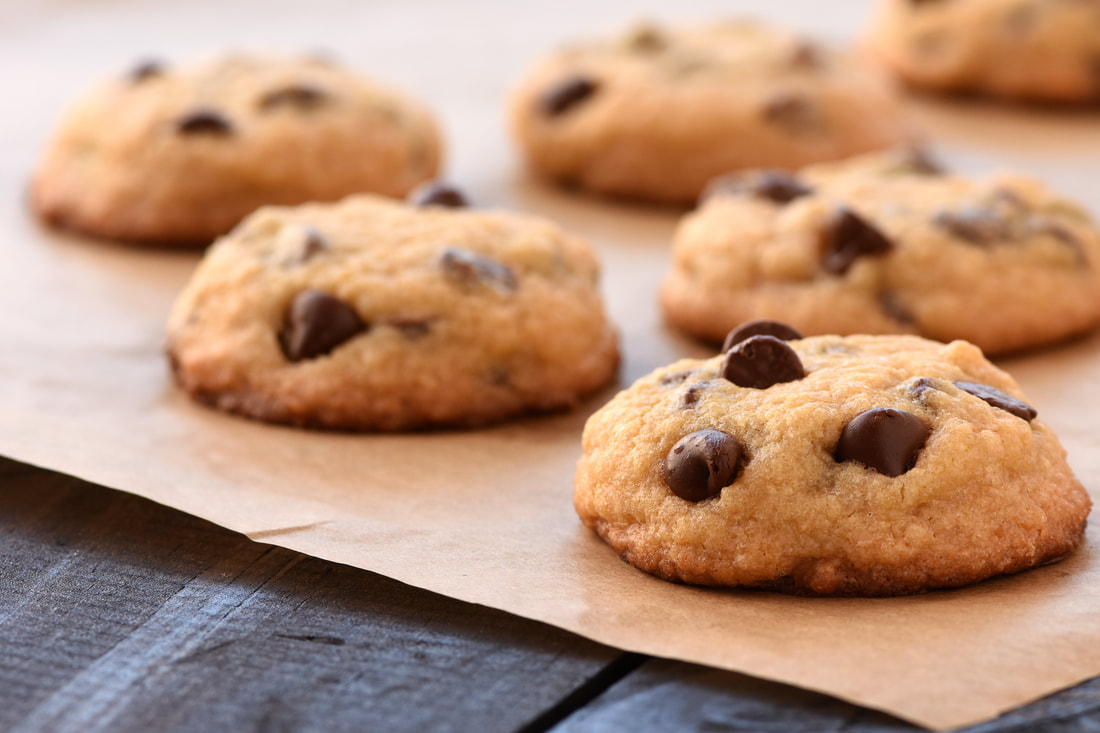
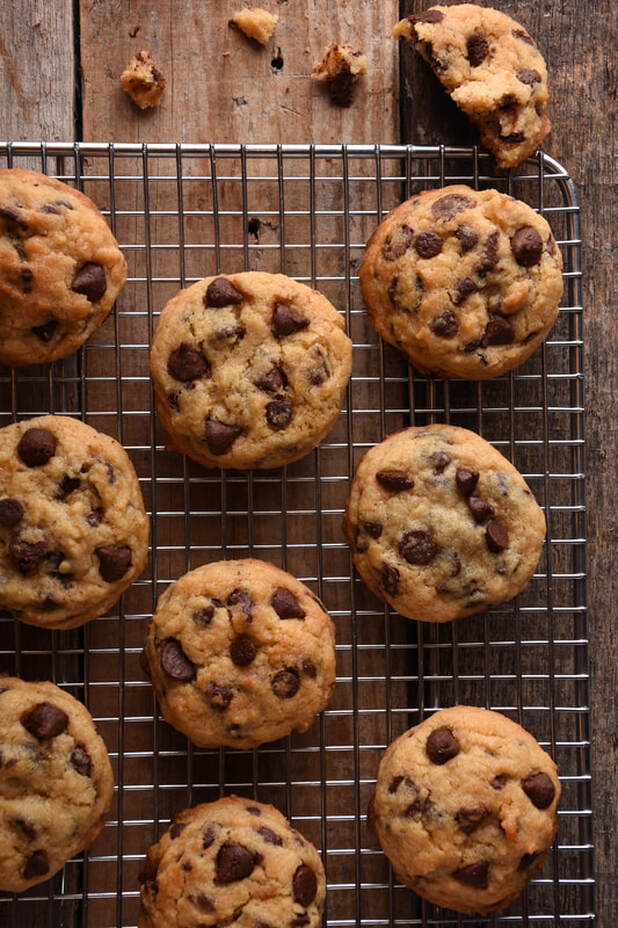
THESE. ARE. SO. FLUFFY.

SO fluffy and easy. A cutie little cookie that is so quick to whip up with my kindergartner while wearing my baby so we can have a little treat filling our cookie jar. They are vegan, gluten free and soy free and while not completely guilt-free (they do contain brown sugar), they are a tasty way to end a homeschool day and bond us in the kitchen. 
Picture
Picture

Vegan Banana Chocolate Chip Cookies

Ingredients
  • 2 cups gluten free 1-to-1 all-purpose flour
  • 1 tsp baking soda
  • 1 TBSP arrowroot starch
  • 1 tsp sea salt
  • 1/2 cup vegan unsalted butter, softened
  • 2 ripe bananas peeled
  • 1/2 cup brown sugar
  • 3/4 cup coconut sugar sugar
  • 2 tsp vanilla extract
  • 1 1/2 cups dairy-free chocolate chips

Instructions
  • Whisk together the flour, baking soda, arrowroot starch, and salt in a medium bowl and set aside.
  • Cream vegan butter, bananas, and sugars together until light and fluffy. Beat in vanilla extract until combined.
  • Stir in the flour mixture just until combined. Stir in chocolate chips.
  • Refrigerate dough for 30 minutes.
  • Preheat oven to 375F. 
  • Use a parchment lined cookie sheet and spoon dough out into slightly flattened rounds.
  • Bake cookies for 10 minutes or just until they brown. 
  • Let cool and enjoy!
0 Comments

Pink Champagne Cupcakes & Velvety Vanilla Buttercream

4/29/2021

0 Comments

 
gluten free - dairy free - soy free - nut free - kid friendly

Picture
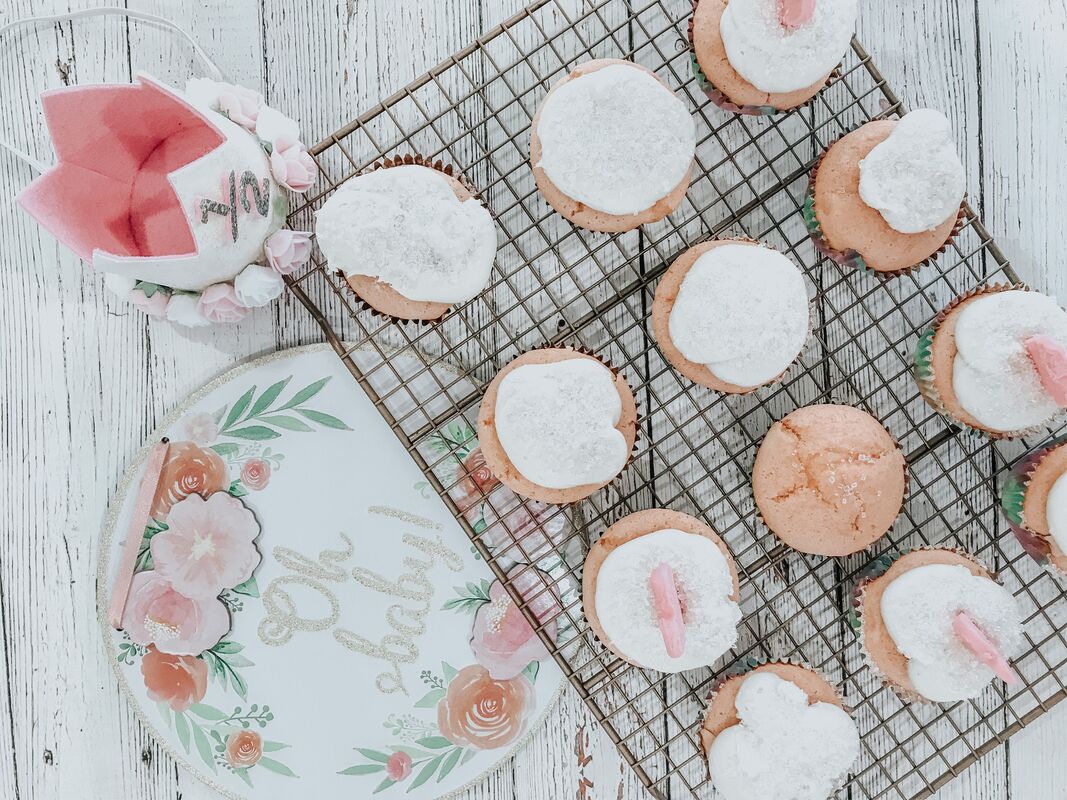
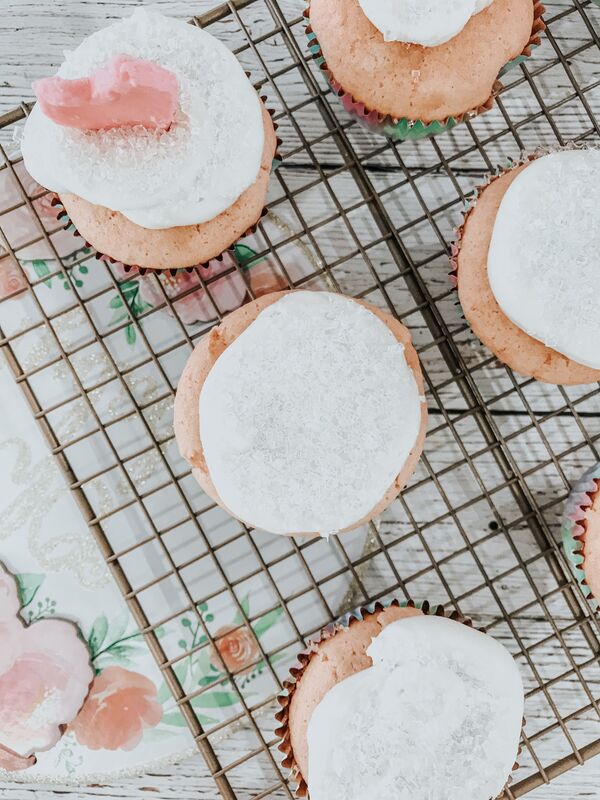
For Lexi's sweet little 1/2 birthday celebration we made pink champagne cupcakes with velvety vanilla buttercream frosting and pink molded chocolate hearts fit for a princess.

​Gluten, dairy and soy free, they are moist, delicious and perfect for any girly party.

The recipe can be found below. Enjoy! 
Picture

Pink Champagne Cupcakes & Velvety Vanilla Buttercream Frosting 


INGREDIENTS

For the cake
  • 2 C. Gluten-Free Cake Flour (I used Pamela's)
  • 1 tsp. Baking Soda
  • 1 tsp. Cream of Tartar
  • 3/4 tsp. sea salt
  • 1 1/2 C. organic cane sugar
  • 3/4 vegan butter 
  • 3 large egg whites
  • 1 large egg
  • 2 tsp vanilla extract
  • 1 C. pink champagne (or you can opt for stevia ginger ale)  
  • 2 TBSP. sour cream
  • 2-3 drops natural, dye-free food coloring

For the frosting
  • 16 oz. dairy-free cream cheese
  • 1 C. vegan butter
  • 32 oz. powdered sugar
  • 1 tsp. vanilla extract 
​

​DIRECTIONS


Prepare the cupcakes
  • Preheat your oven to 350 degrees. Line cupcake pan with parchment liners or spray with avocado or coconut oil spray. 
  • In a large bowl, whisk together cake flour, baking soda, cream of tartar and sea salt. 
  • In a medium bowl beat the sugar and butter together until fluffy. 
  • Add the egg whites, beat to combine.
  • Add the egg and vanilla. Beat once more. 
  • Add the wet mixture into the large bowl with the flour. 
  • Add your champagne, sour cream and coloring. Mix. 
  • Fill cupcake cups 2/3 full and bake for 20-22 minutes untila toothpick comes out clean.
  • Allow to fully cool before frosting.  

Prepare the frosting 
  • In a large bowl, use an electric mixer to combine the cream cheese and butter. Beat until light and fluffy. 
  • Slowly add sugar to the mixture until light and creamy.
  • Add vanilla and mix once more. 
  • Transfer to a piping back and pipe onto cooled cupcakes. 
  • Top with chocolate molds, sprinkles, edible glitter or cupcake toppers. 
0 Comments

Allergen Friendly Pumpkin Roll

12/10/2020

0 Comments

 
Gluten Free - Dairy Free - Soy Free - Refined Sugar Free - Nut Free

We are just ELEVEN days out from Christmas! ELEVEN PEOPLE! I haven't finished shopping (who I am kidding? I'm still in our newborn bubble with Miss Lexi, I barely just began shopping!) - we haven't planned our Christmas menu (the horror for a baker and chef!) and the house is mostly decorated.

At least we will get to enjoy the festive decor throughout January when I probably would have it all finished by, haha. My husband still has to build our mantle (if you are new, we renovated a 1950's farmhouse late last year and we are doing project by project on a fun never-ending improvement spree on our sweet place.) 

I HAVE however been successful at delivering magic for our four year old. Christmas light drive-thrus and ALL the baking and he is a happy camper. So, I bring you our latest baking endeavor that's a hit here and sure to be a hit in your home as well. 
Picture

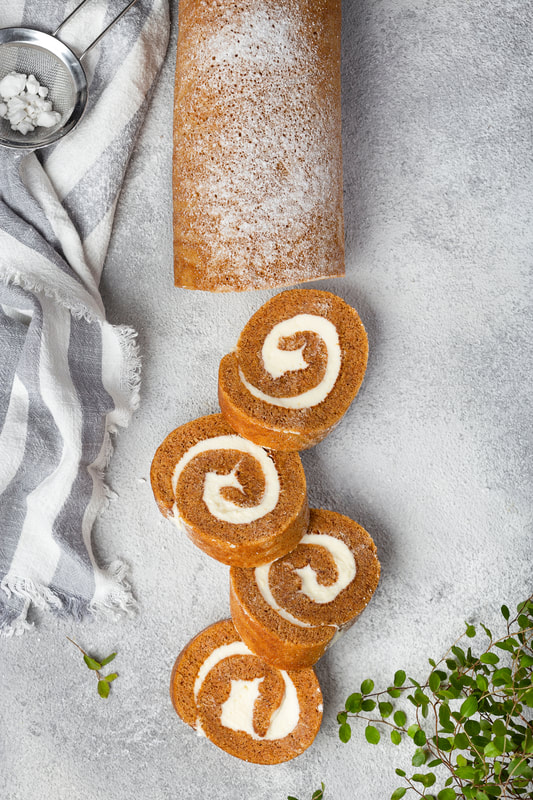
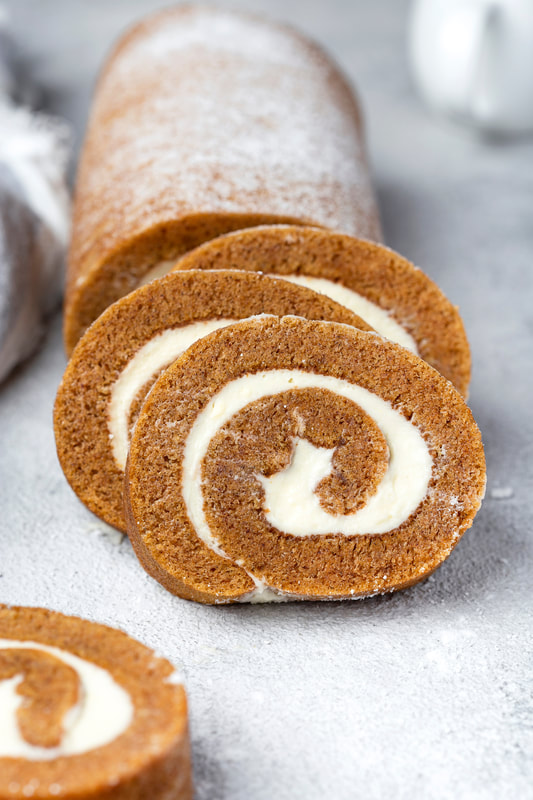
One of my FAVORITE holiday recipes is the classic Pumpkin Roll - but this spin makes it an Allergen Friendly Pumpkin Roll. It's one of the recipes my dad would make from scratch EVERY year for Thanksgiving or Christmas. 


(If you've watched my show, The Clean Plate with Mandi on Amazon Prime, you'll know I've spoke about how much my dad would cook and bake for us.)

It's rich pumpkin flavor, moist cake and creamy center makes it a craveable treat year after year. And it presents beautifully, a must for when I'm choosing what to serve for family and friends. ​
Picture


Allergen-Friendly Pumpkin Roll

Ingredients:

Dry:
  • 3/4 cup all-purpose gluten-free flour
  • 1/4 tsp sea salt
  • 1 tsp baking soda
  • 1 tsp ground cinnamon
  • 1 cup coconut sugar
  • 3 large eggs
  • 2/3 cup canned pumpkin
  • 1 tsp organic vanilla extract


Filling:
  • 8 ounces vegan cream cheese , softened (I LOVE GoVeggie brand!) 
  • 2 TBSP vegan butter , softened (I use soy-free Earth Balance)
  • 1 tsp organic vanilla extract
  • 1 cup powdered sugar + more for dusting (I get corn free at Sprouts or Trader Joes)


Directions:

  • Preheat the oven to 350 degrees F.
  • Line a jelly roll pan with parchment paper, leaving an extra inch of parchment sticking up on both long sides of the pan so that you can easily lift the cake out after baking. 
  • In a large bowl, whisk together the gluten free flour, sea salt, baking soda and cinnamon.
  • In a separate small bowl mix the eggs, coconut sugar, vanilla and canned pumpkin until smooth.
  • Add wet ingredients to the dry mix bowl and stir until combined well.
  • Spread the batter evenly in the prepared pan.
  • Bake for 14-15 minutes until a toothpick comes out clean.
  • Immediately lift the payment paper and hot cake out of the pan and onto a flat surface - such a your flat stove top.
  • While the cake is hot, starting at one of the short ends, use your hands to gently and slowly roll the cake (and parchment paper!) all the way up. Allow it to cool completely, on top of a wire cooling rack. (This allows it to cool underneath the roll, and keeps the cake from sweating).
  • While the cake roll is cooling, mix the vegan cream cheese, vegan butter, vanilla, and powdered sugar together with an electric mixer until it is fluffy and smooth.
  • Once the cake roll is cooled completely, unroll it very carefully. Gently smooth the filling in an even layer over the cake.
  • Roll up the cake without the parchment paper. Cover with plastic wrap and refrigerate for at least 1 hour, before serving.
  • Dust the top with powdered sugar, if desired.
  • Cut into slices and serve.
  • Store in the fridge, covered, for up to three days.
  • You may also freeze and enjoy within 2-3 weeks. 


Do you have a favorite family recipe you enjoy during the holidays? Need help making it allergen-friendly? Leave it in the comments below! 
0 Comments

Halloween Rice Krispy Treats

10/20/2020

0 Comments

 
gluten free - soy free - dairy free - vegan - corn free - nut free - kid friendly 

My healthier Rice Krispy Treat got a cute Halloween Fall make-over and I wanted to share it with you all for something fun and festive (and super easy!) to make with your kids this season. 

Before our new baby arrives (possibly this week!) I've been trying to squeeze in all the Halloween and Fall fun with Grey before we enter our newborn bubble. 

These are healthier because they use organic brown rice cereal, corn free marshmallows and vegan butter - making it a better option than store bought treats! 

The recipe below is from my original Rice Krispy Treat post - all you need to add to this recipe is vegan chocolate sauce to make the face and the cookie cutters of your choice! 
Picture


Halloween Rice Krispy Treats 


INGREDIENTS
  • 1 Bag of Dandie's Mini Marshmallows (or other corn-free marshmallow alternative) 
  • 5 C. Organic Brown Rice Cereal
  • 2 TBSP. Vegan Butter
  • 2 TBSP. Coconut Oil
  • Vegan chocolate sauce (I use the Ghirardelli's Dark Chocolate in the squirt bottle for easy application)
  • Assorted Halloween or Fall cookie cutter shapes  

DIRECTIONS
  • In a large microwave safe bowl (I used glass), place coconut oil, butter and bag of marshmallows.
  • Heat on high in microwave for 35 seconds. 
  • Stir, and heat in 30 second increments until marshmallows are melted.
  • Stir in brown rice cereal until completely mixed. 
  • Place mixture into a 9x9 glass pan and press down. 
  • Once cooled (I put it in the refrigerator for ten minutes and then set it out on the counter before cutting), cut into fun Halloween and fall shapes.
  • Draw on spooky faces and sayings and allow to sit to dry. 
  • Seal and store additional treats to enjoy within the week. 

0 Comments

Almond Butter Chocolate Chip Cookies

7/3/2020

0 Comments

 
gluten free - dairy free - refined sugar free - soy free

Well, we hit six months pregnant today and the countdown is on to prepare for little baby girl! 

We are so beyond excited, have a short list of name ideas (although we can't decide/agree on any quite yet) and instead of prepping at the speed I feel I should be, I've been mainly baking. 

We are trying to stay entertained and connected through these weird quarantine times of 2020. Which proves difficult most days for a very active 3.5 year old, but we're making due and God has blessed us with some beautiful mornings and evenings outside of the 110 degree days, which allows for some fresh air, sunshine and free play. 

Weekly I get a craving to bake something fun or sweet and these Almond Butter Chocolate Chip Cookies are refined sugar free, dairy free and gluten free and SO good.

And the BEST part, was I didn't realize how dense the dough would be with the two butter mixture and this made FORTY cookies. YES, FORTY. So feel free to make them all and gift them/save them, or cut the recipe down for a smaller batch. 

But I always say, if you accidentally make 40 cookies you just roll with it and keep this recipe real close, haha. 
Picture

Almond Butter Chocolate Chip Cookies

Makes 40 Small-Medium Cookies


Ingredients:
​
  • 2 1/2 C. All-Purpose GF Flour (you may use cassava flour for grain-free cookies!) 
  • 1 tsp. baking soda
  • 3/4 tsp. sea salt (and optional rock sea salt to sprinkle on top)
  • 1 1/2 C. coconut sugar
  • 1 C. vegan butter, softened
  • 1 1/2 C. almond butter, softened
  • 2 eggs
  • 2 tsp. vanilla extract
  • 1 C. vegan chocolate chips


Directions: 

​
  • Preheat oven to 350 degrees and line two large cookie sheets with parchment. 
  • In a standing mixer (or medium bowl with handheld mixer), mix flour, baking soda, sea salt and coconut sugar. 
  • Once mixed, remove from mixing bowl and use bowl to  cream coconut sugar, almond butter and butter together. 
  • Add eggs one at a time, mix and add vanilla
  • reintroduce the dry ingredients and mix all together.
  • Pour in chocolate chips and mix a final time.
  • Using a teaspoon, drop dough onto parchment lined cookie sheet (for more rounded cookies, I rolled them with my hands and then patted them down on the pan. It gets messy, but worth it for pretty cookies!) 
  • I baked forty cookies on two large cookie sheets. Bake for 15 minutes or until the edges are golden and cookies are still soft. 
  • Allow to cool a bit before transferring them and cool for an additional ten minutes before enjoying!
  • I saved these for a week in an airtight container and shared them with family! 

​
A great recipe for a party or to take to your neighbors!

0 Comments

S'Mores Pie Pops

2/11/2020

0 Comments

 
This morning was an absolute blast! To see our segment and how to make these live you can see our clip on our channel by clicking here! 

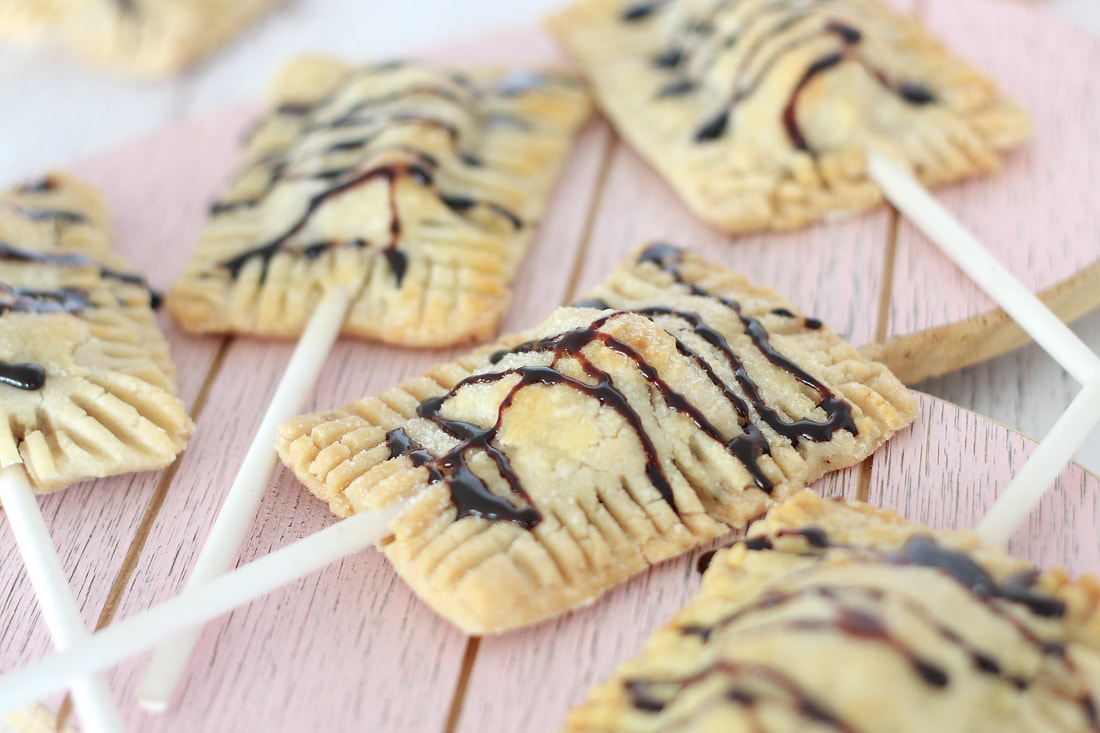
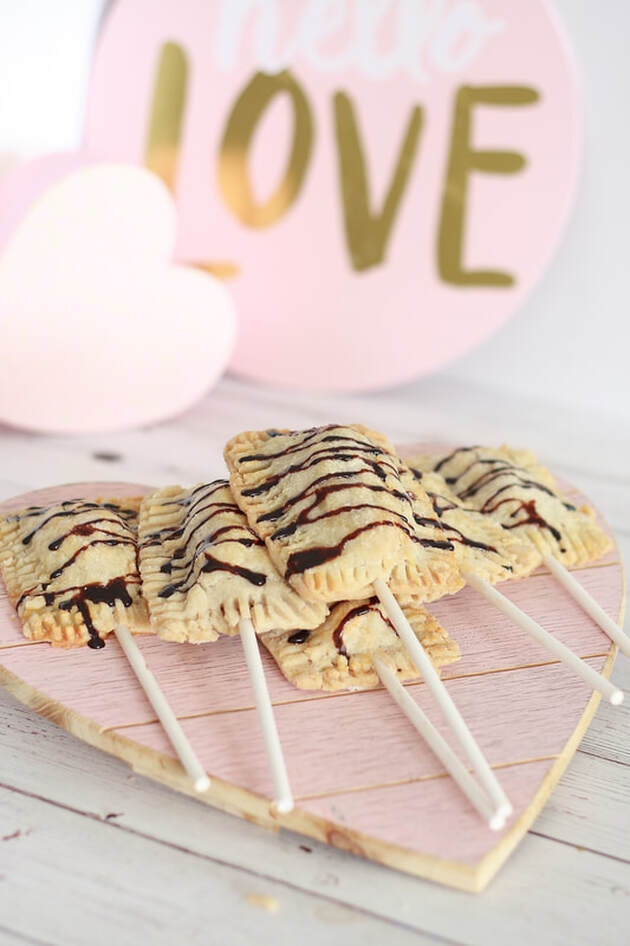
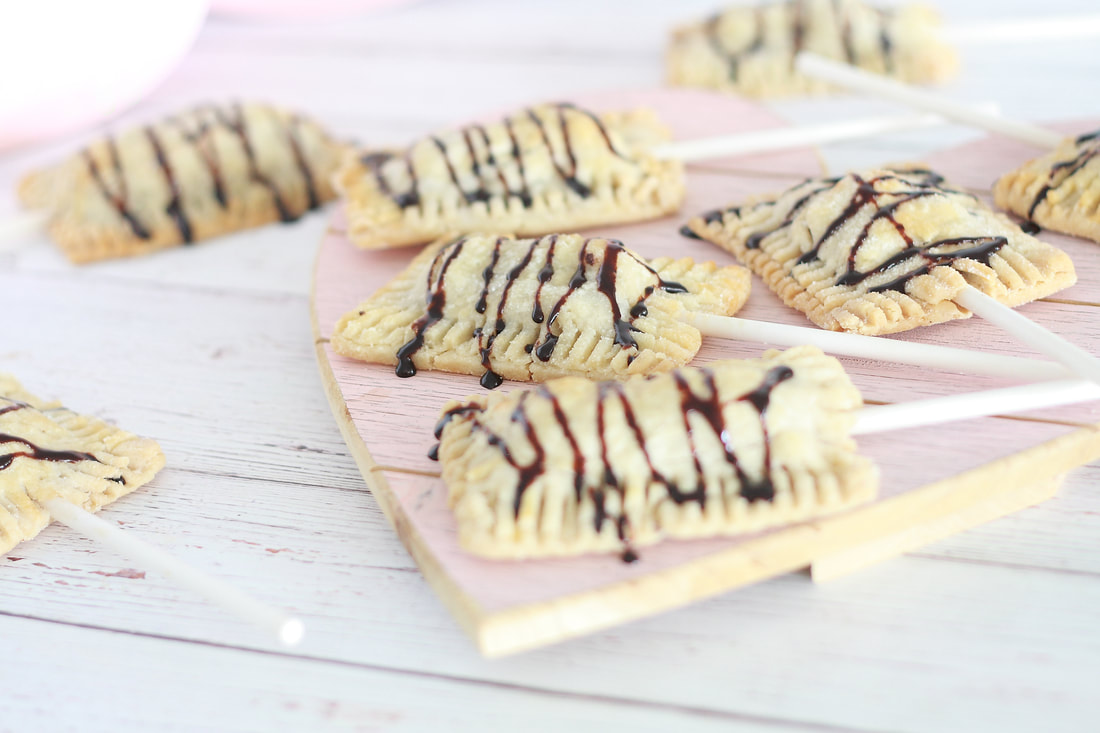
I was invited on AZ-TV 7's morning show, The Arizona Daily Mix, to present a recipe for #NationalChocolateLoversMonth, so along with Wholly Wholesome we whipped up these easy, family friendly and wholesome S'Mores Pie Pops just in time for Valentine's Day. 
Picture

The set environment was really fun and even Grey and Doug got to tag along and hang in the green room to watch all of the action. Brad Perry was super sweet and the segment aired at 8:45 on channel 7 in AZ. 

In honor of National Chocolate Lover's Month these S'mores Pie Pops are kid-friendly, vegan, gluten-free and DE-LICIOUS. 

My easy recipe is below, along with where you can get Wholly Wholesome ready-to-bake products as well as Blissfully Better Chocolate, a low glycemic chocolate sweetened only with coconut nectar! 
Picture
Picture

S'mores Pie Pops


Ingredients

  • 1 Package of Wholly Wholesome Pie Crust
  • 1 C. mini marshmallows
  • 4 oz. vegan chocolate or Blissfully Better low-glycemic chocolate
  • 1 egg white (omit if vegan or egg allergy)
  • 1/8 C. sugar for sprinkling
  • 1/2 C. GF flour for dusting surface
  • Avocado Oil (for your baking sheet)
  • Vegan chocolate sauce to drizzle (optional)
  • 4 Cake Pop Sticks


Directions
  • Preheat oven to 375 degrees and lightly grease your baking sheet with avocado oil.
  • Transfer your thawed pie crusts (use both in the package) to a well floured surface and roll out. 
  • Using a rectangle cookie cutter or with a knife, cut 4 rectangles, gather scraps, roll out once more and cut 4 more rectangles.
  • Lay out your first four rectangles and place a cake pop stick about half the way up. 
  • Layer the centers of the rectangle with chopped chocolate and mini marshmallows.
  • Place your additional 4 rectangles a top your stuffed pops, press down edges and seal lightly with a fork. 
  • If your fork sticks, you can use a little avocado oil on your fork to keep it from sticking in your pie crust. 
  • (Optional) Brush with an egg wash to give it a golden top and sprinkle with organic sugar or coconut sugar. 
  • Bake for 12-15 minutes or until golden brown.
  • Wait to cool COMPLETELY before transferring on cake pop sticks to a container or serving tray or your stick will come out. 
  • Enjoy with chocolate drizzle! 


You can find more Wholly Wholesome goodness at www.WhollyWholesome.com. 

Blissfully Better Chocolate can be located through Blissfully Better.com. 

What chocolate treats are YOU celebrating with this month?

More Posts Like This

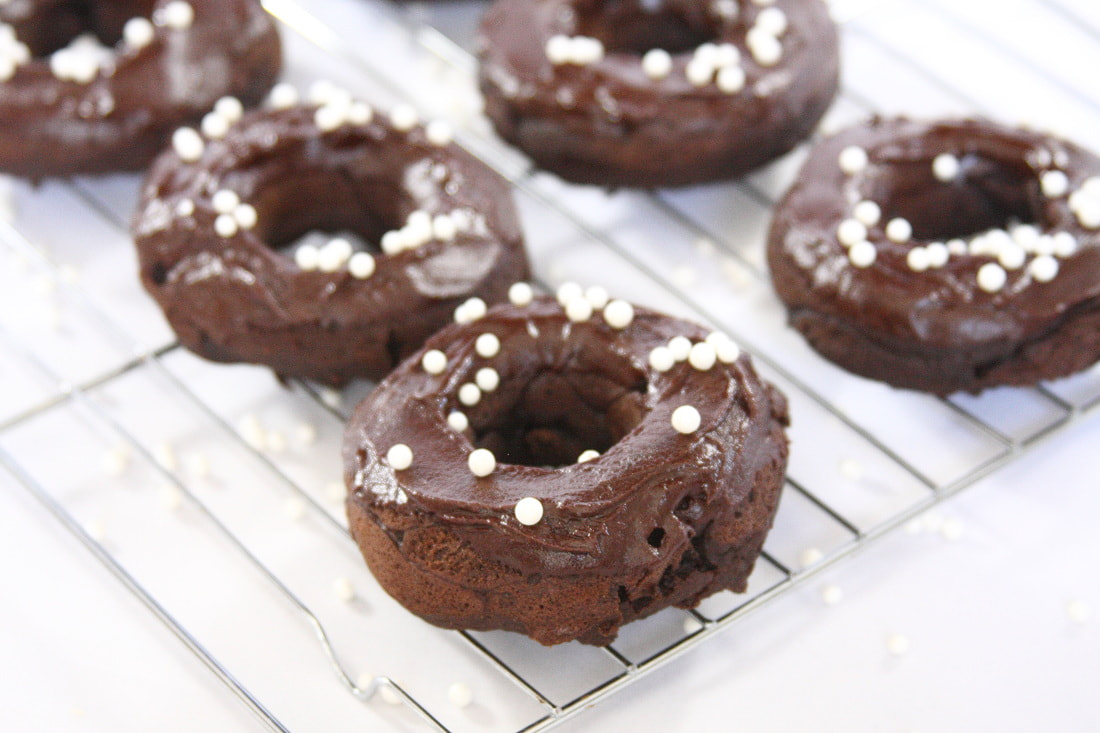
Double Chocolate Frosted Cake Donuts
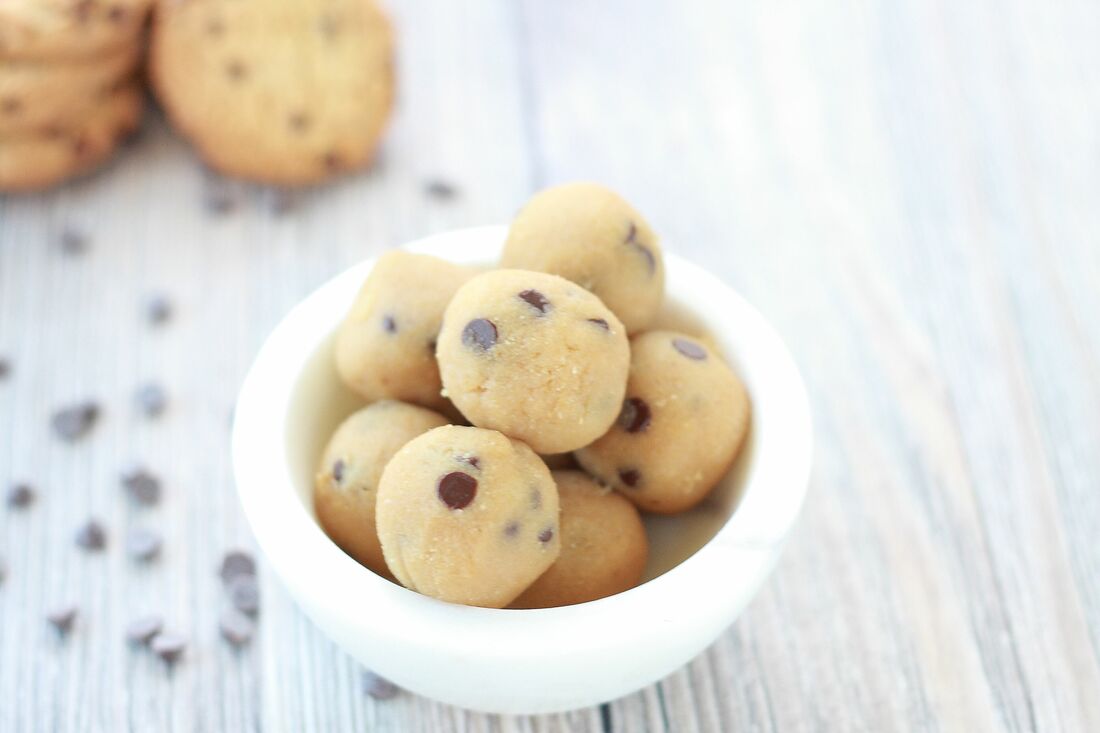
Chocolate Chip Cookie Dough Bites
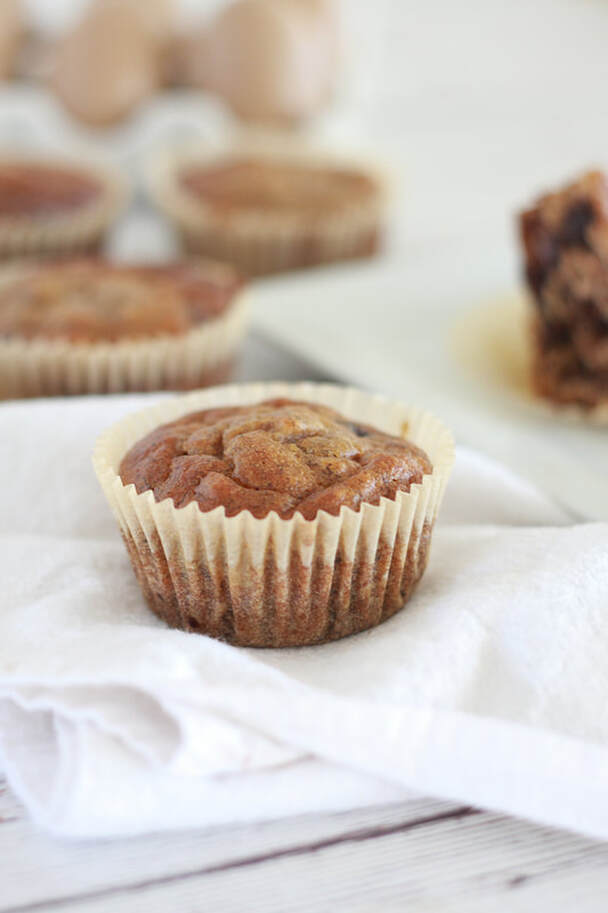
Banana Chocolate Chip Muffins
0 Comments
<<Previous

    archives

    July 2024
    October 2023
    May 2022
    January 2022
    May 2021
    April 2021
    December 2020
    October 2020
    July 2020
    February 2020
    December 2019
    October 2019
    June 2019
    May 2019
    April 2019
    January 2019
    August 2018
    October 2017
    December 2016
    July 2016
    June 2016
    February 2016
    November 2015
    October 2015
    September 2015
    August 2015
    April 2015
    March 2015
    February 2015
    August 2014
    April 2014
    October 2013
    August 2013
    July 2013
    June 2013
    May 2013

    categories

    All
    Aip
    Clean Plate Recipe
    Dairy Free
    Egg Free
    Gluten Free
    Grain Free
    Holiday
    Kid Friendly
    Nut Free
    Paleo
    Soy Free
    Sugar Free
    Vegan
    Whole 30

    RSS Feed

contact

Contact Mandi @ Nosh and Nurture
Advertise @ Nosh & Nurture or The Clean Plate with Mandi 

Picture

about

Nosh & Nurture was born of this journey I am on to better the health of myself, my family and those around me.  What started as a simple compilation of recipes has grown to a all-around lifestyle journal with ways to incorporate organic products into your home, pantry and beauty cabinet.  I also include stories on pregnancy, new motherhood, travel, Proverbs 31 marriage, and spiritual health, as I am a Christian who couldn't do any of this without my Lord & Savior Jesus Christ. For more of my story you can click here. 

All recipes are gluten-free and dairy-free with a lot of soy-free, grain-free, sugar-free options. 

    additional links

Privacy Policy
Disclaimer
FAQ


Find Me Gluten Free - An Amazing App to Help You Find the Best + Safest Gluten Free Eats Anywhere!
Picture
All content herein is owned by Mandi Pimental,Nosh & Nurture and The Clean Plate with Mandi. Pinning images is allowed, however, reposting blogs, recipes, photos or additional content without a link back to NoshandNurture.com is prohibited. 

© 2012-2023 Nosh & Nurture. All Rights Reserved.
Website by Weebly. Photography, Graphics and Content by Mandi Pimental, unless otherwise credited. 
  • HOME
  • NOSH
  • NURTURE
    • Homesteading
    • Homeschooling
  • TRAVEL
    • Get A Quote (Land Travel)
    • Get A Quote (Cruise)
    • Disney Vacations
    • Travel Blog >
      • Destinations
      • Eateries and Cafes
      • Travel Tips
  • The Clean Plate
  • ABOUT
  • CONTACT
  • Platinum Key