|
One of the many things I love about my husband is that he is a builder. Having gone to school to be an architect before switching to dental, he learned many valuable tools of the trade that have allowed him to make our lives and home more beautiful. Having built our wedding alter and the dining table for our home, he surprised me this past week after building our soon to be son or daughter a cradle. Major swoon moment. You can see the cradle here along with my #MothersPromise, diaper choicie & first letter to our future babe. It was in this moment I thought about the natural touches one could add to make their nursery space more authentic and I have put together a little list of ideas & crafts that are easy to do. 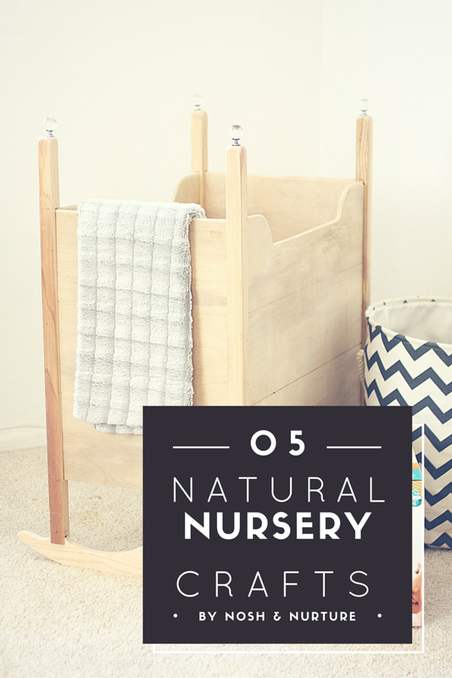 || WOODEN BLOCKS || There is just something about wooden blocks that I adore. Something so simplistic and educational about their innocent little ABCs and 123s that adorn them. These are simple to make and take minimal supplies. 1.) Head to your nearest craft store and purchase 2" square blocks or your nearest hardware store and get a 2" wooden beam to cut into blocks. 2.) Make sure they are sanded well, as to prevent any little hands from getting scraped or splintered. 3.) Get crafty! You can use wood glue to adhere small wooden letters or numbers from a craft store, or you can stencil or paint them on. 4.) You can leave them natural wood for a more rustic feel, or get creative and colorful with a paint palette of your choice. 5.) Make sure all surfaces of paint and glue are completely dry before allowing children to use. || CHEVRON NURSERY LETTERS || One of my favorite items for a nursery wall is the monogram. And chevron is still trending. Mr. Charming and I are unable to incorporate this as of yet, since we don't know if we are bringing home a boy or girl, but when we do, trust I will be making one of these. 1.) Go to your local craft store and pick up a large wooden letter that is the first letter in your babies name. 2.) Make sure to purchase two wood-based paint colors that compliment your nursery palette, wood glue, craft tape and a roll of burlap ribbon. 3.) Once home, tape off a chevron pattern in the desired thickness and using one of your paint colors, fill in the first color. Once dry, repeat, this time painting the opposite of the chevron pattern. 4.) Once dry, tie a decorative burlap bow and adhere to the corner for a rustic & natural finishing touch. || MAKE OLD NEW AGAIN || If you're feeling adventurous you convert an old piece of furniture into something new for your baby or toddler. Some ideas include: 1.) Turn a thin nightstand into a wooden "refridgerator" converting the drawers into a "freezer" and "fridge" door. 2.) Turn a small desk or entertainment cabinet into a play kitchen. There are many tutorials online. 3.) Repurpose old wooden frames into chalkboards with a little chalkboard paint. || THE BIG BOY/GIRL STOOL || My neice adores helping in the kitchen, but little arms and little legs can get frustrating for little ones. revive an old wooden stool with a new finish or stain and paint. Paint their name or a fun nursery rhyme character. Or better yet, let them join in on the fun and make their own abstract art. They'll get to be creative and be mom's tall helper next time you're in the kitchen. || FURNITURE || If you're feeling adventurous like we were, or if you have a handy hubby too, below is a list of ideas for one-of-a-kind touches you can make on your own nursery.
Have you made any toys, crafts or special furniture pieces for your little one? I'd LOVE to hear your ideas. Share them in the comment below. Also, if you have any questions about our cradle or any of the projects, feel free to ask away!
0 Comments
Leave a Reply. |

archives
August 2021
tags
All
|
 RSS Feed
contact
|
aboutNosh & Nurture was born of this journey I am on to better the health of myself, my family and those around me. What started as a simple compilation of recipes has grown to a all-around lifestyle journal with ways to incorporate organic products into your home, pantry and beauty cabinet. I also include stories on pregnancy, new motherhood, travel, Proverbs 31 marriage, and spiritual health, as I am a Christian who couldn't do any of this without my Lord & Savior Jesus Christ. For more of my story you can click here.
All recipes are gluten-free and dairy-free with a lot of soy-free, grain-free, sugar-free options. |
additional links
|

All content herein is owned by Mandi Pimental,Nosh & Nurture and The Clean Plate with Mandi. Pinning images is allowed, however, reposting blogs, recipes, photos or additional content without a link back to NoshandNurture.com is prohibited.
© 2012-2023 Nosh & Nurture. All Rights Reserved.
Website by Weebly. Photography, Graphics and Content by Mandi Pimental, unless otherwise credited.
© 2012-2023 Nosh & Nurture. All Rights Reserved.
Website by Weebly. Photography, Graphics and Content by Mandi Pimental, unless otherwise credited.