|
gluten free - paleo - vegan - soy free - kid friendly 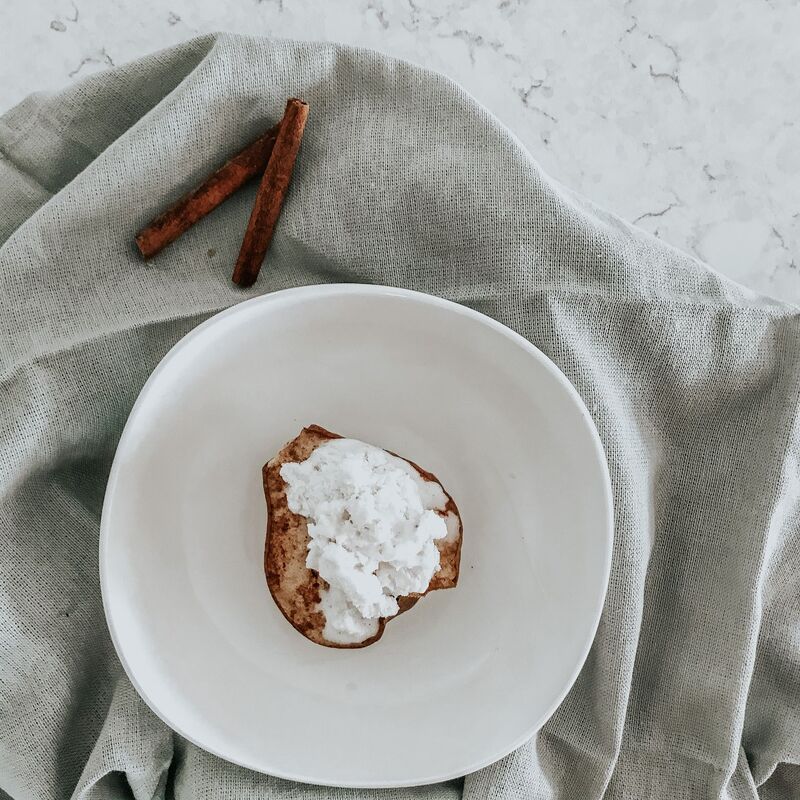 Fall is officially here. As in, the calendar says so. It's still hitting temps in the three digits here - so I am praying for some cooler days with my boys before little baby girl arrives. Due in just 3 short weeks folks, this pregnancy felt like it went SO much faster than Grey's. Probably because I had a four year old, homeschool preschool, a pandemic and shooting a cooking show to keep me busy through it. I'll keep this short and sweet today - and speaking of sweet, these Vanilla Maple Roasted Pears are SUCH a wonderful hygge treat to enjoy by a fire or snuggled under a fall throw with a good book. We served these alongside a traditional Medieval Knights dinner for my sons preschool and they were the perfect dessert addition! Vanilla Maple Roasted PearsIngredients
Directions
1 Comment
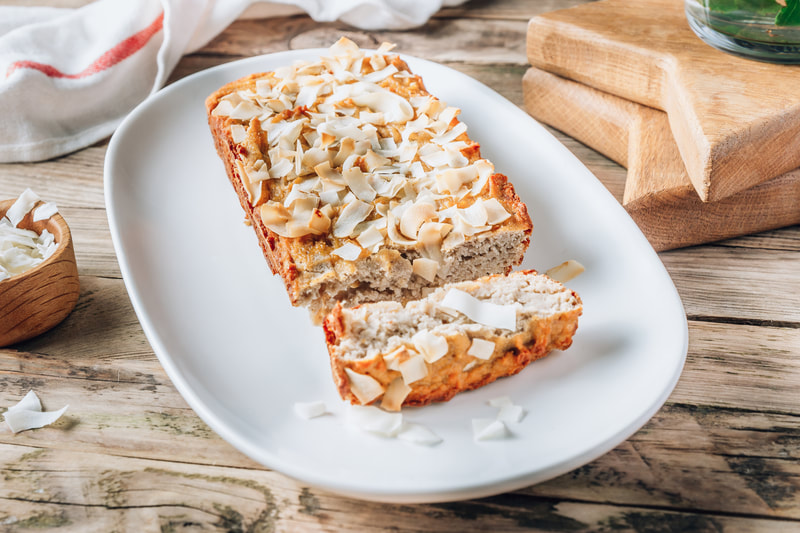
Gluten Free - Dairy Free - Egg Free -Vegan - Soy Free We are on a mission this year - to move into the space of not just eating clean and caring for our home in a non-toxic way, but teaching ourselves and our children more actual, sustainable, homesteading skills. Being "self-sufficient" was never something I was taught growing up, and I honestly feel unprepared for things that may come in the future and a proverbs 31 wife and mother is to be prepared so that her household doesn't go cold or hungry. We have printed a list of skills to teach ourselves and our children, as well as a list of things we'd love to do with our land that the Lord has blessed us to build our farmhouse upon. We decided to start simply with things we use everyday - growing a simple garden, learning to start a fire and baking homemade bread from scratch. 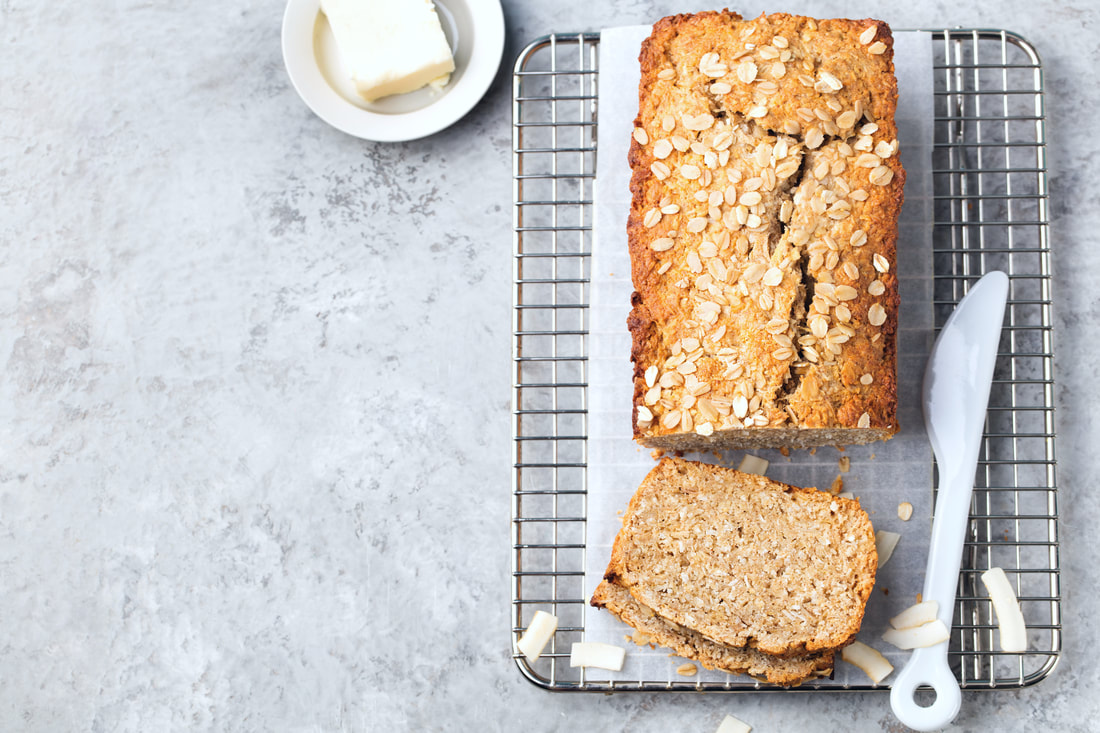 Today, I am sharing a simple and delicious Oat Bread recipe that is vegan and gluten free. Grey helped me make most of it as we used it as a Pre-K lesson for school and it made my heart happy to see him happily learning something that could benefit him and his family in years to come. The recipe is below and couldn't have been easier - I didn't need a bread maker - just a mixing bowl, some elbow grease and a simple bread pan and oven! It was GREAT with vegan butter, jam or just fresh from the oven. Homestead Oat BreadIngredients:
Directions:
What homesteading or survival skills have you taught your children or what's next on your list? Have you made homemade bread? What's your go-to recipe?
More Like ThisThis blog post has been sponsored by the Vidalia Onion Committee. Links featured within, not inclusive of the official Vidalia Onion Committee website or previously sponsored content, are not sanctioned by the Vidalia Onion Committee I always seem to find myself experimenting with so many entrée and side recipes in the springtime. Maybe it’s the gorgeous weather, the backyard picnics or the impending pool days. Usually, winter brings about much baking and sweets and plentiful brunch foods. While spring I turn my focus to fresh entrees and hearty dishes that I can bring to the table for mealtime. I find this pattern makes for a well-rounded arsenal of new recipes to access each year, both for our own family, and for my readers. I have the honor of partnering with the Vidalia Onion Committee to bring you my latest recipe – a perfect side dish to pair with salads or meat dishes for a well-rounded meal. The Vidalia crops limited availability window works well with my need to make savory dishes in the spring and summer, as they are only available April through August. It’s like a match made in food creator heaven. 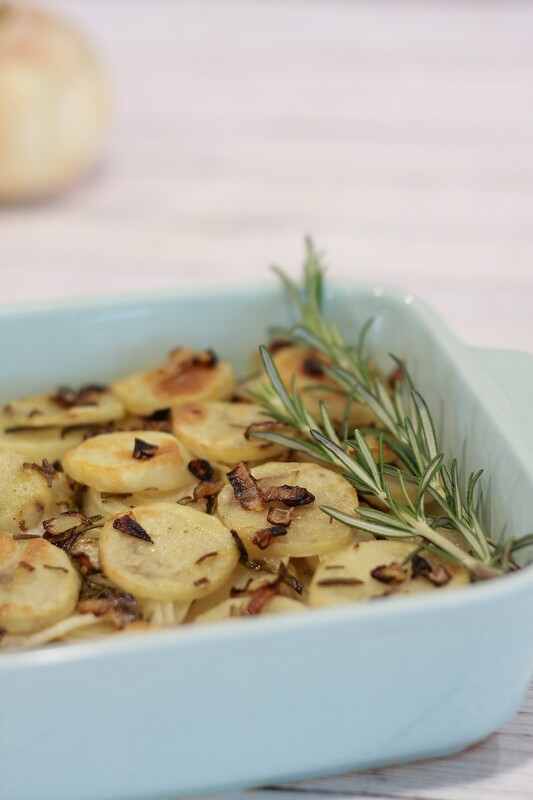 The unique taste profile and sweetness of Vidalia onions adds dimension to this dish which is simplistic and beautiful. You can double or triple the recipe and easily share it with others. We adore dropping meals on our friend’s doorsteps from time to time. New babies, sick family members, birthday surprises – there are so many instances where this warm dish can bless someone dear to you. When I thought about creating something warm and hearty with my Vidalia onion delivery, I knew I would do a potato bake. This Vidalia Onion and Potato Bake is comforting while remaining nutritious and the addition of fresh herbs from our spring garden add to the homemade factor that makes me feel so proud when I’m dishing it out to my family. I’d love for you to be able to create sweet moments this season as well by following my simple recipe below. You can easily cook it ahead of time too as it reheats beautifully. Vidalia onions are hand planted and harvested in only 20 counties in South Georgia. 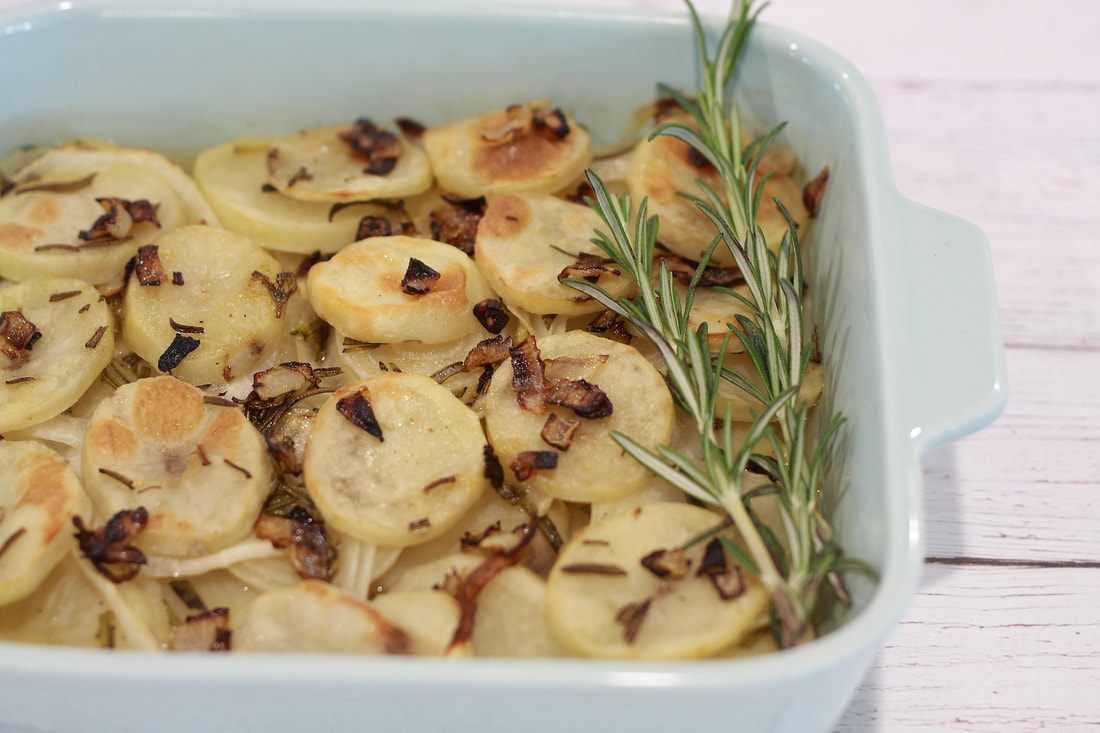 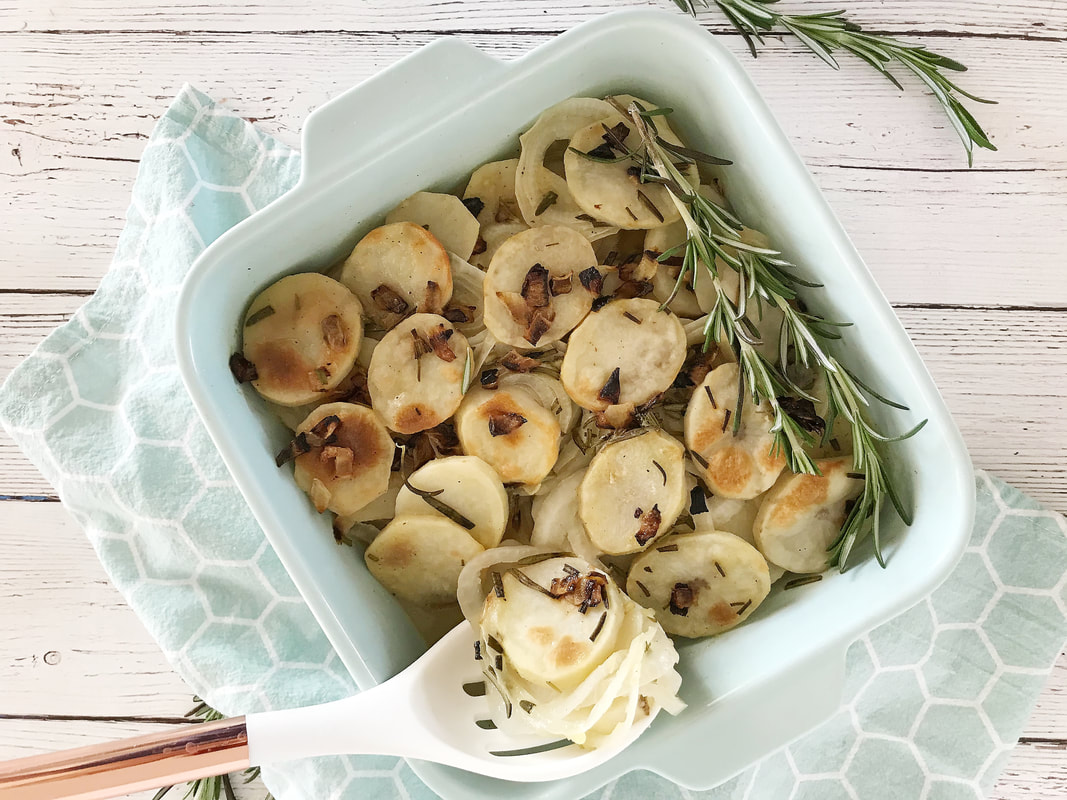 Another fun surprise? I’m giving away a shipment of a ten pound box of Vidalia onions with Vidalia on social media right now as well and would love for you to enter to win and see you create this dish or to get creative and see what you create! You can enter at http://www.instagram.com/noshandnurture And for more on delicious Vidalia Onions, visit here! Vidalia Onion and Potato BakeIngredients:
Directions:
For more baked dishes like this one, stay tuned for my new show 'The Clean Plate with Mandi' this Spring which premiers on Amazon Prime Video and Roku Channel! 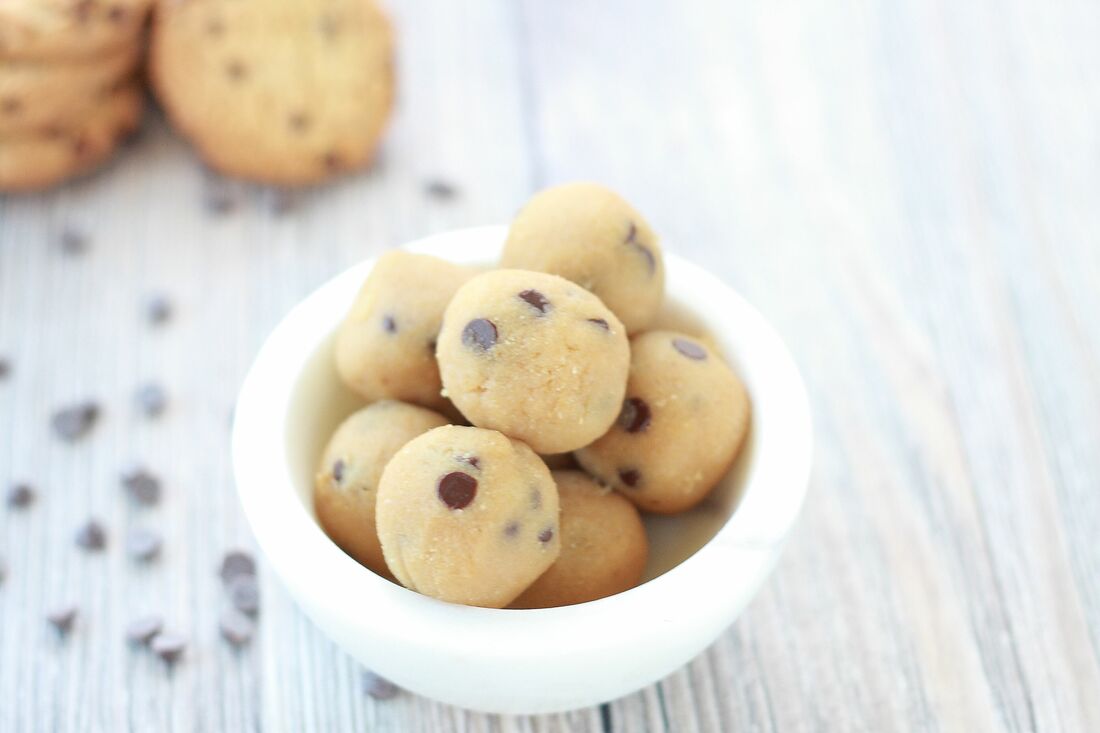 We went to Disneyland this past weekend, and I really wanted to prepare ahead of time and get into the kitchen to create some snacks that would FEEL indulgent but wouldn't cause inflammation and sugar crashes like so many theme park snacks do. These Paleo Chocolate Cookie Dough Bites, are JUST sweet enough to pass as a dessert, but not too sweet to where they overwhelm. I made the first batch WITHOUT chocolate chips, as my strict Paleo treats, and for Grey I threw in some Enjoy Life dairy free chocolate chips to stand in for a classic cookie. My first attempt at this recipe, I used coconut sugar and they just weren't sweet enough, very bland with the flour mixture. Once I swapped it for maple syrup, it made them JUST right and easy to roll into balls after chilling. Where will you be adventuring with this easy, healthy snack? 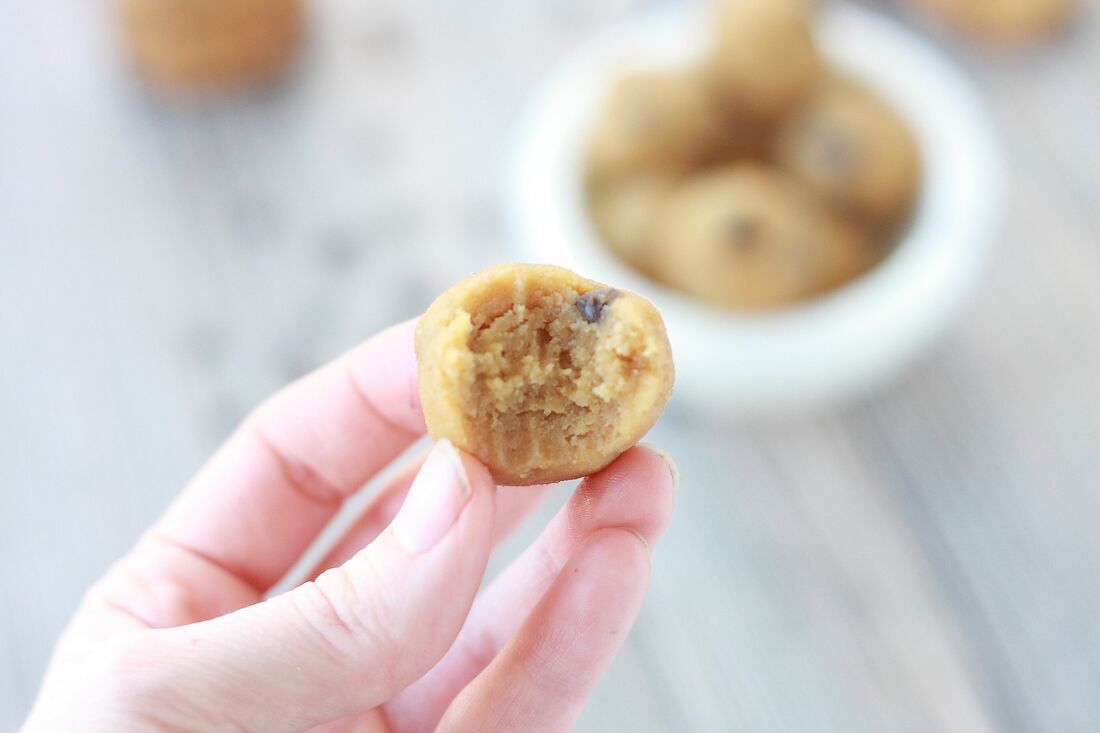 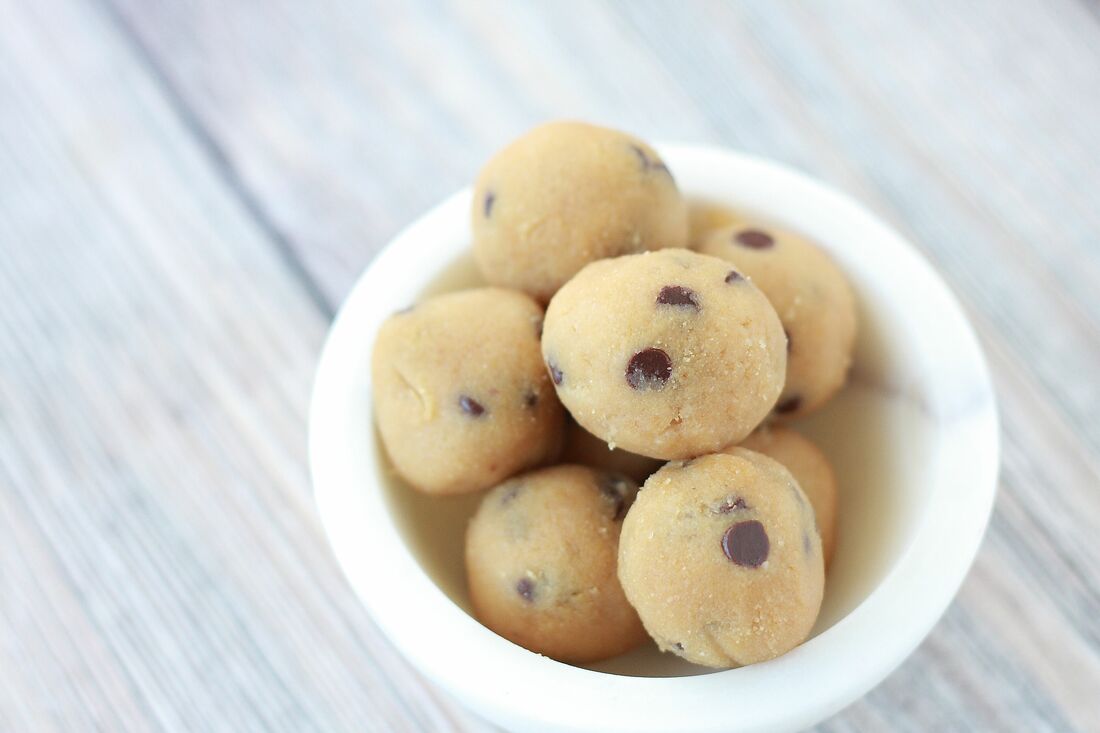 Chocolate Chip Cookie Dough BitesIngredients:
Directions:
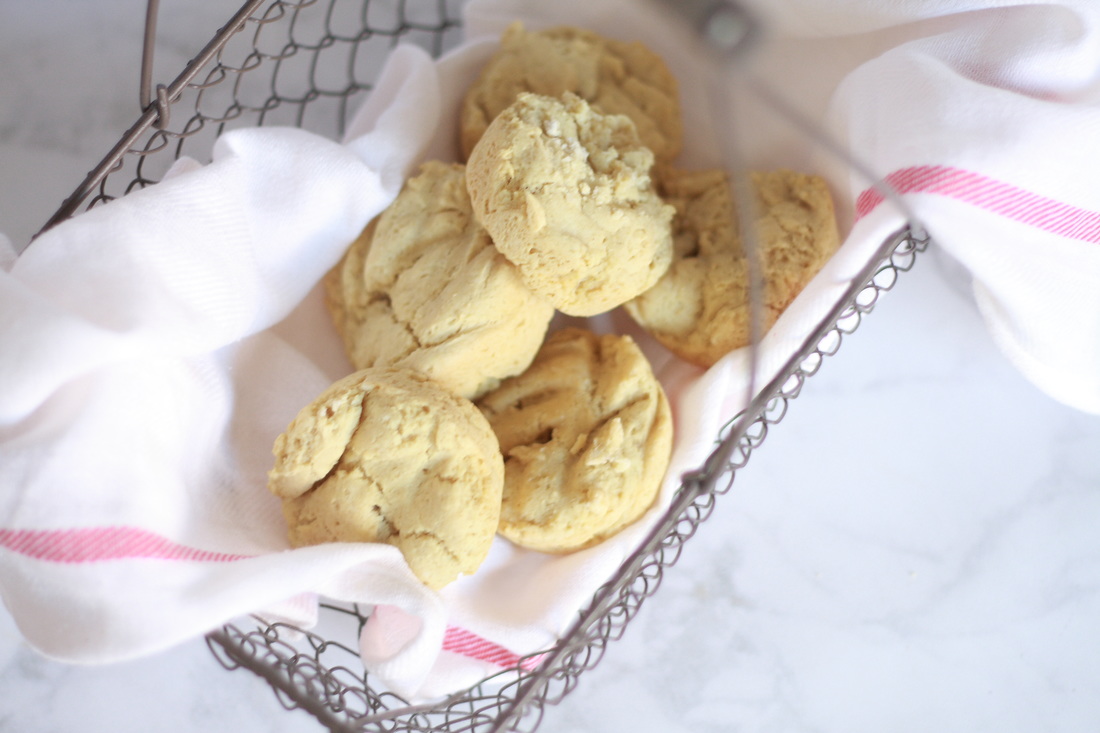
gluten free - yeast free - soy free - dairy free - sugar free - nut free Simplicity is key when it comes to having recipes on hand for your side dishes. Oftentimes, with stricter diets, our efforts and time going into creating healthy entrees. When you have the task of also making multiple meals a day, side dishes, appetizers and desserts, no one has time for complicated. I like the minimal amount of ingredients in these rolls and that they are easy to whip in the morning when I'm already baking for the day and store them for dinner or for the week. They hold up really well when stored and sealed and can be served along any meal of the day.  Earlier this week I made a batch of these little hearty rolls while I was in the kitchen whipping up a new Blueberry Donut recipe and I knew I wanted to serve them with dinner. A dinner I had not yet planned. Once Mr. Charming got home I made a pot of delicious Turkey Chili (again, simple and easy!) consisting of spiced turkey, hot chili beans, spices, onion and avocado and served these rolls alongside it and it was phenomonal! These rolls are PERFECT for soaking up chili sauce, stew juice or runny eggs when served with a little natural fruit jam at breakfast. So good, so so so good. Enjoy! 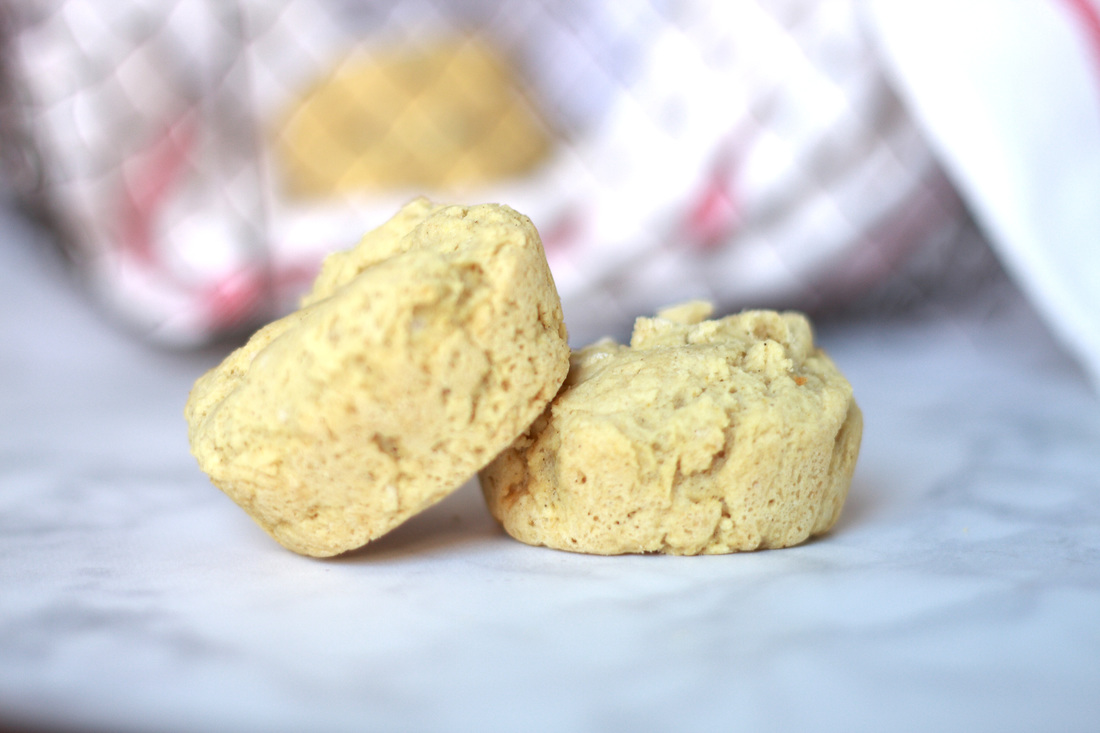 YEAST FREE DINNER ROLLSIngredients:
Directions:
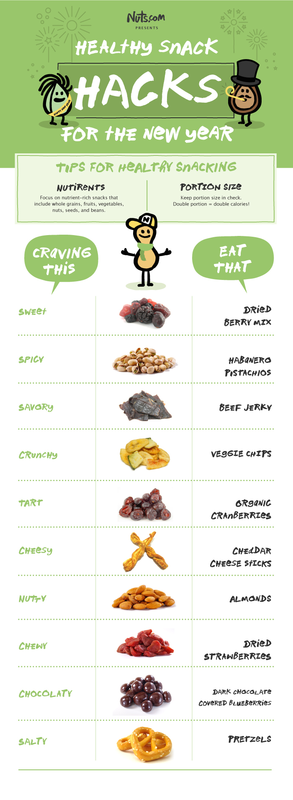
 What is your favorite yeast-free bread that you've been able to whip up or find? 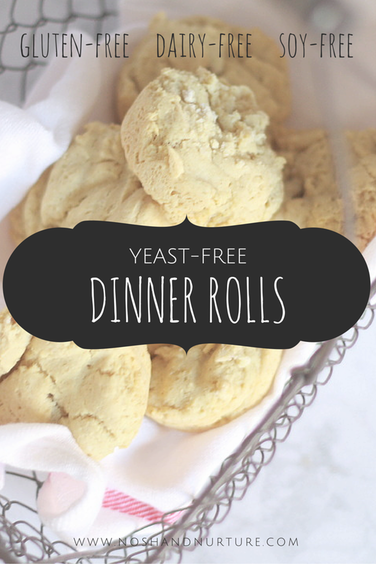 So from time to time I have friends who knock out amazing Paleo recipes and I make them come over and share. And then I beg them for the recipe to share with all of you, haha. Mine and Mr. Charming's best friend, Sheldon, is a fellow Christian and blogger as well. His blog www.TwithJ.com inspires me daily. His worldwide travel and deep connection with God through it all is profound and beautiful and I'm hoping he will be a guest poster in this space with his insights, travel tips and yummy healthy recipes while I'm on maternity leave. The other night he came over for our weekly dinner and game night and he brought these little beauties pictured below. He has his own garden and grows delicious organic zucchini. A sucker for fried zucchini I loved his healthier spin on the classic favorite. The recipe is below and pairs as a great side dish to a grilled chicken, a salad or on their own as a snack. 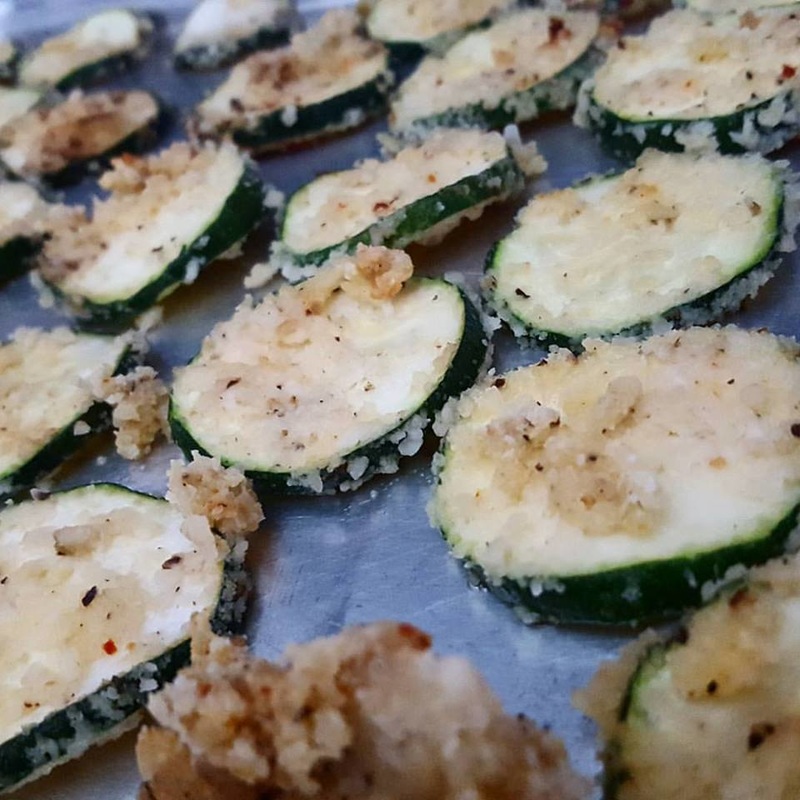 Ingredients: 1 Medium Zucchini 3/4 c. Almond Meal 1 tsp. Pepper 1/2 tsp Pink Sea Salt 1/2 tsp 6 Pepper Blend 2 Large Eggs Directions: Preheat oven to 400 degrees. Crack and whisk eggs in a small bowl. Mix pepper, almond meal, salt and pepper blend in a separate bowl. Thinly slice zucchini and dip in egg wash. Coat thoroughly in almond pepper mixture. Place on cookie sheet and bake on one side for 5 minutes. Flip and cook an additional 5 minutes. Let cool and serve alone or with a Paleo ranch dip. I've always been an avid believer in snacking. Eating throughout the day, instead of consuming three large meals, not only keeps your blood sugar levels more stable, but it allows your energy to last throughout the day and not dip and spike drastically. Now that I'm expecting a little of my own and my metabolism is on overdrive, I've been searching for ways to stay full throughout out the day, while staving off morning sickness and getting the minerals and nourishment I need. Enter, nuts. 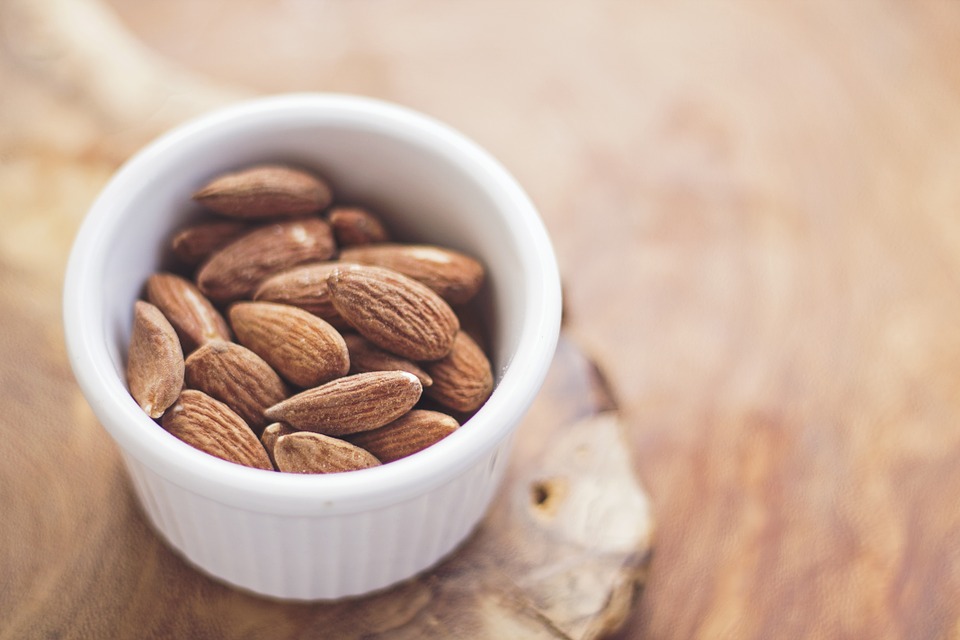 Since week 6 of my pregnancy, almonds have been a must-have when I'm out and about. They keep me full, have helped the nausea and are a great source of fiber, protein and healthy fat. Nuts (and seeds too!) have always been a must when creating snacks that are healthy and filling. My most popular snack recipes being my Blueberry Pumpkin Trail Mix, my delectable & warm Maple Cinnamon Almonds and my Double Chocolate Protein Balls. Nuts.com offers MANY healthy, nutty snack ideas as well. With options for kiddos, work, holiday parties and vegan options, there is something for everyone. I love shopping their extensive shop of organic chocolate, nuts, seeds and dried fruit to make crazy trail mixes. I'm not down with what's sold in regular stores and I love creating my own concoctions. Like a mix of sunflower seeds, fresh dried coconut, cranberries and dairy-free dark chocolate. It's a rich, sweet and decadent treat with plenty of nutrients and vitamins for me and baby. Mixing cashews with dried fruit is always a yummy fruity/salty combination as well and gives me good energy when I'm working on tight deadlines. Nuts make for great brain fuel. 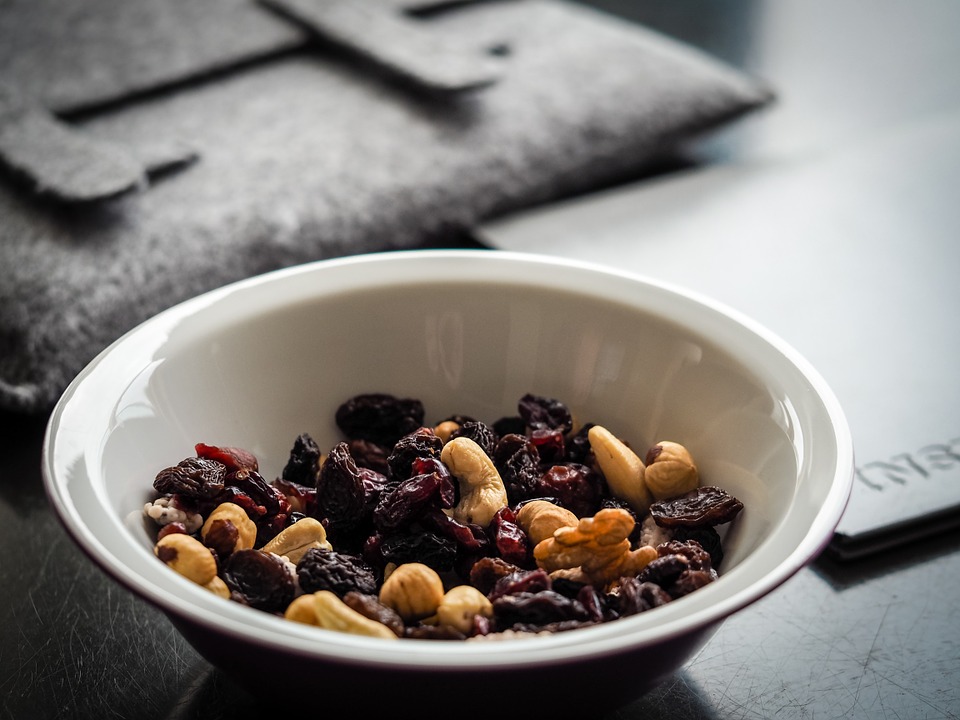
This season is my favorite. A season of cool weather, family & friends, and lots of travel and celebration. And although I am welcoming it with an open heart, it's also a season of growth, strength and testing for Mr. Charming and I. As I mentioned before, on keeping you all up to date on our family journey, we met with the OB again today who has turned us over to a fertility specialist center. We've done all the "normal" tests we've can, I tried a year on hormone therapy, bringing us to just over 2 years TTC and it's now time to step it up. I will admit today was hard. Fear, frustration and sadness are all trying to creep in. But I know better. I know I serve a greater God who has all of these moments as part of His grander plan for us. So today, I could have wallowed and napped (which I realllly wanted to do.) Or I could have celebrated life today. I chose the second. I slipped on my shoes and got outside with my fur baby Charlie and made delicious protein balls to take with me to nosh. Because yummy nosh = smiles. And because hormones = chocolate So I opted for a healthier spin on chocolate instead of bingeing (much controversy on how to spell this word, haha) on dark chocolate squares. We always have a choice.
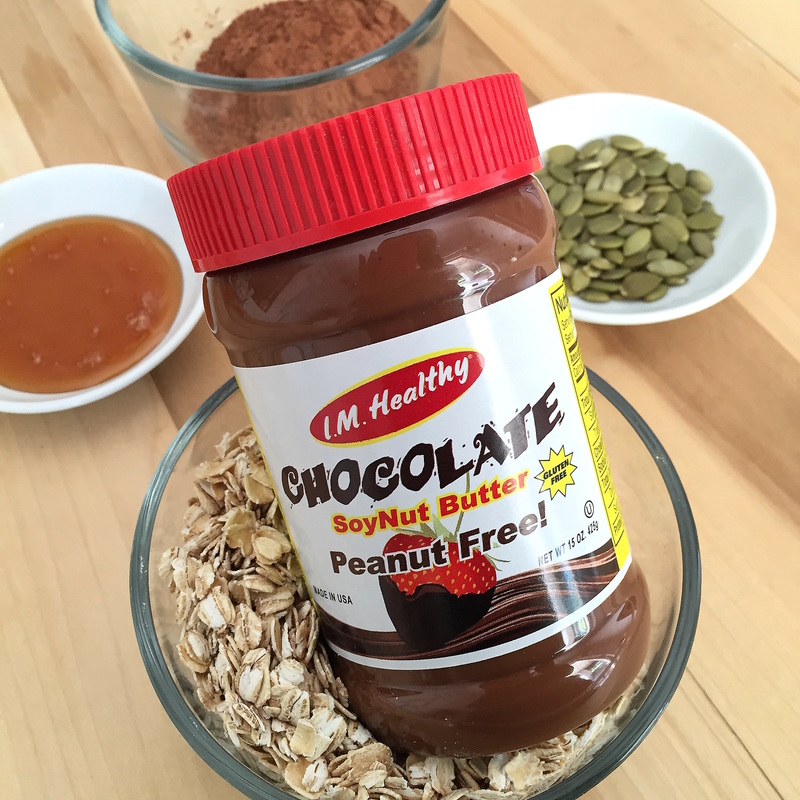
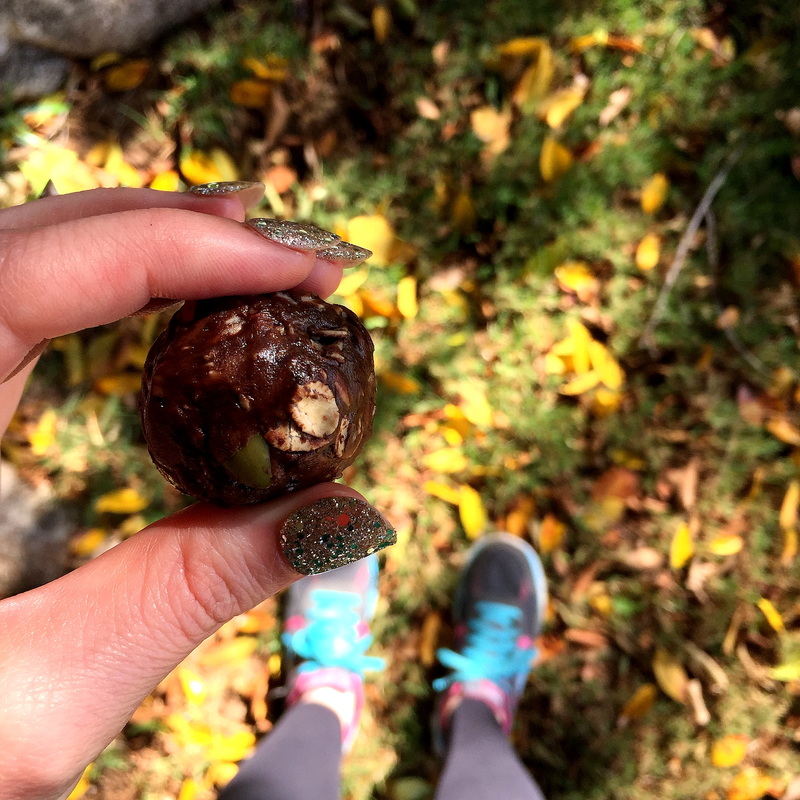
Getting into the kitchen and getting outside are very therapeutic for me. Since my touring and Hollywood days I tend to become introverted if I'm by myself for too long. Working from home is a blessing but it can shut you off from the world far too often, so I make it a point to get out and see people, move my body and talk to God outside. It's amazing what thirty minutes of sunshine and whipping up new, yummy food can do for a girl. I'd been seeing a million protein packed recipes and I'd also been eyeing my stash of pumpkin seeds that I'd been wanting to incorporate into something. With the mix of my need to make everything pumpkin, my current need for chocolate and a desire to make a snack that was hike-friendly, my Double Chocolate Pumpkin Protein Balls were born. 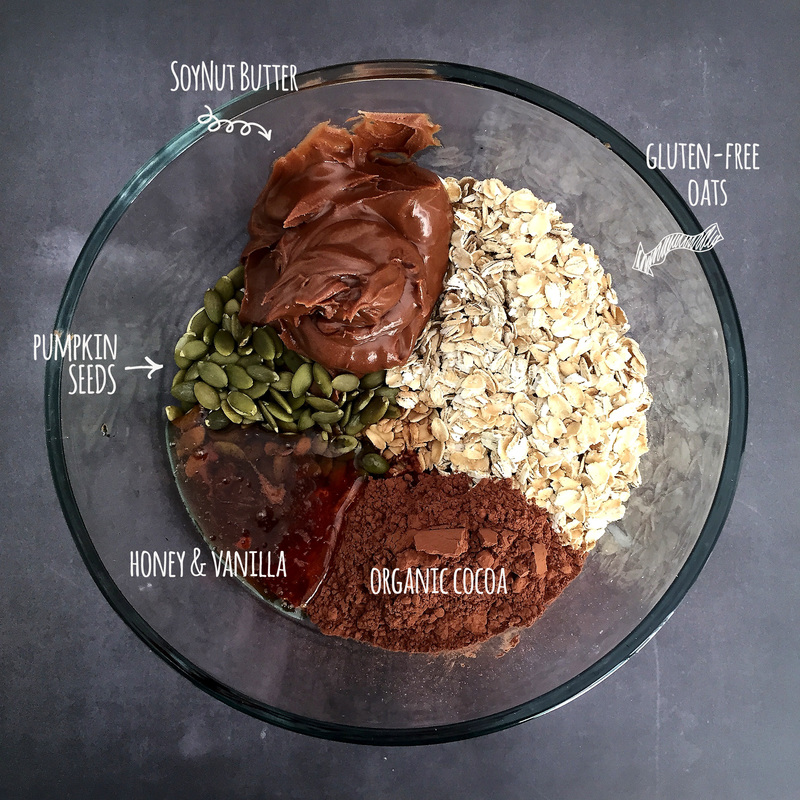 These came out so good. They almost have a fudge like consistency, so I only had a couple. They would also be a GREAT addition as a party dessert for the holidays. I am LOVING pumpkin seeds right now. They are a FANTASTIC food to help detox your body. Gluten-free oats also help cleanse my system by adding fiber into my diet that is primarily protein and veggie based. SoyNut Butter is a non-gmo, nut free alternative to nut butters for those who can't tolerate nuts, while still offering the same nutty, roasted flavor. The soybeans are also packed with protein, meaning you don't need to use a protein powder in these balls to get your protein in. Ingredients: 1/2 Chocolate SoyNut Butter - enter to win a free jar! 1 C. Gluten-Free Oats 1/4 C. Pumpkin Seeds 1/3-2/3 C. Organic Honey (It varies on dryness, I like mine "fudgier") 1 Tsp. Organic Vanilla 1/4 C. Unsweetened Cocoa Powder Ground Chia & Flaxseed Optional for additional nutrition benefits Ingredients: Put all the delicious ingredients in a bowl, mix well, chill for 20-30 minutes, form balls with hands, enjoy. They store for up to a week in a glass airtight container.
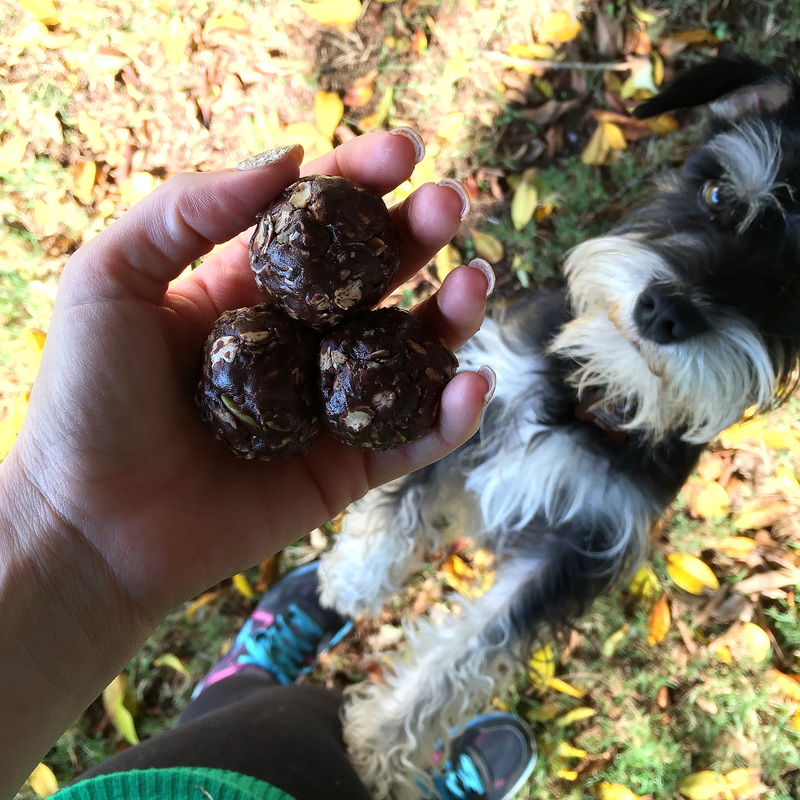
Once chilled I tossed a few in a bag and headed out to explore the fall scenery with my Charlie bear. He thought they looked super yummy too! But he noshed on dehydrated chicken instead. ;) What are your favorite easy-to-grab hiking treats? This is a sponsored post. I received free product and compensation from Soy Nut Butter Company in exchange for my recipe creation. Although this post is sponsored, all opinions, as well as the photography, are my own, as authenticity is the hallmark of the Nosh and Nurture brand.
Making your own applesauce is super easy & can save you plenty of money. You can also store it in small containers to make it easy to take on the go and safer than buying the applesauce packets that can contain mold.
Ingredients: 3-4 Lbs of organic fuji or gala apples, peeled & cored. 1/2 c. filtered water Directions: Once apples are peeled and cored, slice them into wedges. Place them in your slow cooker and pour in filtered water. Cook on the low setting for 6 hours. Once the apples are extremely soft, use an immersion hand blender (or transfer to a conventional blender) to puree into applesauce. Store for up to seven days in the refrigerator or freeze for up to five months. Ingredients:
2 bunches small carrots, peeled, trimmed 2 tbsp Grade B, high quality maple syrup 1 tbsp fresh thyme, chopped Salt to taste Directions: Heat a small amount of sea salt water in a medium sauce pan. Cook carrots until just tender. Drain well, place in bowl and toss with maple syrup, thyme and salt. Kids also enjoy the slight sweetness of the carrots. Serve hot! |
archives
September 2020
categories
All
|


 RSS Feed
contact
|
aboutNosh & Nurture was born of this journey I am on to better the health of myself, my family and those around me. What started as a simple compilation of recipes has grown to a all-around lifestyle journal with ways to incorporate organic products into your home, pantry and beauty cabinet. I also include stories on pregnancy, new motherhood, travel, Proverbs 31 marriage, and spiritual health, as I am a Christian who couldn't do any of this without my Lord & Savior Jesus Christ. For more of my story you can click here.
All recipes are gluten-free and dairy-free with a lot of soy-free, grain-free, sugar-free options. |
additional links
|

All content herein is owned by Mandi Pimental,Nosh & Nurture and The Clean Plate with Mandi. Pinning images is allowed, however, reposting blogs, recipes, photos or additional content without a link back to NoshandNurture.com is prohibited.
© 2012-2023 Nosh & Nurture. All Rights Reserved.
Website by Weebly. Photography, Graphics and Content by Mandi Pimental, unless otherwise credited.
© 2012-2023 Nosh & Nurture. All Rights Reserved.
Website by Weebly. Photography, Graphics and Content by Mandi Pimental, unless otherwise credited.