|
gluten free - paleo - vegan - soy free - kid friendly 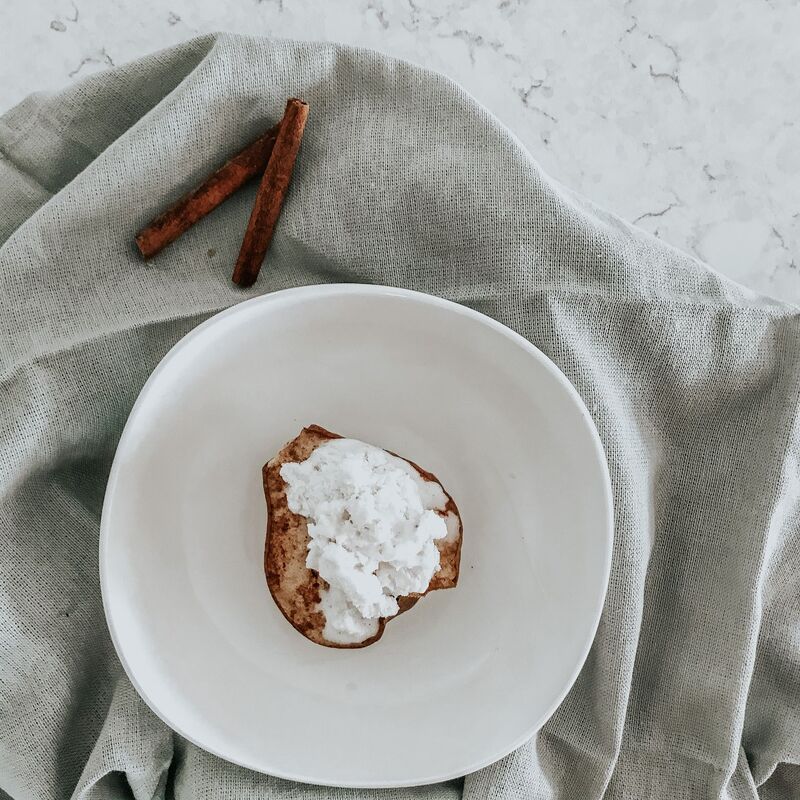 Fall is officially here. As in, the calendar says so. It's still hitting temps in the three digits here - so I am praying for some cooler days with my boys before little baby girl arrives. Due in just 3 short weeks folks, this pregnancy felt like it went SO much faster than Grey's. Probably because I had a four year old, homeschool preschool, a pandemic and shooting a cooking show to keep me busy through it. I'll keep this short and sweet today - and speaking of sweet, these Vanilla Maple Roasted Pears are SUCH a wonderful hygge treat to enjoy by a fire or snuggled under a fall throw with a good book. We served these alongside a traditional Medieval Knights dinner for my sons preschool and they were the perfect dessert addition! Vanilla Maple Roasted PearsIngredients
Directions
1 Comment
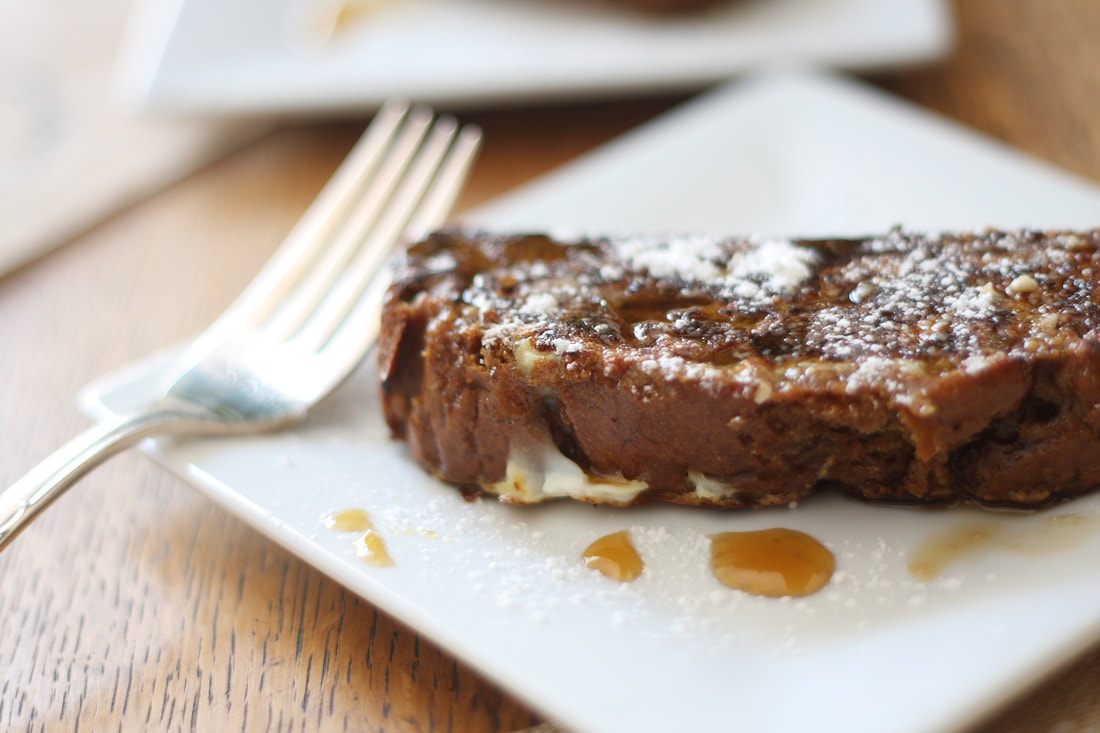
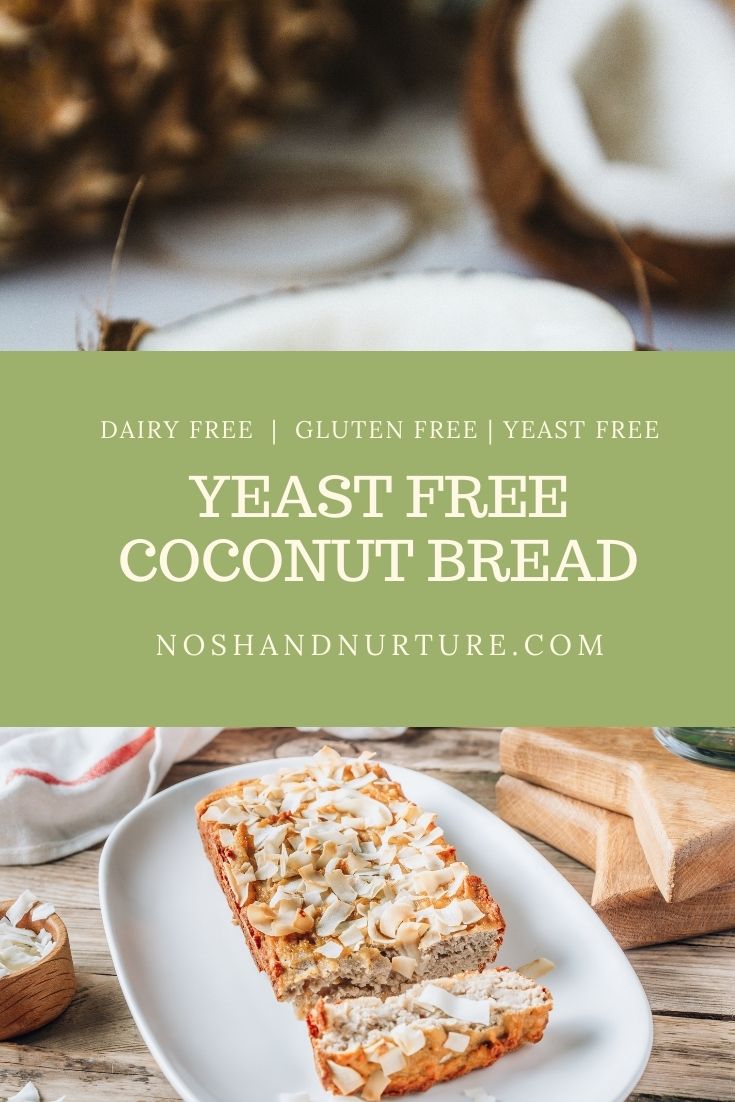
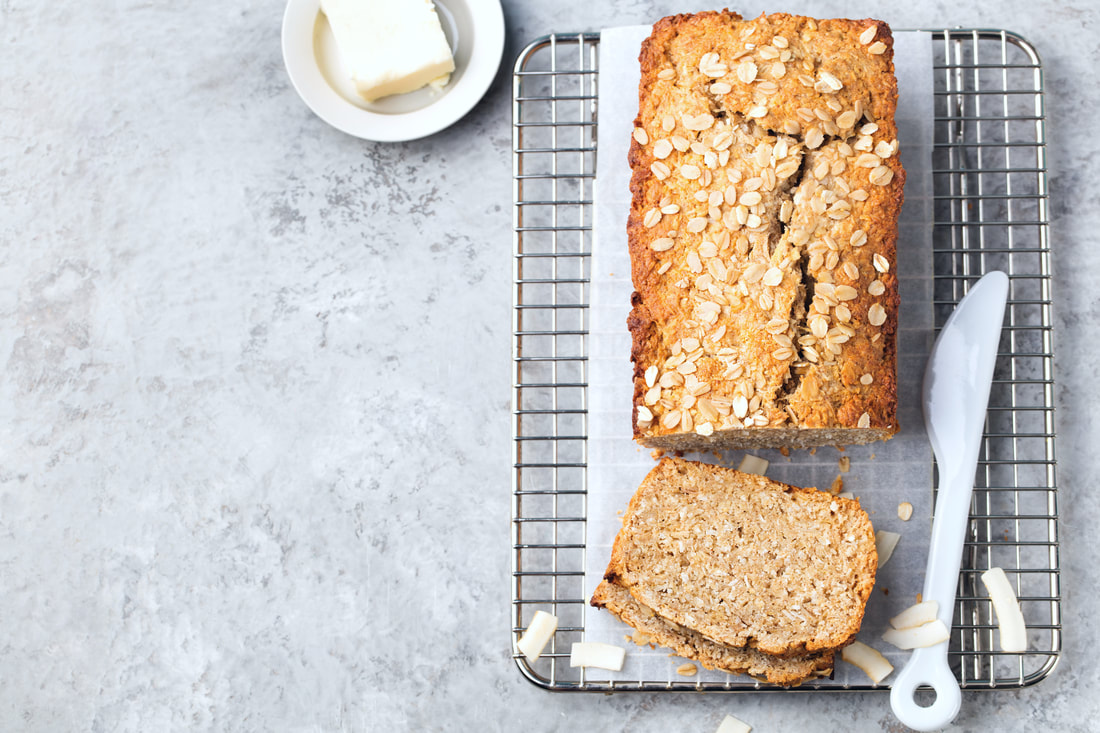
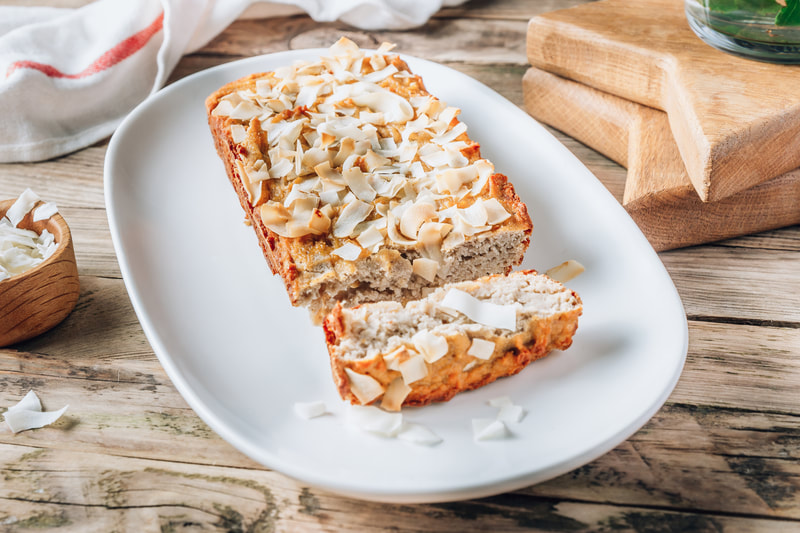
Grain Free - Gluten Free - Dairy Free - Soy Free - Sugar Free Another day, another bread on the homestead. This bread is yeast free and has a sweetness that can be a great foundation to dessert breads, french toast or just served with jam at breakfast or brunch. We make this one when we want to take a break from yeast, otherwise we whip up loaf of my traditional Oat Bread that is vegan and gluten free. 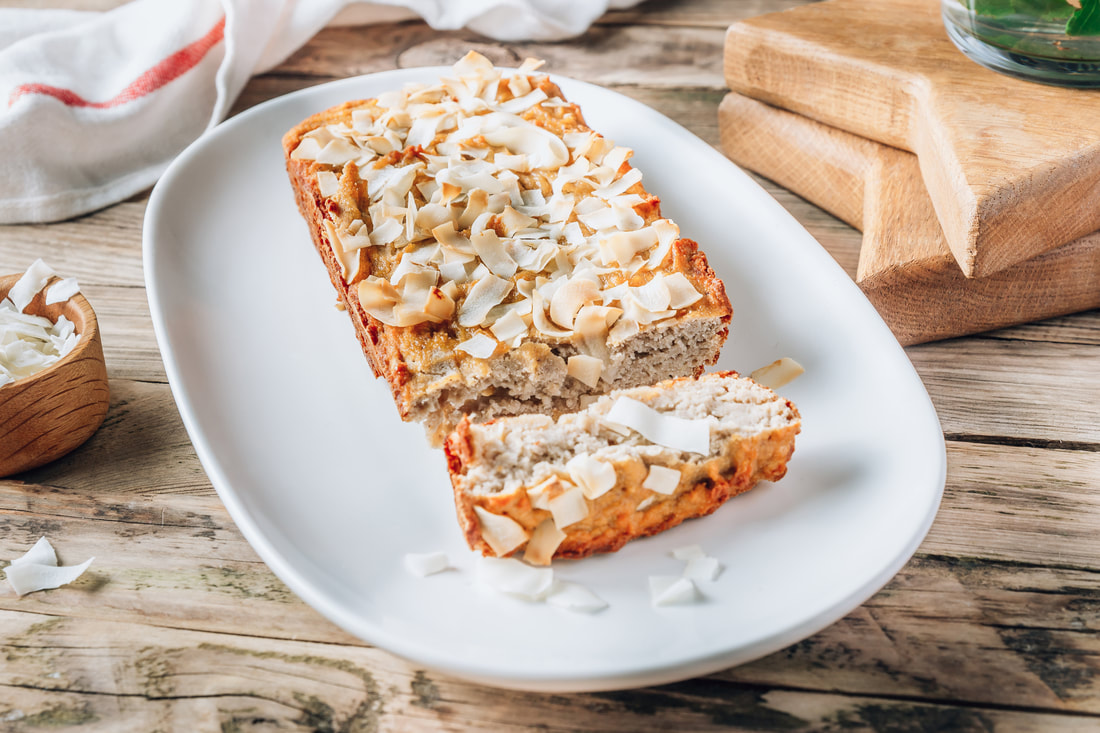 Composed of just six simple ingredients, this grain-free bread is dense and satisfying. Though the bread is made from coconut flour, its flavor is only slightly reminiscent of coconut. While you could use this coconut flour bread to prepare sandwiches, I think it's much better suited as a dessert bread or french toast base. Yeast-Free and Grain-Free Coconut Bread |

 |
|
Gluten Free - Dairy Free - Egg Free -Vegan - Soy Free
We are on a mission this year - to move into the space of not just eating clean and caring for our home in a non-toxic way, but teaching ourselves and our children more actual, sustainable, homesteading skills.
Being "self-sufficient" was never something I was taught growing up, and I honestly feel unprepared for things that may come in the future and a proverbs 31 wife and mother is to be prepared so that her household doesn't go cold or hungry.
We have printed a list of skills to teach ourselves and our children, as well as a list of things we'd love to do with our land that the Lord has blessed us to build our farmhouse upon.
We decided to start simply with things we use everyday - growing a simple garden, learning to start a fire and baking homemade bread from scratch.
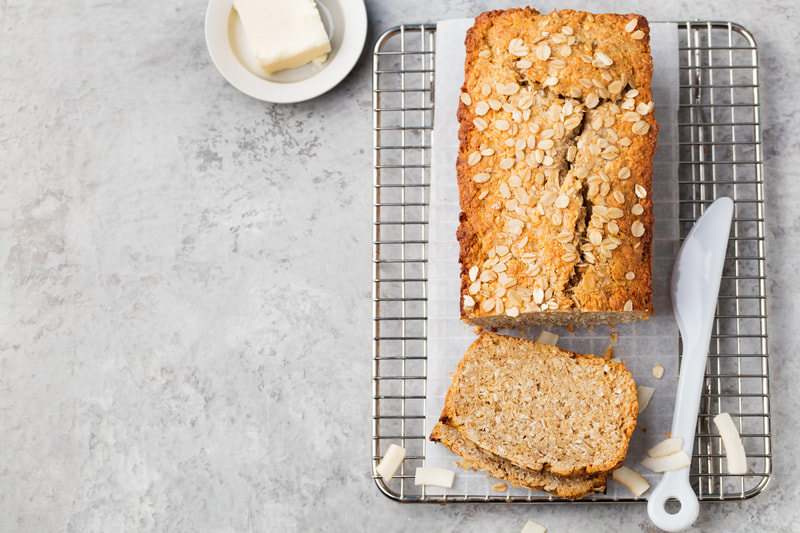
Today, I am sharing a simple and delicious Oat Bread recipe that is vegan and gluten free. Grey helped me make most of it as we used it as a Pre-K lesson for school and it made my heart happy to see him happily learning something that could benefit him and his family in years to come.
The recipe is below and couldn't have been easier - I didn't need a bread maker - just a mixing bowl, some elbow grease and a simple bread pan and oven! It was GREAT with vegan butter, jam or just fresh from the oven.
The recipe is below and couldn't have been easier - I didn't need a bread maker - just a mixing bowl, some elbow grease and a simple bread pan and oven! It was GREAT with vegan butter, jam or just fresh from the oven.
Homestead Oat Bread
Ingredients:
Directions:
- 1 C. Gluten-Free Oats (not quick-cooking!)
- 1/2 C. Oat Flour
- 1/2 C. Coconut Sugar
- 1/4 C. Vegan Butter
- 1 TBSP sea salt
- 2 C. hot water
- 1 TBSP. active yeast
- 1/2 c. warm water
- 1 sprinkle of white sugar
- 6 C. Gluten-Free All Purpose Flour
Directions:
- Do not preheat your oven at this time - as you will take time to wait for the yeast to rise.
- Mix together oats, oat flour, coconut sugar, vegan butter, sea salt and 2 C. of hot water.
- Set aside once mixed to cool.
- Activate the yeast by adding 1/2 c. warm water and a sprinkle of sugar and stir until dissolved. Let sit for 10 minutes.
- Stir yeast mixture into oat mixture.
- Making sure your surface and hands are well-floured, mix in 3 C. of your all-purpose flour and begin to knead the dough. Add the remaining 3 C. as you knead to get a bread dough consistency.
- Cover dough with a damn towel and allow to rise for one hour.
- Once dough is risen, preheat oven to 350 degrees and punch it down and separate into two loaf pans.
- Bake both loaves at 350 for 30-40 minutes until your toothpick comes out clean.
- Enjoy hot out of the oven! Save in the refrigerator for up to one week or freeze to enjoy later.
What homesteading or survival skills have you taught your children or what's next on your list? Have you made homemade bread? What's your go-to recipe?
 |
|
More Like This

This blog post has been sponsored by the Vidalia Onion Committee. Links featured within, not inclusive of the official Vidalia Onion Committee website or previously sponsored content, are not sanctioned by the Vidalia Onion Committee
I always seem to find myself experimenting with so many entrée and side recipes in the springtime. Maybe it’s the gorgeous weather, the backyard picnics or the impending pool days. Usually, winter brings about much baking and sweets and plentiful brunch foods. While spring I turn my focus to fresh entrees and hearty dishes that I can bring to the table for mealtime. I find this pattern makes for a well-rounded arsenal of new recipes to access each year, both for our own family, and for my readers.
I have the honor of partnering with the Vidalia Onion Committee to bring you my latest recipe – a perfect side dish to pair with salads or meat dishes for a well-rounded meal. The Vidalia crops limited availability window works well with my need to make savory dishes in the spring and summer, as they are only available April through August. It’s like a match made in food creator heaven.
I have the honor of partnering with the Vidalia Onion Committee to bring you my latest recipe – a perfect side dish to pair with salads or meat dishes for a well-rounded meal. The Vidalia crops limited availability window works well with my need to make savory dishes in the spring and summer, as they are only available April through August. It’s like a match made in food creator heaven.
The unique taste profile and sweetness of Vidalia onions adds dimension to this dish which is simplistic and beautiful. You can double or triple the recipe and easily share it with others. We adore dropping meals on our friend’s doorsteps from time to time. New babies, sick family members, birthday surprises – there are so many instances where this warm dish can bless someone dear to you.
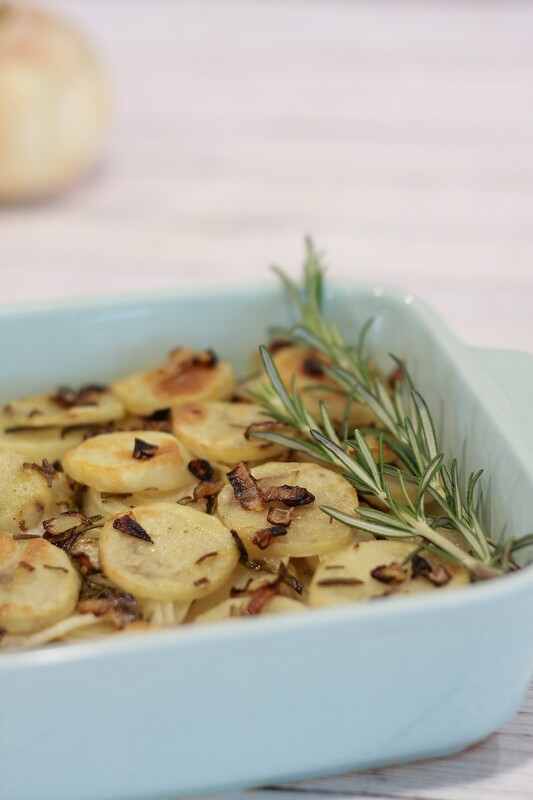
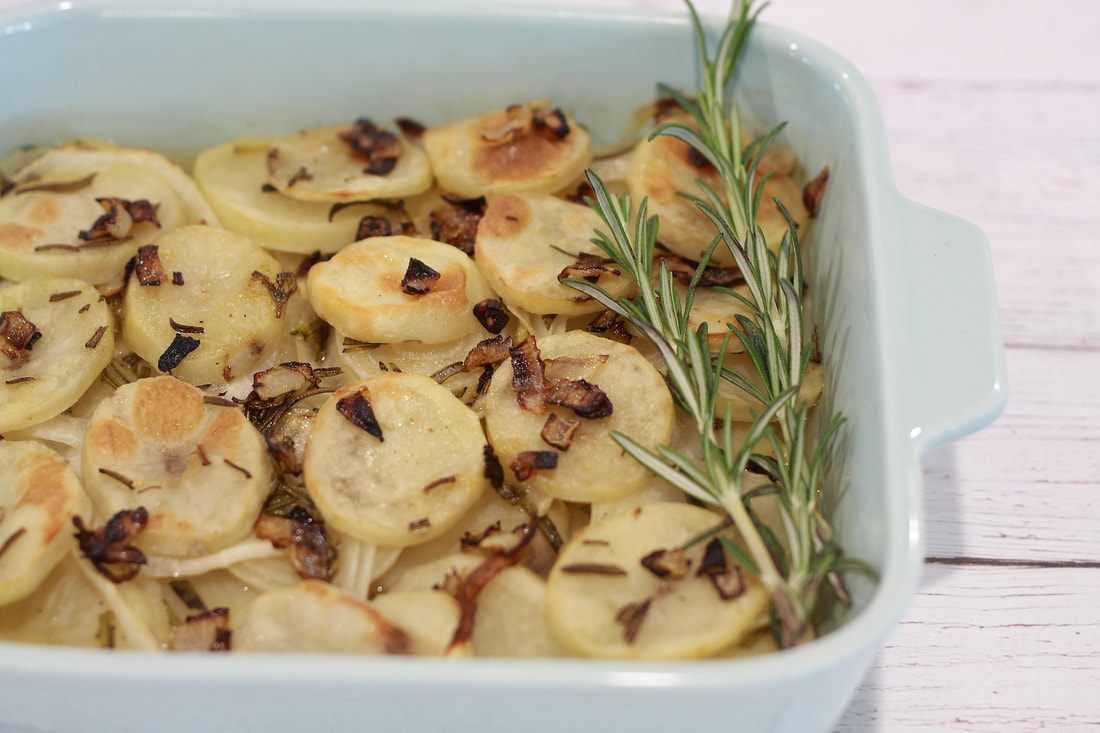
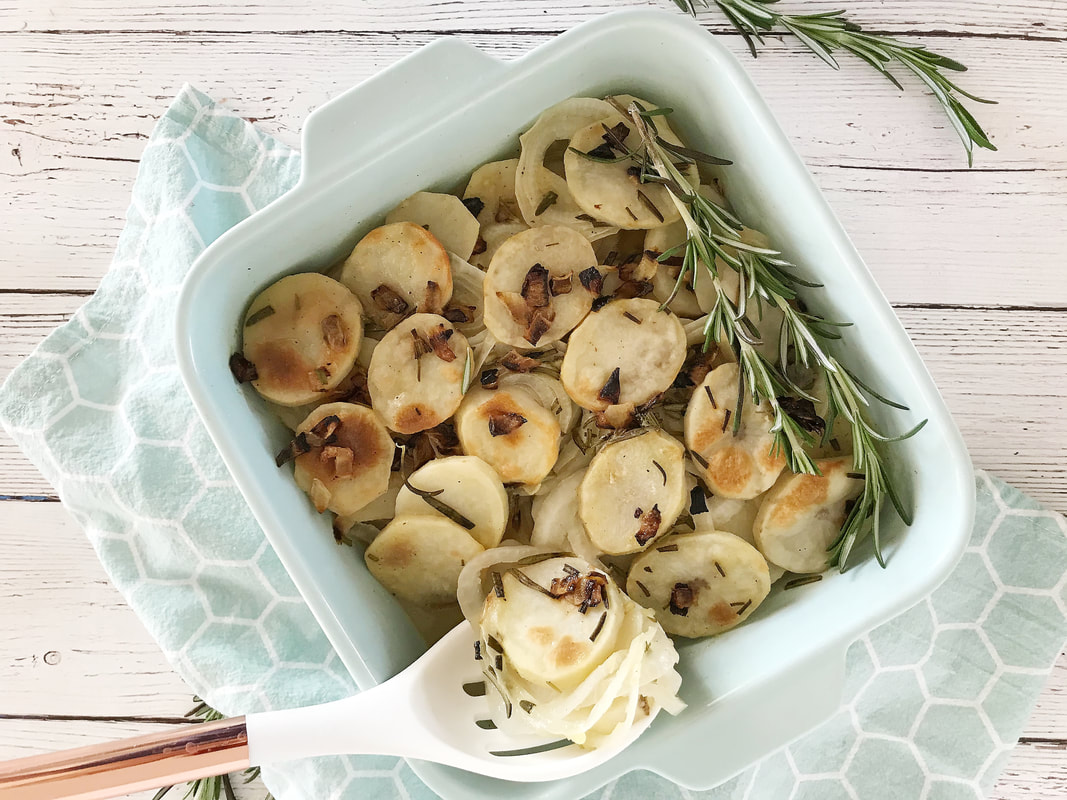
When I thought about creating something warm and hearty with my Vidalia onion delivery, I knew I would do a potato bake. This Vidalia Onion and Potato Bake is comforting while remaining nutritious and the addition of fresh herbs from our spring garden add to the homemade factor that makes me feel so proud when I’m dishing it out to my family.
I’d love for you to be able to create sweet moments this season as well by following my simple recipe below. You can easily cook it ahead of time too as it reheats beautifully.
Vidalia onions are hand planted and harvested in only 20 counties in South Georgia.
Another fun surprise? I’m giving away a shipment of a ten pound box of Vidalia onions with Vidalia on social media right now as well and would love for you to enter to win and see you create this dish or to get creative and see what you create! You can enter at http://www.instagram.com/noshandnurture
And for more on delicious Vidalia Onions, visit here!
Vidalia Onion and Potato Bake
Ingredients:
- 2 Vidalia onions
- 8 small gold potatoes
- 2 tsp Himalayan sea salt
- ½ tsp white pepper
- 1 2/3 C. vegetable broth
- 1 ½ TBSP. fresh rosemary
- Additional sprigs of rosemary for garnish
Directions:
- Preheat oven to 350 degrees.
- Grease bottom and sides of a 10x10 baking dish with butter or oil.
- Wash potatoes and peel. Set aside.
- Peel and slice your Vidalia onions and, using a sharp knife, cut your potatoes into thin rounds.
- Arrange your first layer of potatoes at the bottom of your prepared baking dish. Top with a layer of Vidalia onions, fresh rosemary, salt and white pepper.
- Repeat until you’ve used all ingredients and finish with the top layer being potatoes and rosemary.
- Pour broth carefully over your layers until it just covers the top, adjusting the broth measurement as needed for your dish.
- Place your butter inside the dish and bake for 70 minutes or until potatoes are tender and golden.
- Garnish with rosemary sprigs to serve.
For more baked dishes like this one, stay tuned for my new show 'The Clean Plate with Mandi' this Spring which premiers on Amazon Prime Video and Roku Channel!
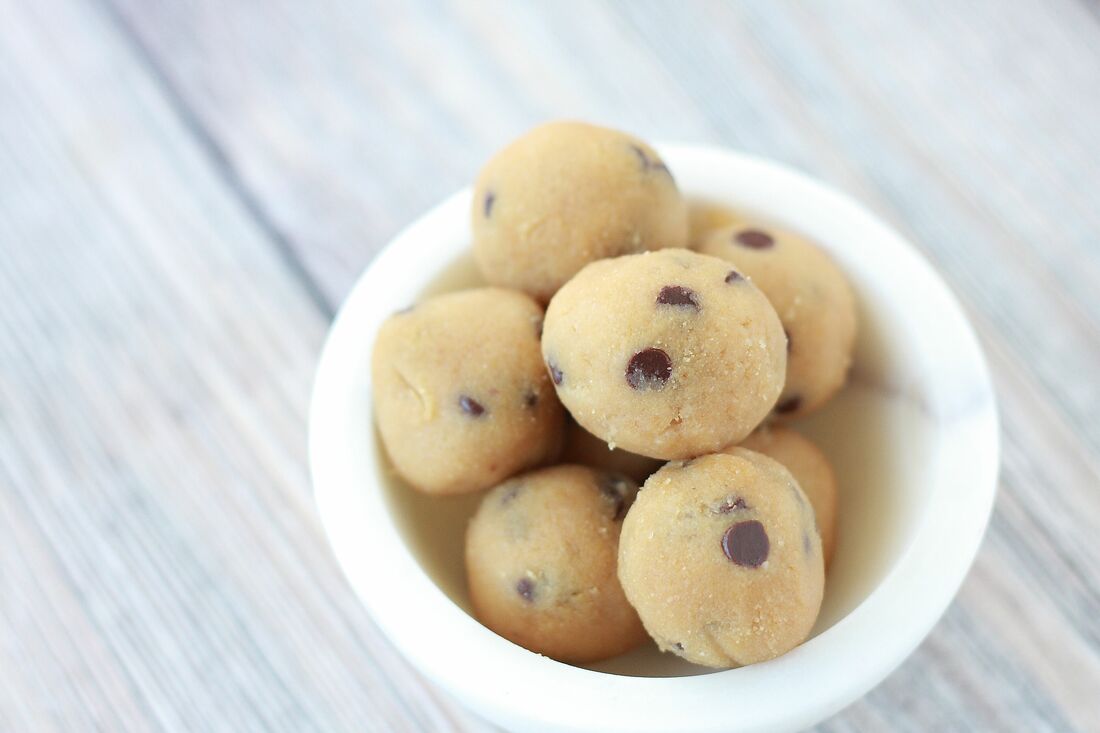
We went to Disneyland this past weekend, and I really wanted to prepare ahead of time and get into the kitchen to create some snacks that would FEEL indulgent but wouldn't cause inflammation and sugar crashes like so many theme park snacks do.
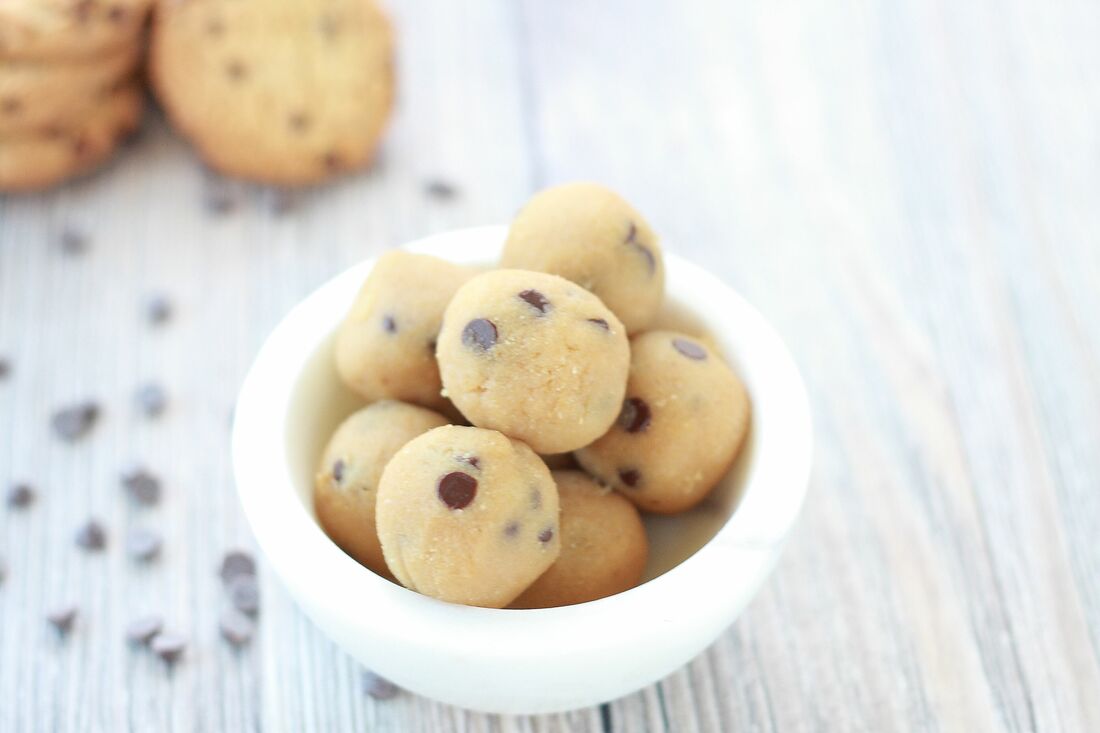
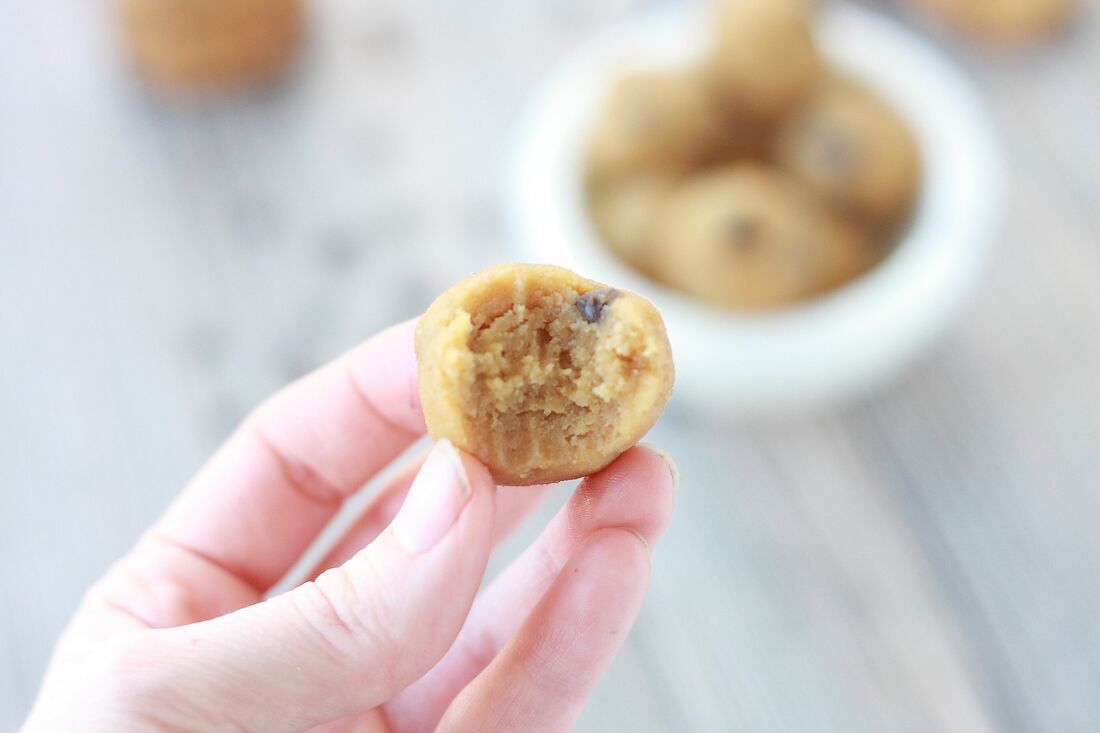
These Paleo Chocolate Cookie Dough Bites, are JUST sweet enough to pass as a dessert, but not too sweet to where they overwhelm. I made the first batch WITHOUT chocolate chips, as my strict Paleo treats, and for Grey I threw in some Enjoy Life dairy free chocolate chips to stand in for a classic cookie.
My first attempt at this recipe, I used coconut sugar and they just weren't sweet enough, very bland with the flour mixture. Once I swapped it for maple syrup, it made them JUST right and easy to roll into balls after chilling.
Where will you be adventuring with this easy, healthy snack?
Chocolate Chip Cookie Dough Bites
Ingredients:
- 1 C. Almond Flour
- 1 TBSP. Coconut Flour
- 1/4 tsp. Pink Himalayan Sea Salt
- 1/2 C. Enjoy Life Chocolate Chips
- 3 TBSP. Organic Refined Coconut Oil, melted
- 2 TBSP. Organic Maple Syrup
- 1 tsp. Coconut Sugar
- 1 tsp. Vanilla Extract
- 3 TBSP. Almond or Coconut Milk
Directions:
- Combine flours in a medium bowl and stir in all remaining ingredients aside from the chocolate chips.
- Once smooth, stir in chocolate chips and chill for 30-60 minutes.
- Once chilled, roll into balls and serve or stash
- Keeps for about 3-4 days in refrigerator, or freeze to thaw and enjoy.
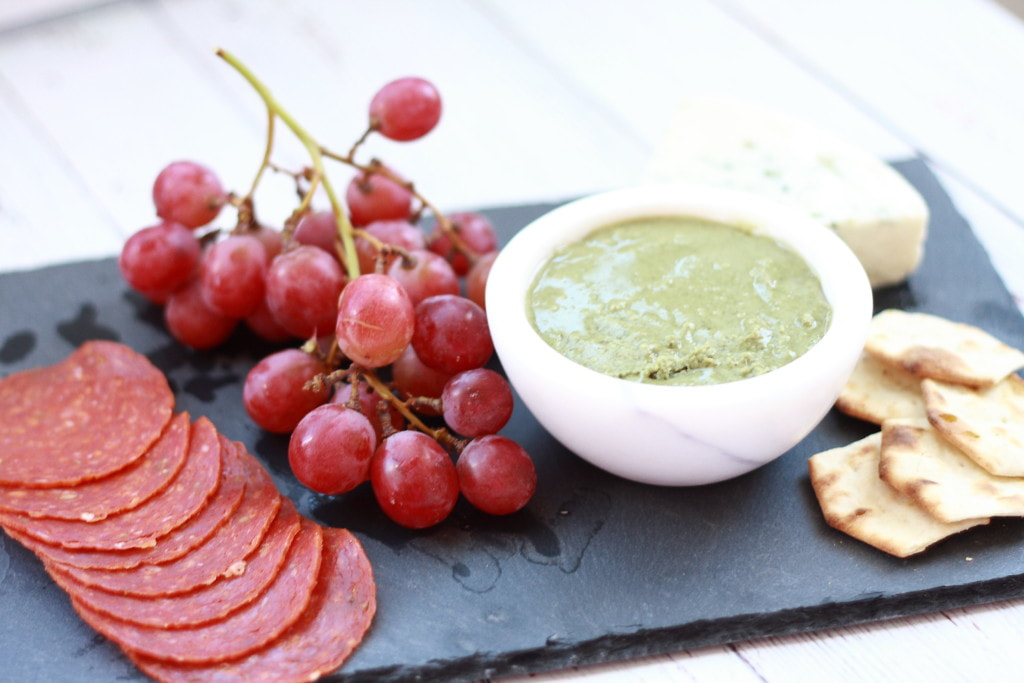
Pumpkin, pumpkin everywhere.From lattes to muffins, body scrubs to pies, it seems everyone is finding ways to celebrate the start of fall weeks before its due to arrive. Which I am JUUUUST fine with. With temps still hitting over 100 degrees, I’m ALL about pretending it’s here. Crank up the AC and give me all the cute boots, scarves and fall themed eats because I. AM. READY.
To read the full post + get the items we chose for our board, click here.
To read the full post + get the items we chose for our board, click here.
dairy free - gluten free - soy free - nut free - egg free - vegan
There is something about summertime since becoming a mom. A sweet spot I've found in the season that's been my least favorite for years. Now living in the desert, in all honesty, summer has been borderline depressing after living my early adulthood as a California girl. But since becoming a mom, especially a toddler mom, this little man has given me so many reasons to not only tolerate these days easier, but love them and the moments we are creating within them.
Some of my favorite summer moments and activities so far have been splashing in our kiddie pool, enjoying ice cream on the patio, evening nature exploring once the sun has begun to set and the heat has died down, summery crafts and BBQ recipes. But nothing makes it better than his early childhood summer bringing back such amazingly fond memories of my own childhood summers and it's something wonderful.
Some of my favorite summer moments and activities so far have been splashing in our kiddie pool, enjoying ice cream on the patio, evening nature exploring once the sun has begun to set and the heat has died down, summery crafts and BBQ recipes. But nothing makes it better than his early childhood summer bringing back such amazingly fond memories of my own childhood summers and it's something wonderful.
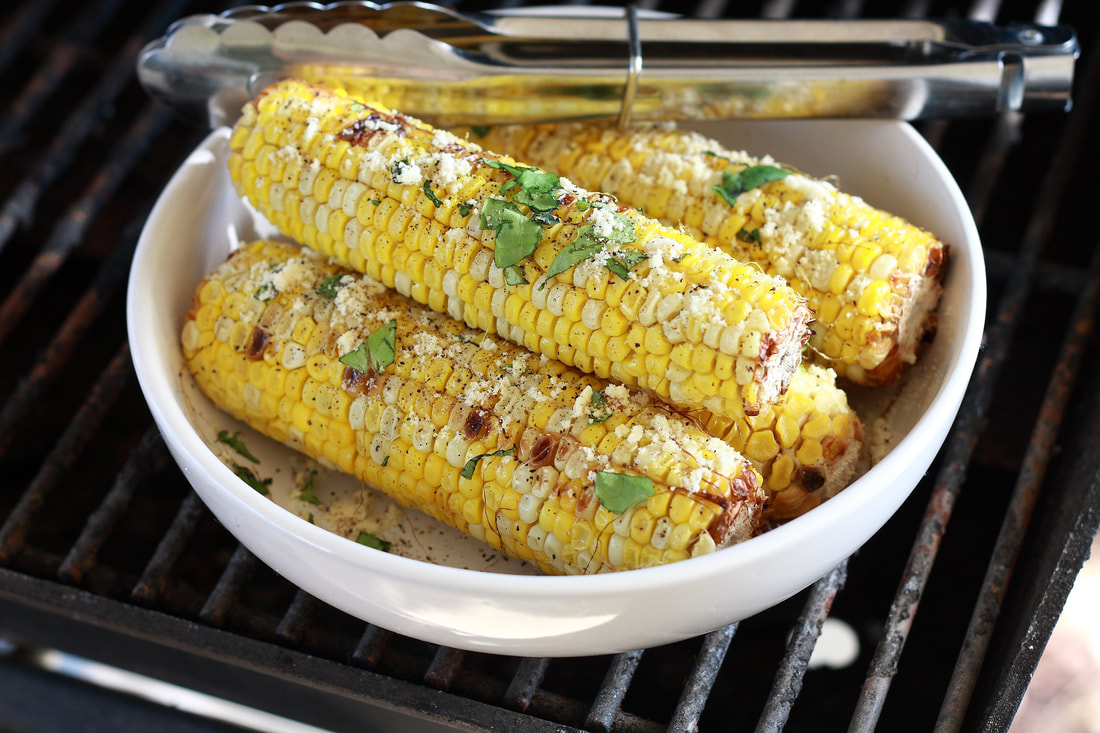
Speaking of summer BBQ recipes, I know you're all here to see what I've whipped up in the kitchen this week, or shall I say whipped up outside this week, because these babies are cooked on the grill.
I saw a recipe where someone threw cheese on corn and I was like "whaaaaaaaaaaaaat?", so I got to thinking of how I could jump on that with a vegan option and spruce it up to make it a suitable side dish to even the swankiest dinner party BBQ dishes.
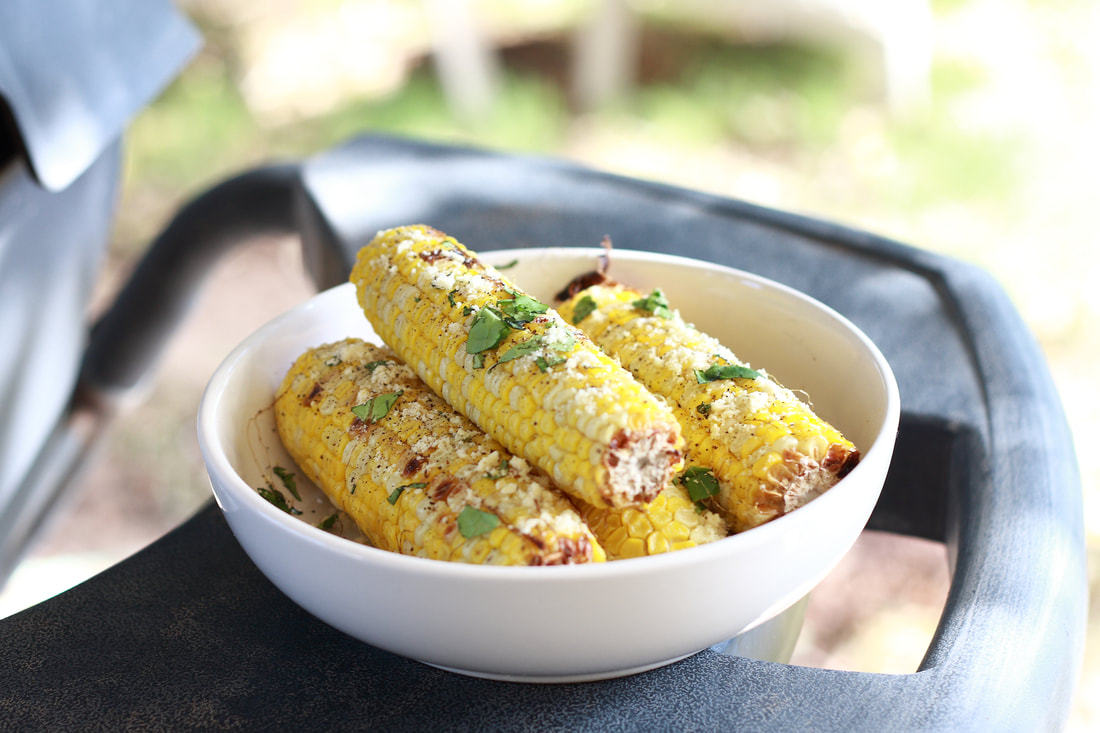
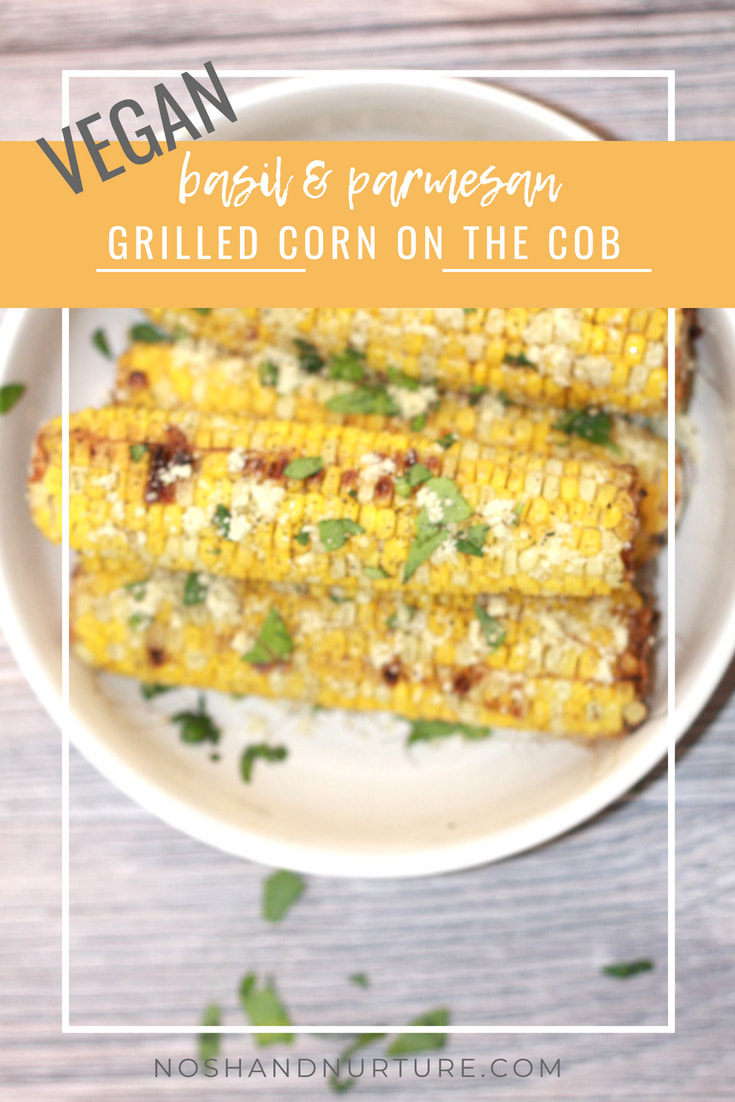
And these Grilled Parmesan Basil Corn on the Cobs were born. We paired them with steak, garlic mashed potatoes and a spinach salad, but have also served them with ribs, chicken and for lighter vegan fare with a tossed bean salad and baked potatoes.
The secret is in the cheese. Go Veggie makes vegan Parmesan crumbles that are AMAZINGLY close to the real deal without the dairy and the basil gives the dish a sophisticated taste that tickles the taste buds.
I saw a recipe where someone threw cheese on corn and I was like "whaaaaaaaaaaaaat?", so I got to thinking of how I could jump on that with a vegan option and spruce it up to make it a suitable side dish to even the swankiest dinner party BBQ dishes.
And these Grilled Parmesan Basil Corn on the Cobs were born. We paired them with steak, garlic mashed potatoes and a spinach salad, but have also served them with ribs, chicken and for lighter vegan fare with a tossed bean salad and baked potatoes.
The secret is in the cheese. Go Veggie makes vegan Parmesan crumbles that are AMAZINGLY close to the real deal without the dairy and the basil gives the dish a sophisticated taste that tickles the taste buds.
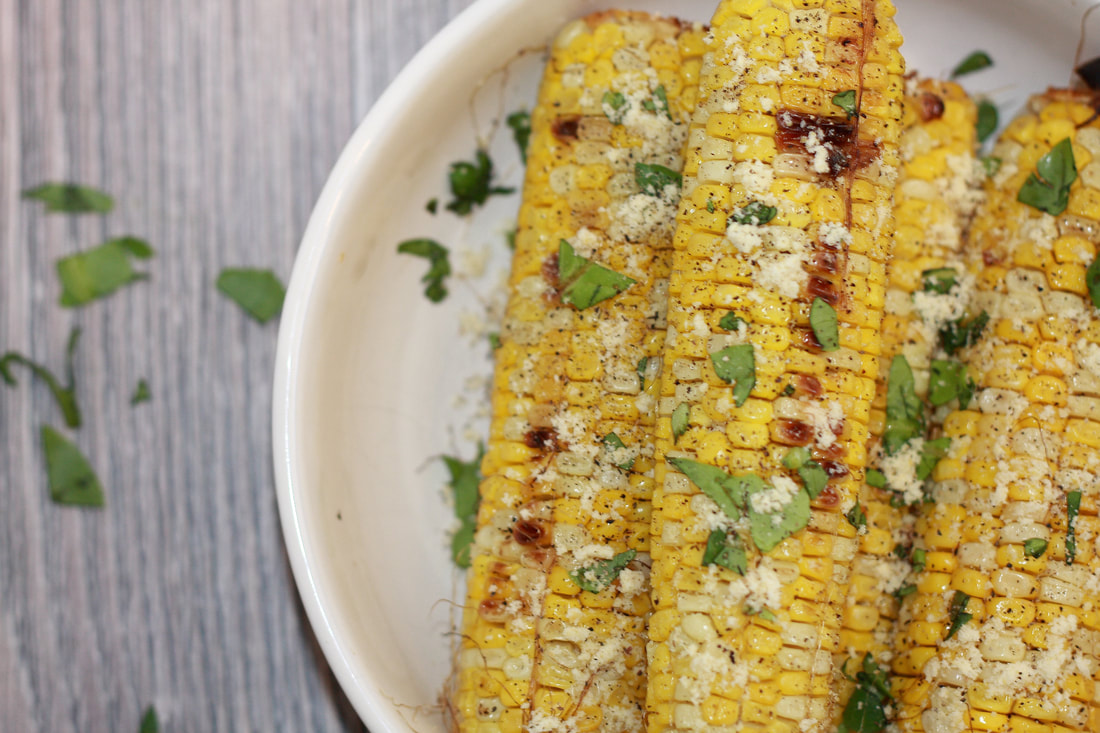
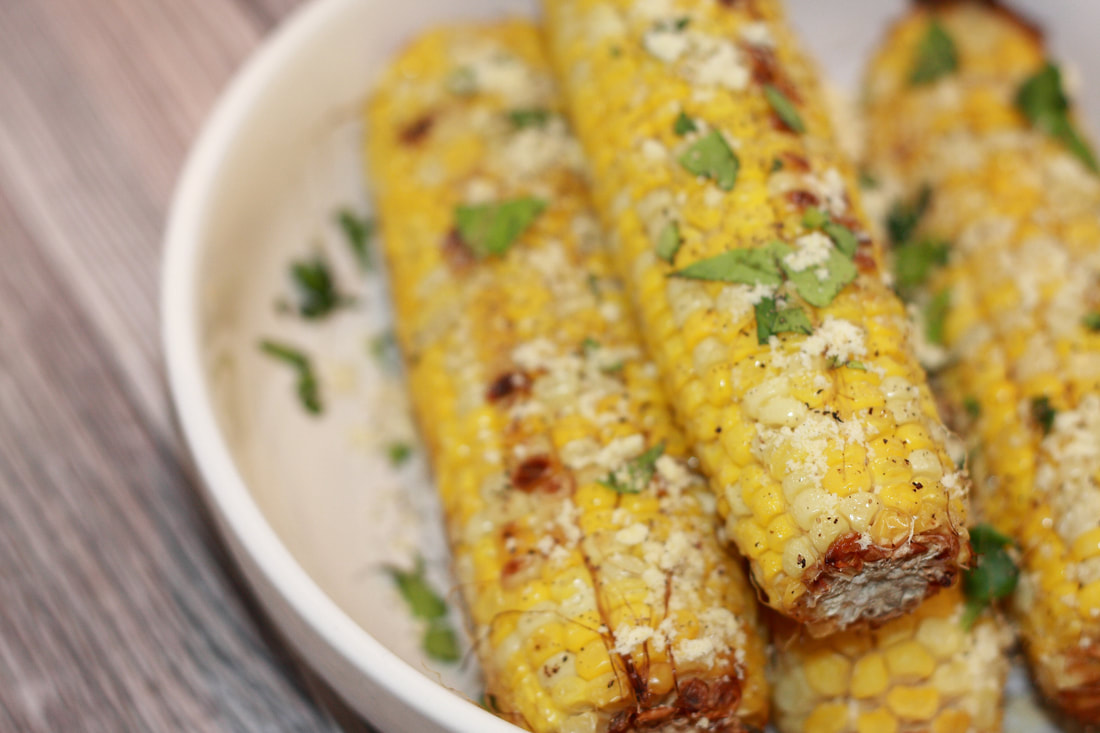
To make these just follow the recipe below and enjoy a side dish that isn't just simply delicious but that plates beautifully.
BASIL PARMESAN GRILLED CORN
INGREDIENTS:
4 Ears of Corn on the Cob
3/4 C. Go Veggie! Vegan Parmesan Cheese
2 tsp. Fresh Basil, Chopped Fine
1/2 tsp. Sea Salt
3 TBSP + 4 TBSP Softened Vegan Butter (I use Earth Balance)
1/4 tsp. Black Pepper
INSTRUCTIONS:
4 Ears of Corn on the Cob
3/4 C. Go Veggie! Vegan Parmesan Cheese
2 tsp. Fresh Basil, Chopped Fine
1/2 tsp. Sea Salt
3 TBSP + 4 TBSP Softened Vegan Butter (I use Earth Balance)
1/4 tsp. Black Pepper
INSTRUCTIONS:
- Preheat grill on high.
- Brush 3 tablespoons of butter all over corn cobs.
- Add the cobs to the grill and grill until each side gets a nice char, turning often and checking so they don’t burn. About 15 to 20 minutes.
- Remove the corn from the grill and plate on your serving dish.
- Sprinkle with salt, pepper, basil and vegan parmesan cheese.
- Serve with entree and other sides of choice. Enjoy!
This shop has been compensated by Collective Bias, Inc. and its advertiser. All opinions are mine alone. #SamsClubMag #CollectiveBias
If there's anything most people know about me it's these two facts...
First, I adore creating, eating and sharing healthy food.
Secondly, Fall is one of my very favorite times of the year.
So, it's only natural I go a little crazy in combining these passions. If I'm not outside enjoying the gorgeous weather (finally!) I am in the kitchen cooking and baking with all of falls best gifts.
Gifts like squash, pumpkin, spices and root veggies. This season I'm also into incorporating mushrooms! As a big fan of the online magazine, Healthy Living Made Simple, it's their super food of the month, so I got inspired to pick some up.
I ventured to our local Sam's Club to get some of these fantastic fungi to whip up something hearty, healthy and yummy. I also love that I can buy my produce in bulk there since I stick to natural healthy foods as my everyday staples and can always use large quantities of what I find there.
Healthy Living Made Simple is my go-to when it comes to tips on my family's health and wellness, and as a journalist, you know I totally eat up good information, especially when it's combined with my love of food.
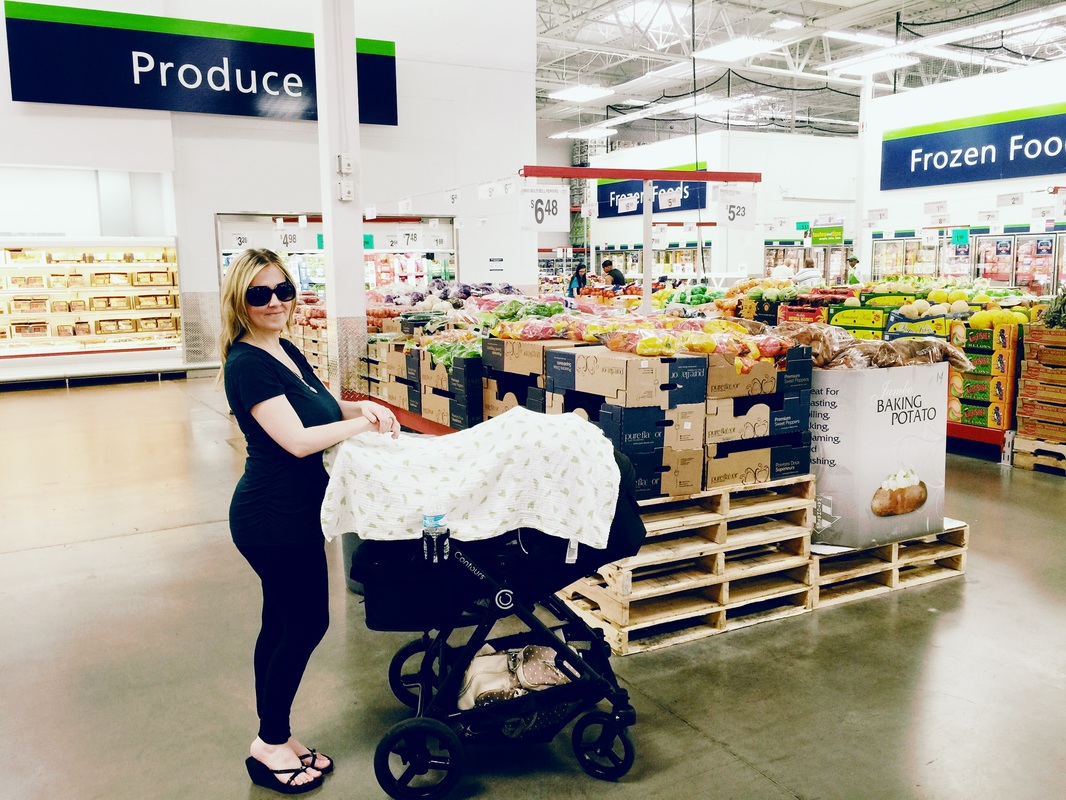
I haven't gotten out much since little man arrived, with him still being just 5 weeks old, so I had so much fun planning a tailgate themed party while Mr. Charming and I were out shopping. Being a Sam's Club member for nearly 10 years now, it's a great place to stock up on my healthy eats.
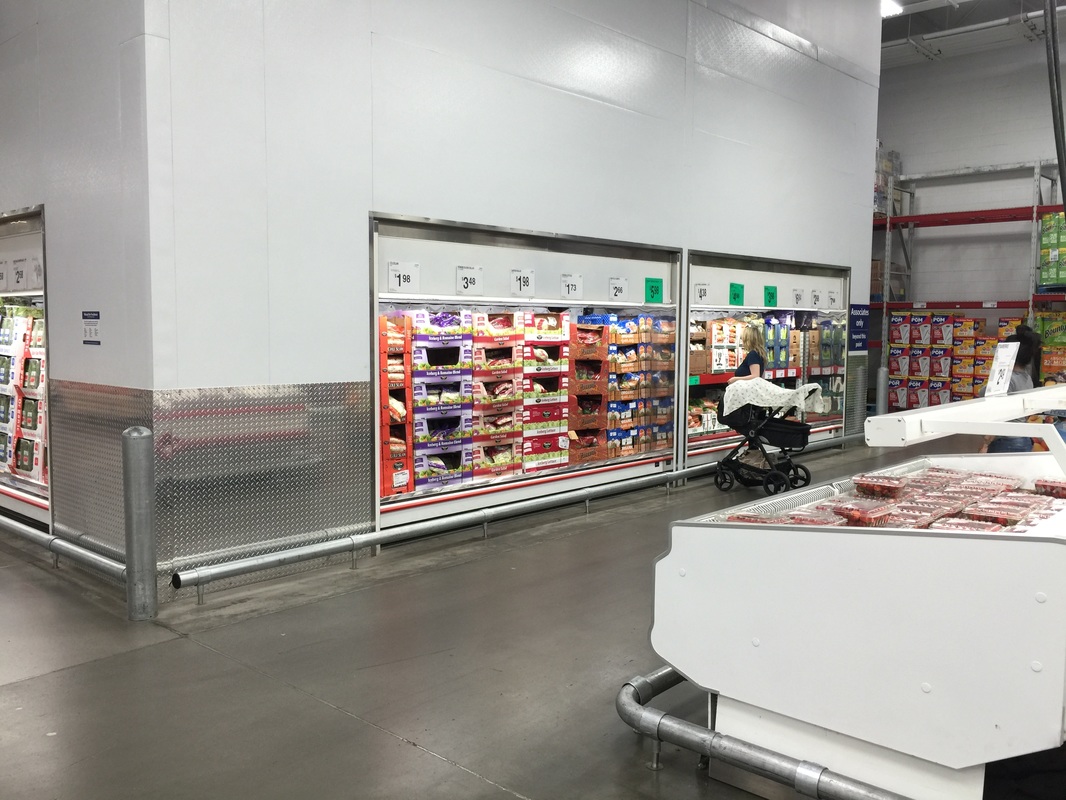
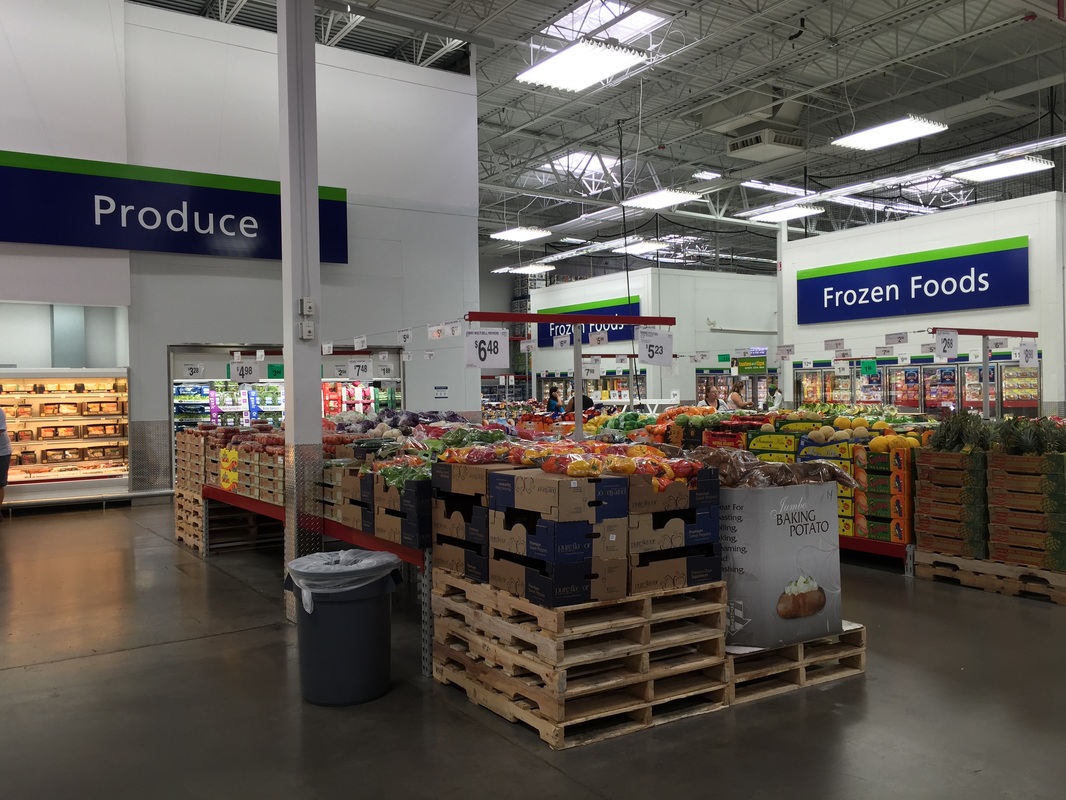
I mean. Their produce section is dreamy. With so, so many options!
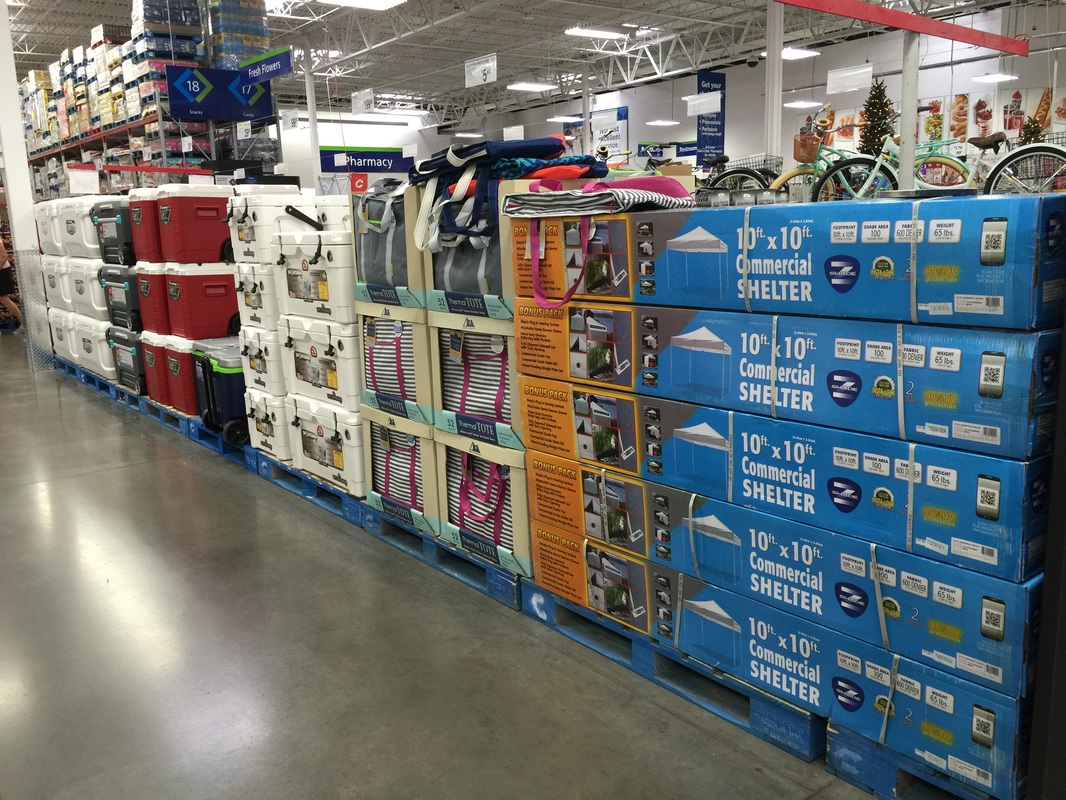
After grabbing my mushrooms and other fall vegetables to make my tailgate dinner spread, we headed over to pick up our grilling supplies and grabbed a couple of other fun items that make heading outside to nosh super convenient.
I loved finding fashionable cooler totes, a rolling cooler for drinks and an easy pop up tent to keep baby in the shade while we take in games during dusk.
Look at those striped cooler tote bags! *swoon*
Another perk to shopping at Sam's Club are the free health screenings they offer at their pharmacy the second Saturday of every month. Visit your nearby club on October 8th to check up on your health and then stay and shop to stock up on products that will give you a healthy boost. From fresh produce and heal;thy eats to vitamins and natural beauty products, it's a one stop shop to keep up with your wellness. As a nutritionist who promotes natural health care to her clients, I love Sam's Club's holistic approach to health items.
After grabbing some healthy eats, and tailgate essentials, it was time to head home and whip up a fall recipe for our neighborhood tailgate block party.
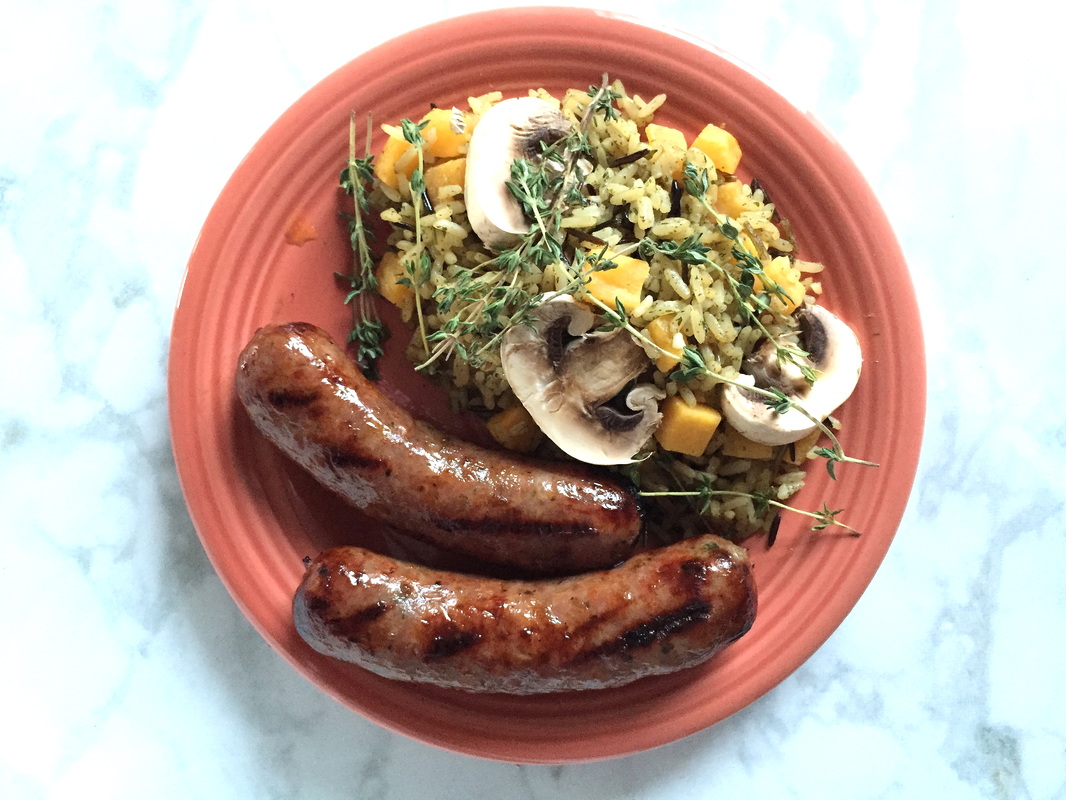
I was craving something hearty and healthy and wanted something festive to plate for our friends and family, so I tossed some colorful fall vegetables and herbs in with wild rice and the mushrooms I picked up at Sam's Club.
Served alongside some grilled brats, it made a filling meal bursting with a variety of flavors and color.
You can grab the easy recipe below for your next event!
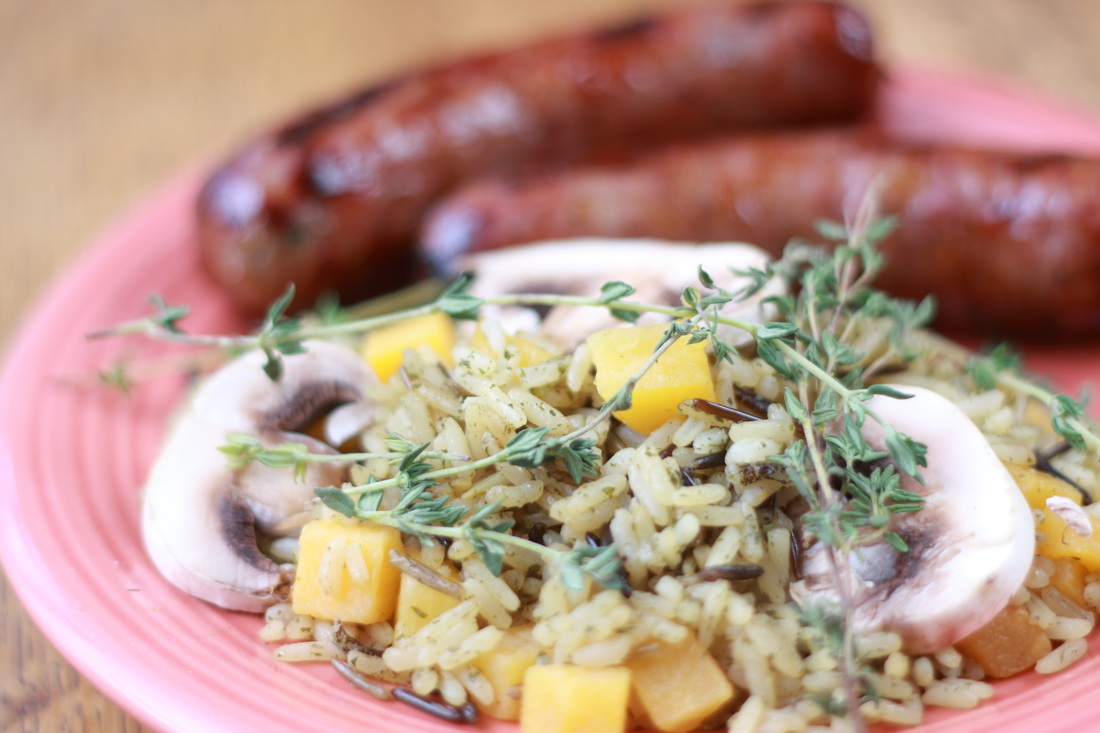
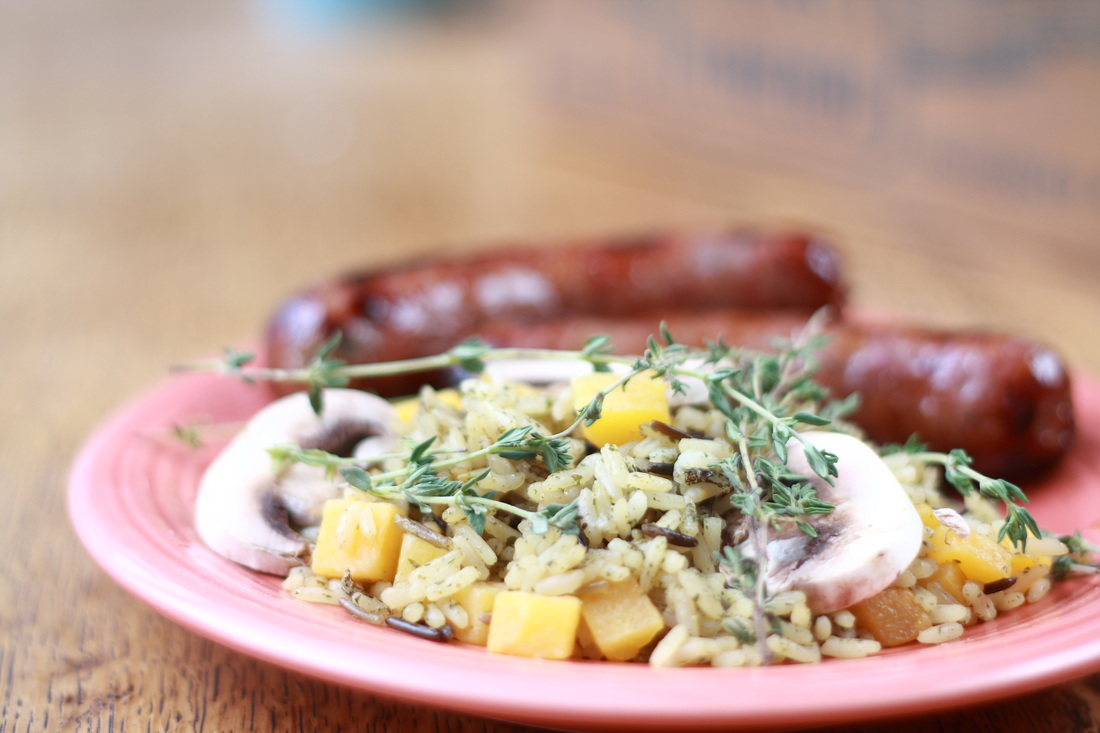
Mushroom Wild Rice Pilaf
Ingredients:
Directions:
- 2 TBSP Olive Oil
- 1 C. Cubed Butternut Squash
- Sea Salt
- Fresh Ground Black Pepper
- 2 C. Wild Rice
- 4 C. Vegetable Broth
- 1 C. Assorted Mushrooms, Chopped
- Fresh Thyme Sprigs
Directions:
- Preheat oven to 400 degrees F.
- Cube 1 butternut squash, toss with 1 TBSP. olive oil and season with salt and pepper.
- Arrange squash on baking sheet and roast in oven for 25 minutes or until tender.
- While the squash is roasting, heat 1 TBSP. olive oil in a large pan and saute wild rice for 1 minute.
- Add the vegetable broth to the rice and bring to a boil.
- Cover and reduce to a simmer on low and cook for 30-45 minutes or until broth is gone.
- Chop the mushrooms and set aside. If you prefer cooked mushrooms, cook in a large skillet with oil until browned, about 8 minutes.
- Once the rice is done, fluff with a fork and toss with mushrooms and squash.
- Plate with fresh thyme and serve with grilled brats for a complete meal.
For more on Healthy Living Made Simple, as well as access to more delicious recipes and health and wellness tips for the whole family visit:
Happy Fall Feasting! What are some of your favorite fall side dishes for the season? Share in the comments below.
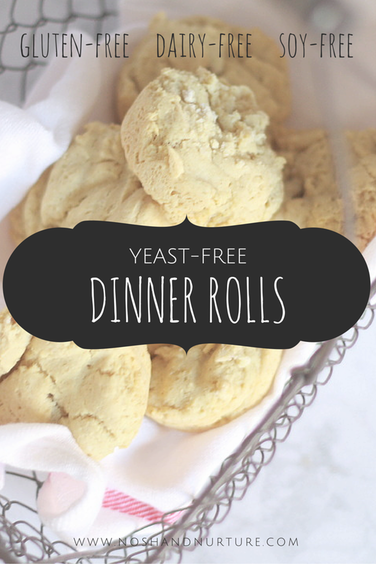
gluten free - yeast free - soy free - dairy free - sugar free - nut free
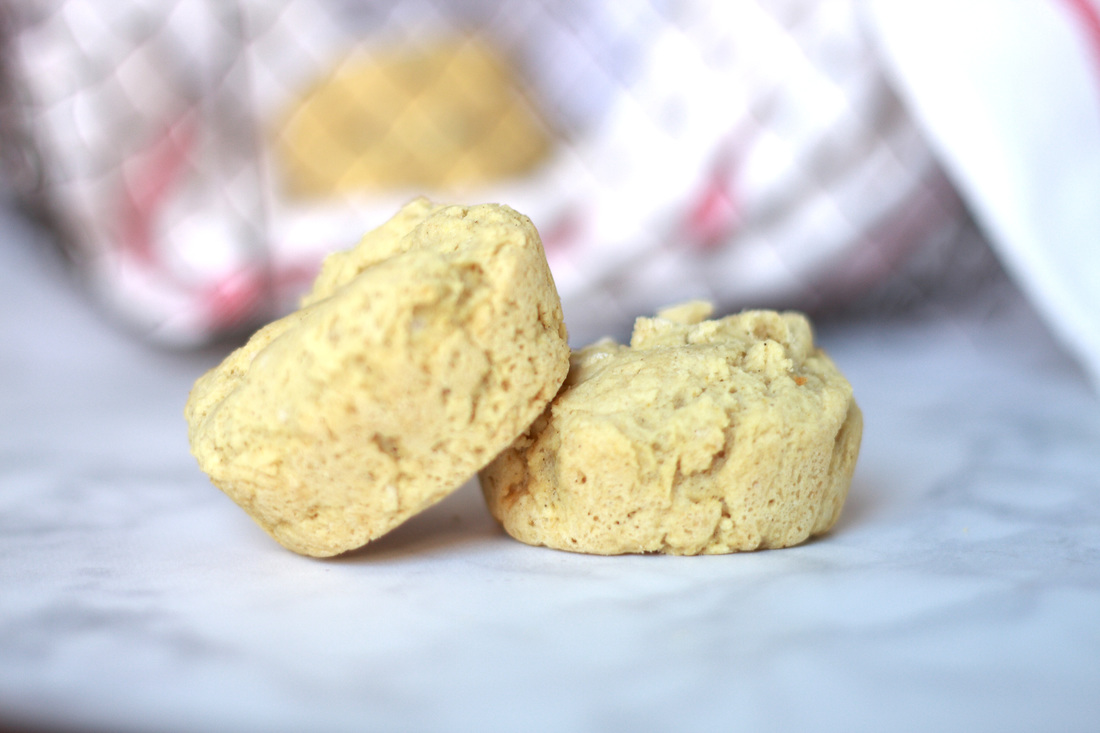
Simplicity is key when it comes to having recipes on hand for your side dishes. Oftentimes, with stricter diets, our efforts and time going into creating healthy entrees. When you have the task of also making multiple meals a day, side dishes, appetizers and desserts, no one has time for complicated.
I like the minimal amount of ingredients in these rolls and that they are easy to whip in the morning when I'm already baking for the day and store them for dinner or for the week. They hold up really well when stored and sealed and can be served along any meal of the day.
I like the minimal amount of ingredients in these rolls and that they are easy to whip in the morning when I'm already baking for the day and store them for dinner or for the week. They hold up really well when stored and sealed and can be served along any meal of the day.

Earlier this week I made a batch of these little hearty rolls while I was in the kitchen whipping up a new Blueberry Donut recipe and I knew I wanted to serve them with dinner. A dinner I had not yet planned.
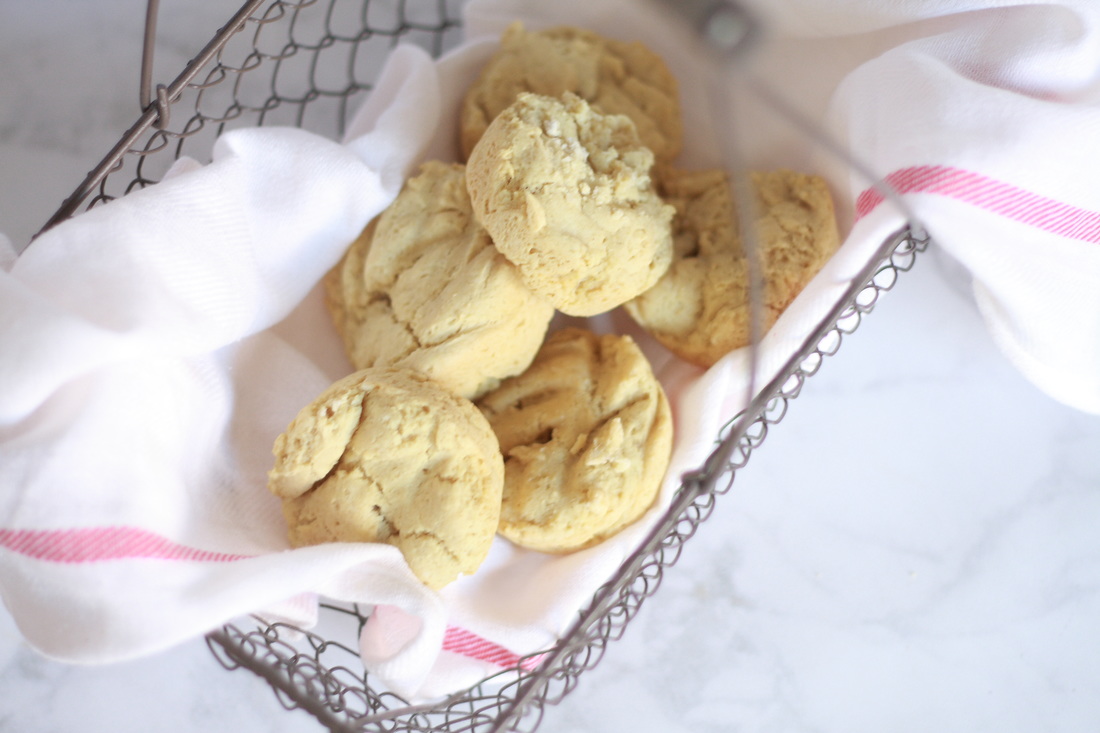
Once Mr. Charming got home I made a pot of delicious Turkey Chili (again, simple and easy!) consisting of spiced turkey, hot chili beans, spices, onion and avocado and served these rolls alongside it and it was phenomonal! These rolls are PERFECT for soaking up chili sauce, stew juice or runny eggs when served with a little natural fruit jam at breakfast.
So good, so so so good. Enjoy!
YEAST FREE DINNER ROLLS
Ingredients:
Directions:
- 2 C. Gluten-Free All Purpose Flour (I use Bob's Red Mill)
- 1 1/4 tsp. Baking Soda
- 1 1/2 tsp. Sea Salt
- 4 Tablespoons of Mayo
- 1 C. Dairy-Free Milk of Choice
Directions:
- Preheat oven to 350 and grease a muffin pan with a light oil or dairy free butter.
- Combine all ingredients in a bowl and mix until dough is formed.
- Spoon dough into muffin pan and bake for 15 minutes or until golden.
What is your favorite yeast-free bread that you've been able to whip up or find?
So from time to time I have friends who knock out amazing Paleo recipes and I make them come over and share. And then I beg them for the recipe to share with all of you, haha.
Mine and Mr. Charming's best friend, Sheldon, is a fellow Christian and blogger as well. His blog www.TwithJ.com inspires me daily. His worldwide travel and deep connection with God through it all is profound and beautiful and I'm hoping he will be a guest poster in this space with his insights, travel tips and yummy healthy recipes while I'm on maternity leave.
The other night he came over for our weekly dinner and game night and he brought these little beauties pictured below. He has his own garden and grows delicious organic zucchini. A sucker for fried zucchini I loved his healthier spin on the classic favorite.
The recipe is below and pairs as a great side dish to a grilled chicken, a salad or on their own as a snack.
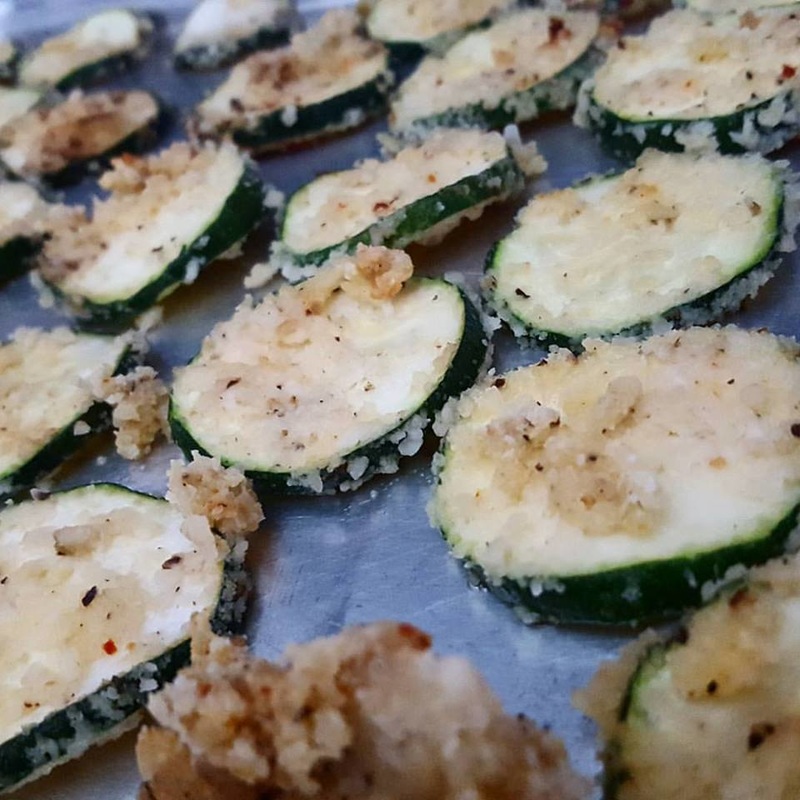
Ingredients:
1 Medium Zucchini
3/4 c. Almond Meal
1 tsp. Pepper
1/2 tsp Pink Sea Salt
1/2 tsp 6 Pepper Blend
2 Large Eggs
Directions:
Preheat oven to 400 degrees.
Crack and whisk eggs in a small bowl. Mix pepper, almond meal, salt and pepper blend in a separate bowl.
Thinly slice zucchini and dip in egg wash. Coat thoroughly in almond pepper mixture. Place on cookie sheet and bake on one side for 5 minutes. Flip and cook an additional 5 minutes.
Let cool and serve alone or with a Paleo ranch dip.
archives
September 2020
May 2020
February 2019
September 2018
July 2018
September 2016
July 2016
May 2016
January 2016
November 2015
May 2015
May 2014
April 2014
March 2014
August 2013
July 2013
June 2013
March 2013
February 2013
September 2012
categories
All
AIP
Dairy Free
Egg Free
Gluten Free
Grain Free
Kid Friendly
Nut Free
Paleo
Soy Free
Sugar Free
Vegan
Video
Whole 30
 RSS Feed
contact
|
aboutNosh & Nurture was born of this journey I am on to better the health of myself, my family and those around me. What started as a simple compilation of recipes has grown to a all-around lifestyle journal with ways to incorporate organic products into your home, pantry and beauty cabinet. I also include stories on pregnancy, new motherhood, travel, Proverbs 31 marriage, and spiritual health, as I am a Christian who couldn't do any of this without my Lord & Savior Jesus Christ. For more of my story you can click here.
All recipes are gluten-free and dairy-free with a lot of soy-free, grain-free, sugar-free options. |
additional links
|

All content herein is owned by Mandi Pimental,Nosh & Nurture and The Clean Plate with Mandi. Pinning images is allowed, however, reposting blogs, recipes, photos or additional content without a link back to NoshandNurture.com is prohibited.
© 2012-2023 Nosh & Nurture. All Rights Reserved.
Website by Weebly. Photography, Graphics and Content by Mandi Pimental, unless otherwise credited.
© 2012-2023 Nosh & Nurture. All Rights Reserved.
Website by Weebly. Photography, Graphics and Content by Mandi Pimental, unless otherwise credited.